-
Lawn care in spring for the perfect lawn
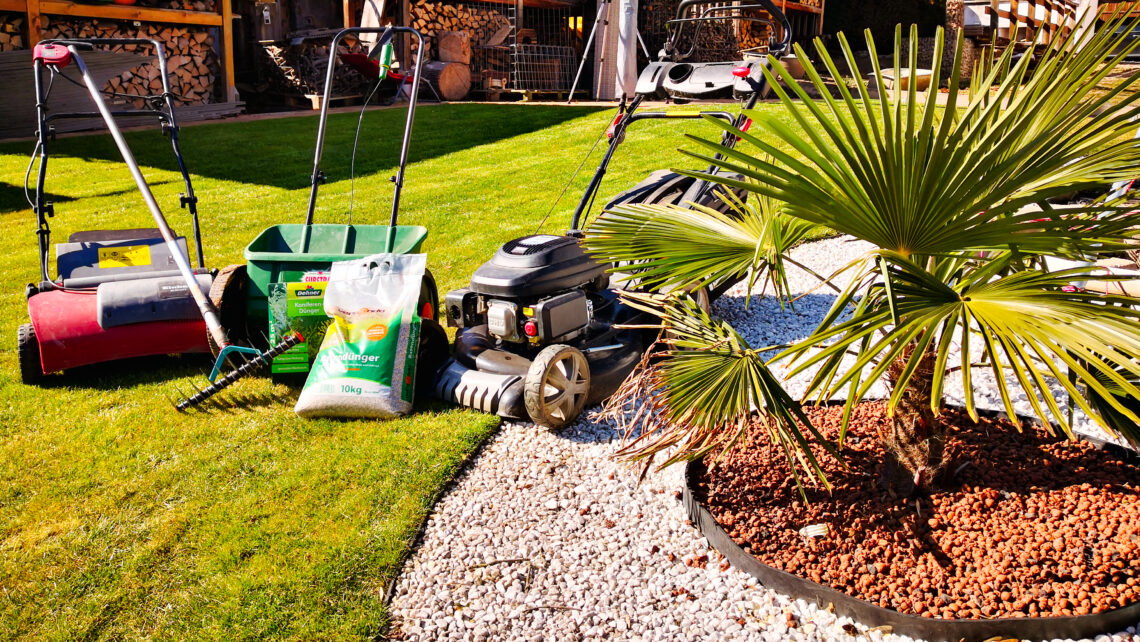
It’s the beginning of March and winter is slowly retreating. It’s time for me to take care of my garden and bring it out of hibernation. Today I want to take care of my lawn. There is a lot to do, especially in spring. Mowing the lawn, fertilizing the lawn, reseeding the lawn, in addition to scarifying and aerating, are just a few things that I would like to tackle today. I also have to reactivate my water taps and my lawn irrigation system after the winter.
-
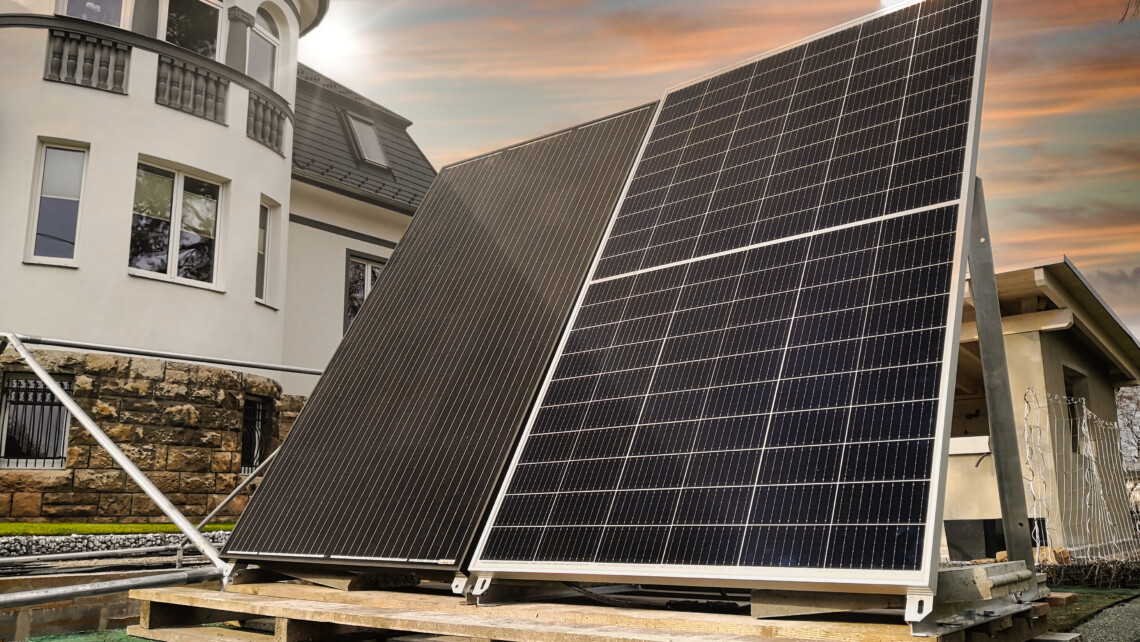
2. set up balcony power station in the garden and connect in series.
Despite my balcony power station in the backyard and lower electricity consumption, electricity costs keep going up. According to the http://strom-report.de, KWh of electricity costs an average of 34.6 cents. New contracts currently cost as much as 41 cents. It is therefore necessary to think about cost-effective alternatives and to add another module to my existing Balkan power plant. But can I connect 2 different PV modules together at all? Do I need a new inverter for two modules or can I continue to use the two old micro inverters?
-
Draining the cellar – 1 year later
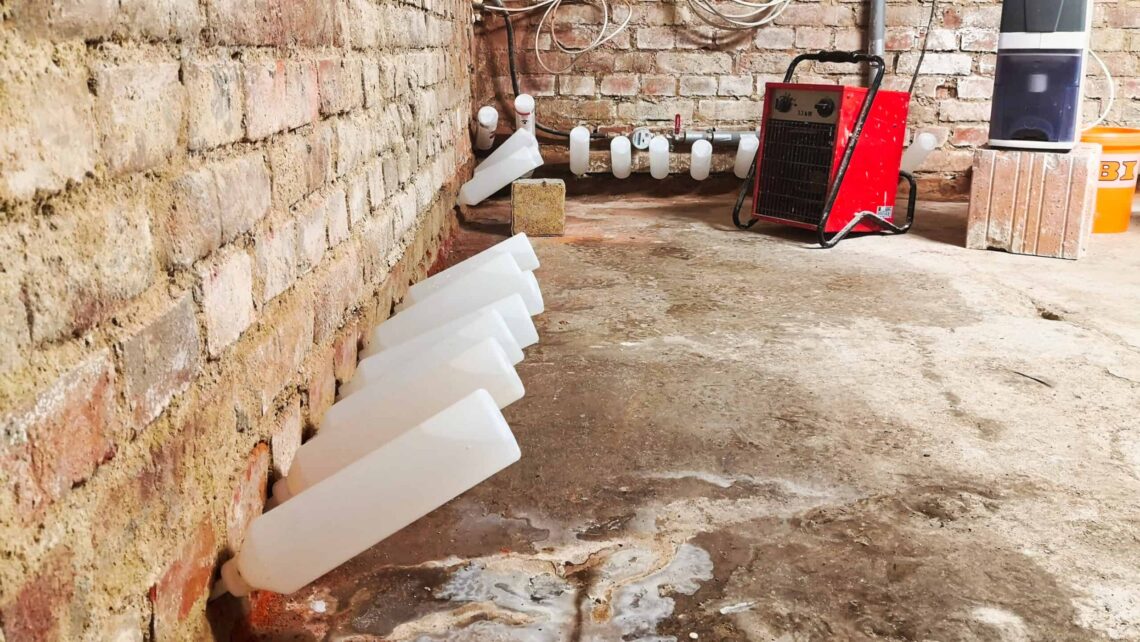
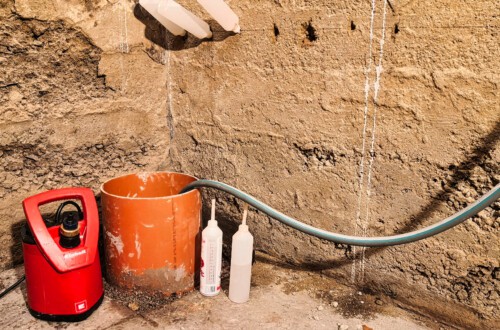
I have been working on drying out my basement for a good 2 years. In addition to repairs to the pipe system, ventilation concepts, dehumidifiers, dryers and a pump shaft in the cellar, I also installed a subsequent horizontal barrier with a masonry injection. It is now time for a review and a summary of the individual measures.
-
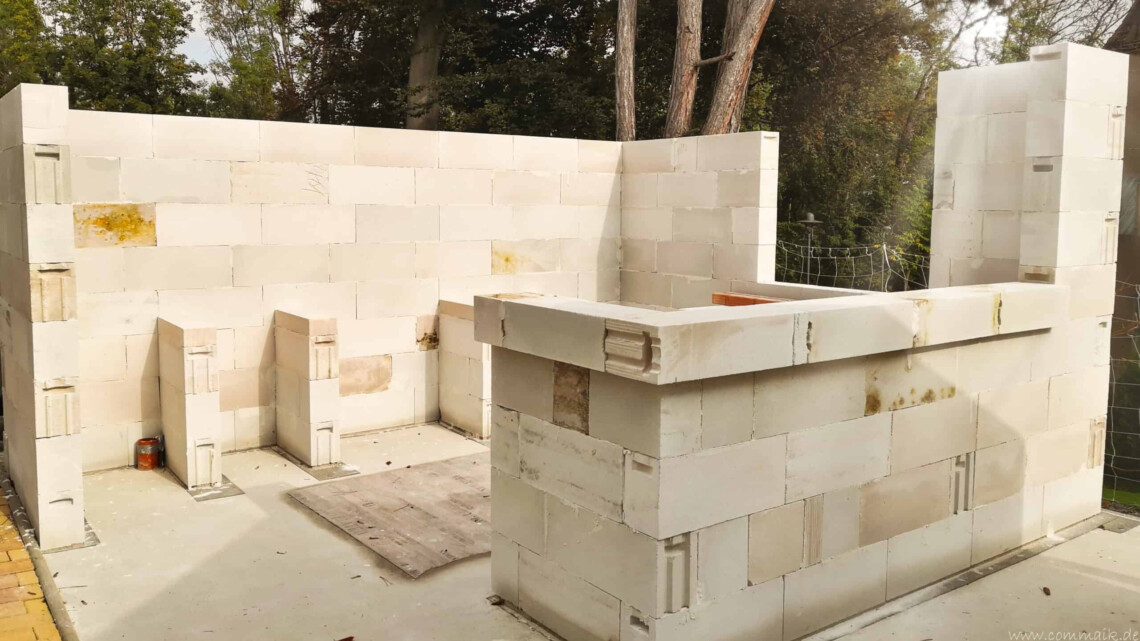
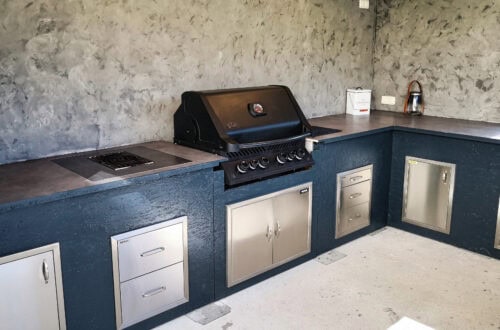
Build your own garden kitchen – brick and glue walls with aerated concrete
After the base of the new garden kitchen was set and aligned with the gas concrete blocks, I could now start building the walls with the Ytong blocks. A special feature here should become the bar counter of the pool bar, in addition to the window on the south side.
-
Inflatable whirlpool MSpa Alpine Tekapo – experience after 1 year
We were able to extensively test our inflatable hot tub, the MSpa Alpine, for a good year. Now it’s time to give feedback on usage, maintenance, pros and cons. Is a whirlpool bath worth it? What are the running costs? What problems arise when installing the pool in the basement? I will explore all these questions in the following article. I have written a first article on the construction of the whirlpool here.
-
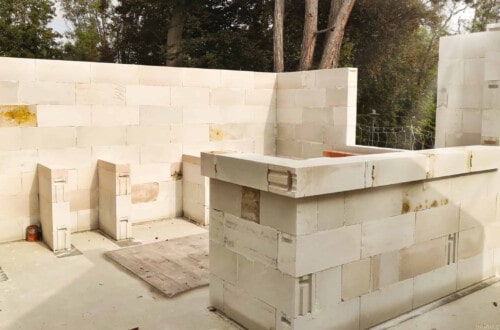
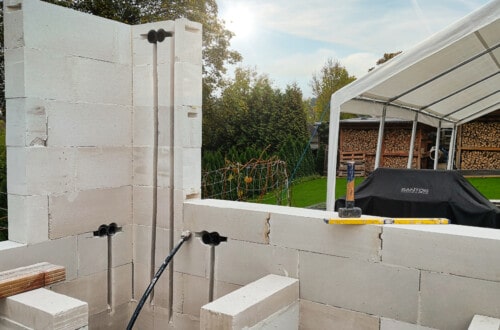
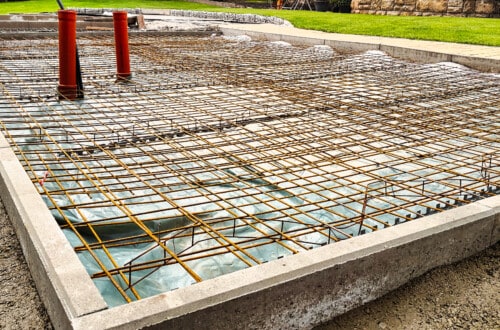
Build your own garden kitchen – Masonry walls with aerated concrete
The foundation of the garden kitchen was ready and now the masonry with the gas concrete blocks could start. Overall, my project for the new outdoor kitchen right by the pool had already been delayed by 6 months. Cov19, shortage of materials and craftsmen sent their regards. The weather also very often put a spoke in my wheel. But now the time had come and it could start.
