Lawn care in spring for the perfect lawn
It’s the beginning of March and winter is slowly retreating. It’s time for me to take care of my garden and bring it out of hibernation.
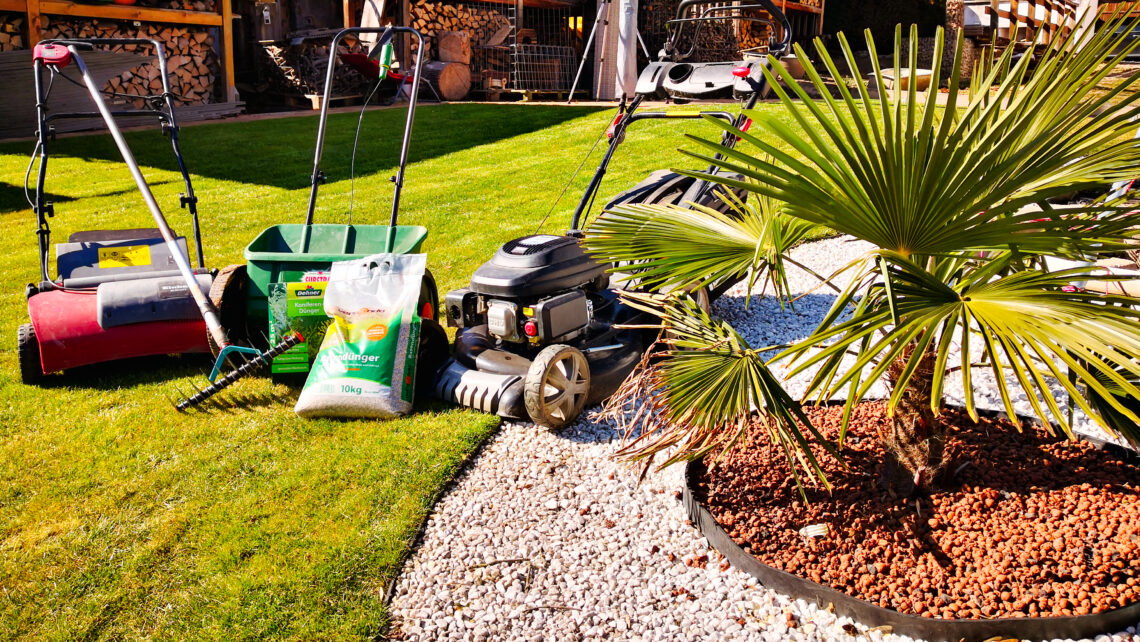
Today I want to take care of my lawn. There is a lot to do, especially in spring. Mowing the lawn, fertilizing the lawn, reseeding the lawn, in addition to scarifying and aerating, are just a few things that I would like to tackle today.
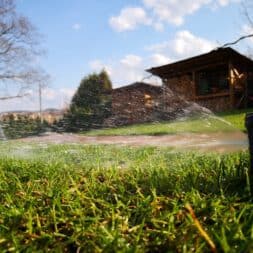
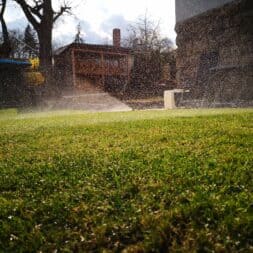
I also have to reactivate my water taps and my lawn irrigation system after the winter.
Looking back on winter
Last winter was characterized by long periods of rain and strong storms. The cold temperatures and frosty nights only hit in January and February.
My lawn also had to cope with this wintry environment. The storms have caused a lot of sticks, twigs and leaves to accumulate on the lawn.
Today I’m going to start bringing my lawn out of hibernation!
Like every fall, I had my lawn open prepared for the cold season . The lawn was strengthened with a potassium-rich autumn fertilizer and a reseeding of fresh grass seed also took place.
I also kept the lawn short with the lawnmower and – very important – when the temperatures were frosty, “no entry” was announced.
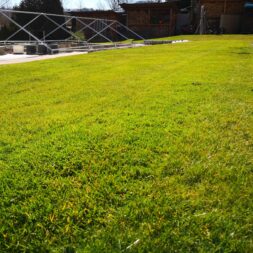
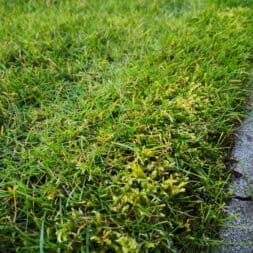
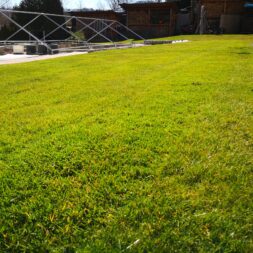
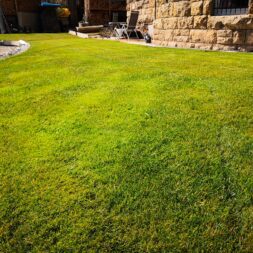
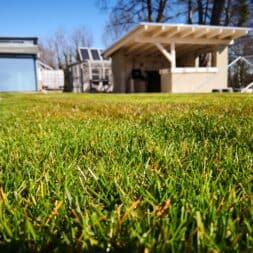
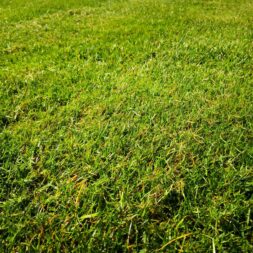
However, my lawn is looking pretty worn out this spring. It’s time to change something about that.
Remove remaining leaves and winter dirt from the lawn
I start my lawn care by cleaning the lawn. Branches and twigs as well as the leaves that have accumulated on the lawn over the winter are collected.
Fungi quickly form especially under the leaves because it is dark and damp there. This causes enormous damage to the lawn, which has been weakened by the winter. Rough cleaning should be done as quickly as possible.
But at the latest when the frost temperatures are over and you can walk on the lawn again.
If the temperatures are consistently 10°C or more during the day – and it doesn’t get colder than 5°C at night, the grass will start to grow. Lawn care must begin now at the latest.


Mow the lawn
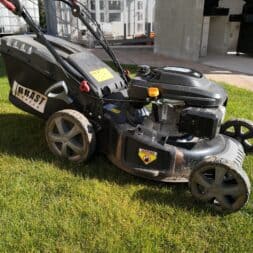
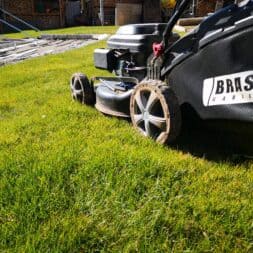
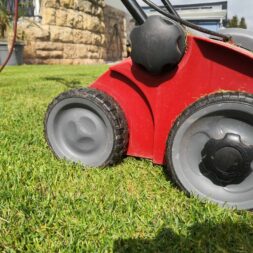
As soon as the lawn starts growing, mine comes mowing machine for use.
This way I can trim the lawn to a consistent height for the following steps.
At the same time, I use the lawn mower to vacuum up the smaller rubbish that has accumulated over the winter and has not yet been picked up.
But make sure that the ground and lawn are not wet when mowing. On the one hand, the wheels press the grass plants into the ground and on the other hand, this creates unsightly ruts.
Of course, the blade in your mower should be clean and sharp so that the sensitive blades of grass can be cut clean.
The ideal time for me was mid-March to early April.
Another rule of thumb says that the lawn can be mowed as soon as it has reached twice the height of its later target height.
But beware:
Please never cut off more than half of the stalks. It is even better to cut to max. Limit 1/3 of the grass height. If the lawn is already too high, you have to cut it down in stages and give the lawn a few days to recover in the meantime.
My target height is 4 to 6 cm. The first cut should be done when the grass is 8 to 12cm high.
Fertilize lawns in spring
Fertilization can take place after the first cut. While I used a potassium-rich fertilizer in the fall, I used an NPK full fertilizer in the spring.
NPK stands for nitrogen – phosphorus and potassium. These components are needed by the lawn for growth. Depending on the manufacturer and intended use, the amounts of these 3 components differ.
I use my box spreader for spreading. The recommended amount for this fertilizer is 20 to 25 grams per square meter. To do this, set the controller to a position between 9 and 10.
With this setting I only need one spreading path – once lengthwise and once across. If you use a different spreader, you will need to ask the manufacturer about the correct settings.
After fertilizing, the entire area should be watered well so that the granules reach the roots and do not burn the lawn from above.
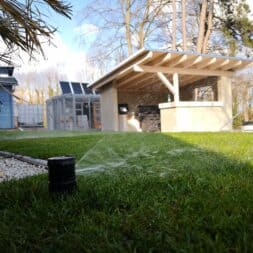
Either the rain benefits you, or you use a lawn irrigation system like I do.

- versando Rasendünger - die optimale Rasenernährung für Sportrasenflächen und Zierrasen
- 1-2 Tage nach dem Mähen düngen, nach dem Düngen den Rasen gut wässern
- von März bis September ca. 25-30 g/m² gleichmäßig ausbringen Ausbringen per Hand (Kreuzstreuung) oder per Streuwagen
- zur ganzjährigen Verwendung 30kg ergiebig für ca. 1000m²
- wirkt gegen Unkraut und Moos - Markenprodukt von versando - abgefüllt in Deutschland!
- NPK-Dünger 12+5+5(+19+7+6): 12% Gesamtstickstoff aus 5% Nitratstickstoff + 7% Ammoniumstickstoff, 5% Neutral-Ammoniumcitrat mit 3% wasserlösliches Phosphat, 5% wasserlösliches Kaliumoxid, 19% Gesamtcalciumoxid, 7% Gesamtmagnesium - 1% wasserlösliches Magnesiumoxid
Winterize lawn irrigation
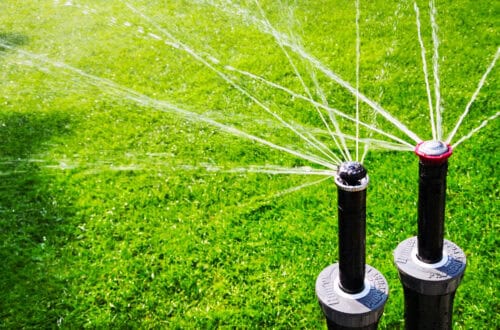
My lawn irrigation system consists of 6 irrigation circuits with a total of 18 lawn sprinklers. Here you can find my video In which I show you how I drained the system in the fall and winterized it. You can find the relevant post here in the blog here .
Starting up my lawn irrigation system after winter is much easier. I first close all open valves in my distribution boxes and open the tap to add water to the system.
Now I first wait a few minutes to see whether the pressure remains constant or whether the water meter continues to turn. If the pressure drops or water flows, one of the valves is not closed properly, leaking or defective.
In this case, there may also be damage to the inlets to the valves.
The solenoid valve of the first irrigation circuit is then opened and the water flows through the water pipes and the lawn sprinklers. I let the water run until the air has been completely pushed out of the pipes.
The valve is then closed again and the next irrigation circuit is opened. As soon as the air has been removed from all circuits, the lawn irrigation is winterized and ready for use.
Before the test run, the irrigation computer is activated and the settings are checked. Then I let my irrigation programs run through completely.
During the test run you should check the settings on the lawn sprinklers. Sometimes the throwing distance, the throwing angle or the throwing pattern changes. In this case, the lawn sprinkler must be readjusted.
At this point the first part of the start of the new lawn season has already been completed! You should wait 2 – 4 weeks for the next steps.
Zuletzt aktualisiert am 26. July 2024 um 04:48 . Ich weise darauf hin, dass sich hier angezeigte Preise inzwischen geändert haben können. Alle Angaben ohne Gewähr. (*) Bei den verwendeten Produktlinks handelt es sich um Affiliate Links. Ich bin nicht der Verkäufer des Produktes. Als Amazon-Partner verdiene ich an qualifizierten Verkäufen. Dein Preis ändert sich jedoch nicht.
Video: Making the lawn fit in spring
I have the individual steps for caring for the lawn in spring a video held. There I’ll show you how I cleaned, mowed, fertilized, scarified and re-seeded the lawn after the winter.
This video is on my playlist” Garden “.
If you want to see more of me and my projects, feel free to check out my YouTube channel.
-
Price: € 129.99instead of: € 154.95
-
Price: € 16.99instead of: € 19.99
-
Price: € 54.90instead of: € 71.42
Scarifying and aerating for a healthy green area
To revitalize lawns in spring, they can be scarified and aerified. The aim of these measures is to promote a healthy, dense and green lawn.
Both methods serve to keep the lawn healthy, but have specific advantages and challenges.
Scarifying aims to remove moss, thatch and dead plant debris from the lawn.
This layer disrupts the exchange of water, air and nutrients and can lead to lawn damage if not treated. For scarifying, I used a scarifier, which uses sharp blades to lightly score the lawn surface and remove unwanted material.
Despite the immediate benefits such as improved breathability and nutrient uptake by the soil, I had to take into account that the lawn is initially visually impaired after scarifying and needs time to regenerate.
Aerification, the aeration of the soil through the creation of small holes, serves to loosen compacted layers of soil.
An aerator is used for this, which effectively breaks up the compaction and allows the roots to grow deeper, resulting in a more robust lawn.
While aerification promotes water drainage and storage, it is labor-intensive and time-consuming and can also result in a temporary visual impairment of the lawn.
Both methods require careful planning and implementation. Before scarifying, the lawn must be cut to a low cutting height to make it easier to remove moss and thatch.
After scarifying and aerating, new lawn seed is scattered over the treated areas to quickly re-vegetate bare patches. Finally, the lawn must be watered well to support the regeneration and growth of the turf.
Despite the need for conscientious maintenance and the short-term loss of appearance, the long-term benefits of scarifying and aerifying clearly outweigh the disadvantages.

- Effektive Rasenpflege: Der Vertikutierer dringt millimetertief in den Rasen ein und entfernt effizient Moos und Rasenfilz
- Kraftsparendes Arbeiten: Der Vertikutier-Roller verfügt über robuste Räder mit Spezialprofil sowie über eine Hubachse zum leichteren Arbeiten
- Wackelfreies Stecksystem: Das Gartengerät passt zu allen Gardena combisystem-Stielen und lässt sich leicht aufstecken und festschrauben, die bewährte Technik garantiert ein zuverlässiges Arbeiten
- Optimaler Korrosionsschutz: Der Gardena combisystem-Vertikutier-Boy besteht aus hochwertigem Qualitätsstahl mit einer Duroplast-Beschichtung und Federstahlzinken
- Lieferumfang beinhaltet: 1x Gardena combisystem-Vertikutier-Boy (Stiel nicht im Lieferumfang enthalten, separat erhältlich)
Scarifying
If the lawn has been well watered and the fertilizer has been absorbed into the soil, you can take the next step after about 14 days. The scarifying.
Scarifying involves scratching the surface of the soil with a sharp blade to remove excess material. In this way, the lawn thatch is reduced and moss is effectively combated because the lawn plants get more air.
Scarifying can be done by hand or with a motorized scarifier .
I used to scarify my lawn every year. I used an electric scarifier to remove a lot of dead plant debris from the grass cover. But I was also able to remove moss and clover easily this way.
I now use one manual scarifier which I only use in particularly matted areas.
In any case, the lawn is cut relatively short to a height of 1 to 3 cm before scarifying. The scarifier is then used. The surface is traversed once lengthways and once crosswise or is pulled off by hand.
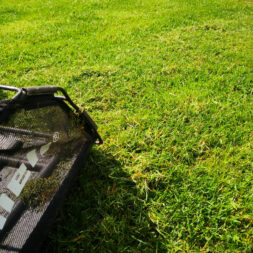
It is important that the sputum is completely removed from the lawn. With motorized scarifiers, this is usually done using a collecting basket or using a rake.
I’m using my big lawn mower for this again. This works like a large vacuum cleaner and sucks up the remains from the floor.
After scarifying, I go straight to reseeding. However, for some people, aeration is also an option at this point.

- Werkzeugloser Walzenwechsel – Die kugelgelagerte Lüfterwalze ist mit 24 Krallen ausgestattet
- Der Walzenwechsel erfolgt werkzeuglos
- Der Fangsack fasst bis zu 28 Liter Volumen
- Hochwertige Messerwalze – Mit der kugelgelagerten, 35 cm langen Messerwalze mit 16 rotierenden Messern wird das Entfernen von Moos, Unkraut und Rasenfilz zum echten Kinderspiel
Aerate
When aerating, the soil is made with many small holes. There are special machines and hand-held devices that can be used to poke holes in the ground using many small hollow needles.
The soil becomes looser and air and water can penetrate the roots much better. Waterlogging is also effectively avoided. This method of soil improvement is particularly interesting for heavy or clayey soils.
The small holes are then filled again with sand with a grain size of 0 – 2 mm. To do this, spread around 5 liters of sand per square meter on the lawn. The rain or your irrigation system then washes the sand into the holes.
So far I have completely avoided aeration. If you’re wondering why, the answer is very simple. I don’t have the necessary technical space.

- Universal-Kastenstreuwagen für die präzise und komfortable Ausbringung von Rasendünger, Rasensamen, Kalk und Sand
- Große Räder ermöglichen ein leichteres Befahren unebener Flächen und verhindern Verstopfen der Streuöffnungen bei feuchten Rasenflächen
- Präzise und einfache Streuereinstellung am Handgriff - Mit Streu-Stopp-Bügel unterbricht die Ausbringung beim Wenden und Zurücksetzen
- Komfortables Handling und bequemes Befüllen ohne Durchrieseln des Streuguts - Streuwalze garantiert ein gleichmßiges Streubild
- Der Kastenstreuer hat ein Füllvolumen von 11 Liter und eine Streubreite: 45 cm
Re-seeding the lawn
The final step is reseeding the lawn. If you have scarified and aerated the lawn immediately beforehand, this step can also be combined with sanding.
In order for the grass seed to root well, it needs a lot of water and mild temperatures of at least 10C°. 15°C to almost 20°C is optimal. Here too, the period from mid-March to early April has proven to be successful for my region.
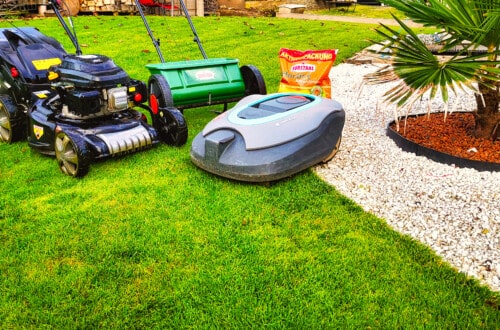
When reseeding, I use my robot lawn, as I did in the fall. I am still very happy with the appearance of my lawn. I can’t judge whether it really makes a difference for my robot lawn mower.
Basically, it should be enough if you sprinkle the bare spots with your lawn seed. This closes the gaps and prevents weeds from forming. Personally, I sow the entire lawn with fresh grass seeds and not just the bare spots.
For this I rely on my box spreader again. The correct setting for distributing grass seeds on this model is 10. I personally use 11 to 12 as I have had better results with them.
In addition, you always have to assume that some of the seeds fall victim to wild birds.
I now drive the entire route in parallel paths again with the box spreader. Ideally, a second spreading path is then carried out in a crossed direction. However, a smaller setting of 8 to 9 on the box spreader is completely sufficient.
I avoid raking the seeds into the ground. Instead, I rely on good watering. Either persistent rain will come to your aid, or your lawn irrigation system.
After a few days, with optimal temperatures and good watering, the first tips of grass should be visible.
The lawn should neither be mowed nor walked on during the growing period. The lawn mower would simply suck up the seeds and it would all be in vain. A first cut should be made from a stalk length of 10 cm.
But the same applies here: Never cut off more than half, or better yet 1/3, with a sharp blade.
All in all, these tasks effectively require one to two days in the garden. But you can be sure that this work is worth it because your lawn will benefit from your effort throughout the entire season.

- ✅ SPEZIAL-RASENMISCHUNG FÜR EINE VITALE RASENFLÄCHE: Nutzen Sie die Natureflow 5kg (200m2) Rasensaat zur Umwandlung und Neuansaat von Ihren Mähroboter-Rasenflächen; Die Rasensamenmischung sorgt für langsam wachsende, nährstoffreiche Gräser
- ✅ PERFEKTER GRASSAMEN FÜR IHREN MÄHROBOTER: Auf diesem Rasen fühlt sich Ihr Mähroboter super wohl! Ihr kleiner Gartenhelfer kann auf dem Robo-Rasen ideal fahren und gleichmäßig mähen - optimal für einen kurzen Schnitt & ein ästhetisches Ergebnis
- ✅ IM NU ZUM TRAUMRASEN: Um diesen Roboter-Rasen werden Sie Ihre Nachbarn beneiden! Schnellkeimend, ist Ihr neuer Rasen schnell nutzbar & trittfest - Mit den speziellen Robo-Rasensamen ergrünt Ihr Garten wunderschön und dicht wachsend
- ✅ NATÜRLICHE RASENPFLEGE LEICHT GEMACHT: Ihr Robomäher hinterlässt beim täglichen Einsatz sämtliches Schnittgut auf der Grünfläche, welches für den Mähroboter-Rasensamen als biologischer Dünger dient; Adé Schnittgutabfall, hallo pflegearmer Rasen & Sie haben mehr Zeit für Grillabende
- ✅ UNKRAUTFREI - AUF NIMMERWIEDERSEHEN, UNKRAUT: Wir geben Unkraut keine Chance! Die exzellente Zusammensetzung des Gras-Saatguts verhindert die Einnistung von unerwünschtem Unkraut
Summary and conclusion
In spring, I tackled the lawn care to wake up my garden from hibernation. After a winter with long periods of rain and storms, it was necessary to prepare the turf for the new season.
My tasks included mowing, fertilizing, reseeding, scarifying and aerating the lawn. In addition, the water taps and the lawn irrigation system had to be reactivated.
First, I cleared the lawn of leaves and winter dirt to prevent fungal growth. I used the first grass cuttings to ensure a uniform height and remove smaller debris.
After mowing, the grass was fertilized with a complete NPK fertilizer to support grass growth. The lawn irrigation system was also put back into operation after the winter, ensuring an efficient water supply.
Scarifying was used to remove moss and felt, and I used a scarifier for this. I skipped the aerification as I didn’t have the necessary technique.
Finally, the lawn was reseeded to compact it and eliminate bare patches.
This comprehensive spring lawn care, including scarifying and aerifying, not only improved the appearance of my lawn, but also boosted its health and resilience for the coming season.

- 3 in 1 Komplettlösung für einen grünen und dichten Rasen ohne Unkraut und Moos
- Rasengerechte Nährstoffversorgung bei gleichzeitiger Bekämpfung von zweikeimblättrigen Unkräutern und Moos
- Gut bis sehr gut bekämpfbar: Schneckenklee, Kleearten (z.B. Wiesen- und Weißklee), Gundermann, Gänseblümchen, Gemeine Braunelle, Löwenzahn, u.a.
- Die durch die Unkrautbekämpfung entstandenen Lücken werden rasch wieder geschlossen
- Kalium erhöht die Zellstabilität der Grashalme und reduziert die Anfälligkeit bei Stressbedingungen wie Hitze und Trockenheit
- Einfache Ausbringung mit dem Streuwagen - 35 g/m² gleichmäßig auf dem Rasen ausbringen
- Zul.-Nr: (DE) 008468-60 (AT) 3778-0 | Pflanzenschutzmittel vorsichtig verwenden. Vor Verwendung stets Etikett und Produktinformationen lesen. Bitte beachten Sie die Warnhinweise und Sicherheitsratschläge in der Gebrauchsanleitung. Anwendung durch nichtberufliche Anwender zulässig.
Dieser Beitrag ist auch verfügbar auf:
English
Deutsch


