Program Hunter X-Core control computer for garden irrigation yourself
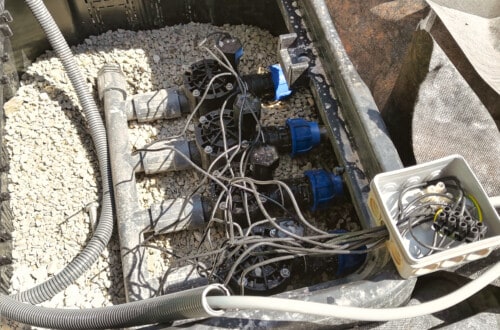
In one of my last blog posts, I described the installation and connection of the Hunter X-Core irrigation computer. I have explained how to connect the solenoid valves to the irrigation computer.
However, I only briefly touched on the programming of the Hunter X-Core.
In this article I will write in detail how I programmed my Hunter X-Core irrigation computer.
Introduction
In this post I will now focus on the programming of the Hunter X-Core. Basically, you usually do this only once, then the device runs completely autonomously. On my Youtube channel you can find many more videos about garden irrigation and especially about the Hunter X-Core.
Especially for programming I have included a 14 minute video further down in this post. Here on the blog I offer you the transcription of the video. That means you can read what I said in the video here.
Some things I left out for the blog and others I added for better comprehensibility. However, all statements refer to the instructions in the video.
Hunter X-Core Lawn Watering Computer
The Hunter X-Core irrigation computer is an essential component of efficient garden irrigation systems and offers a versatile solution for the automatic control of irrigation circuits.
This device is known for its user-friendliness and reliability and is available in various models, which differ mainly in the number of controllable stations.
The basic Hunter X-Core model controls up to four irrigation zones and is ideal for small to medium-sized gardens. An extended version can manage six zones, making it suitable for larger residential areas or smaller commercial applications.
For more extensive systems, there is a model that can control up to eight zones, which is particularly advantageous in large living areas or for light commercial use.
All models offer basic functions such as flexible watering schedules, the ability to connect rain sensors and options for seasonal adjustment of the watering duration.
In addition, all Hunter X-Core models are compatible with weather stations and can be connected to external sensors to automatically stop or adjust watering when it rains, helping to conserve water and improve plant health by preventing overwatering.

- Hohe Qualität
- Anwenderfreundlich
- Zuverlässig
Components of the Hunter X-Core irrigation computer
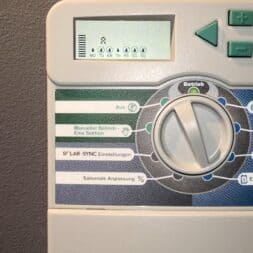
The Hunter X-Core irrigation computer is characterized by a compact and functional design that includes several important components that facilitate the control and management of irrigation systems.
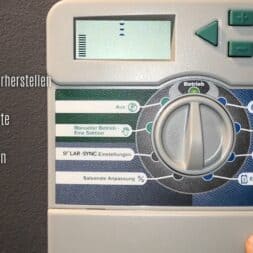
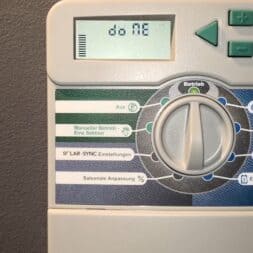
The control panel with an LCD display, which clearly shows all the necessary information and enables navigation through menus, is central.
Users can define programs, set start times, adjust the watering duration per zone and make special settings such as seasonal adjustments.
The control module, which performs the core functions of the computer, is located under the control panel.
This houses the electronic components that send the signals to the solenoid valves, which then control the water supply to the individual irrigation zones.
This module is also responsible for communicating with external sensors such as rain or soil moisture sensors, which can automatically adjust the irrigation system.
The Hunter X-Core also has connections for wiring to the solenoid valves. Each zone is connected to the irrigation computer with its own cable, which enables individual control.
The connection terminals are designed to ensure a simple and secure connection.
In addition, the Hunter X-Core offers an integrated power supply to ensure reliable performance and, in some models, a battery backup to secure programmed settings and prevent interruption of watering schedules in the event of a power failure.

Program time and date
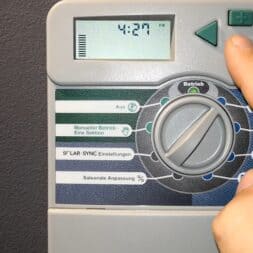
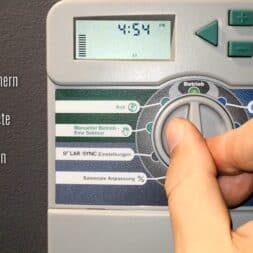
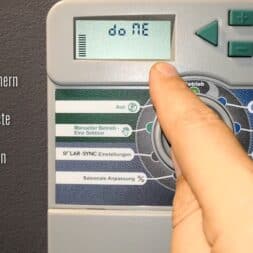
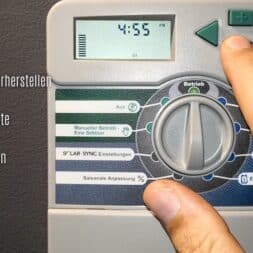
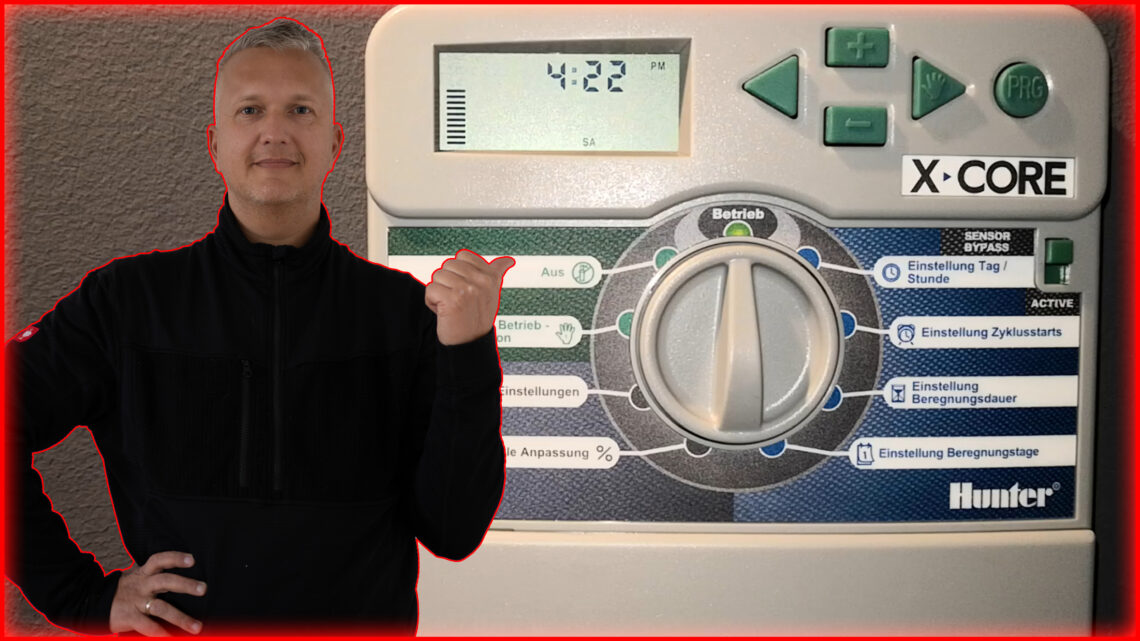
When the device is active and programming is in progress, the display shows the working day and time. Saturday 4 o’clock 23 pm that is the English expression for the afternoon time so we have as 4 o’clock 23.
If I now want to program the device to the correct day and time, I start by turning the switch one step to the right.
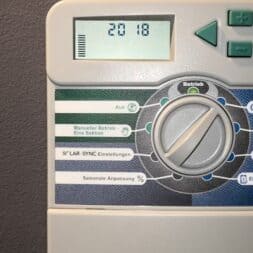
The year 2018 has already been pre-populated by me. With the minus key I can select correspondingly smaller year numbers and with the plus key larger ones. Clicking to the right brings us to the Month and Day menu. Month recognizable by the proposal 1-12.
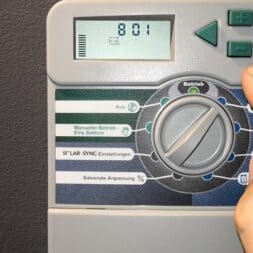
In my case, 9 is already flashing, September, can be changed to August, or October, or your current month.
Clicking again to the right displays the menu for the day: 1 to 31. In my case the first of September, a Saturday, is automatically displayed. Another click to the right indicates “pm”. PM stands for afternoon.
If I want to have morning, I press the minus button and if I want to have afternoon, I press the plus button.
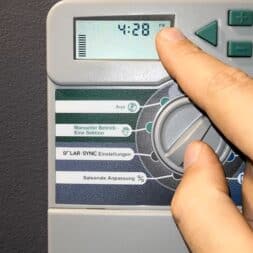
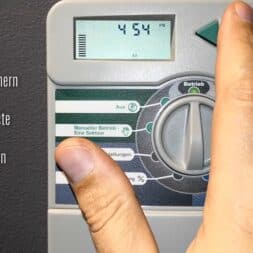
A click to the right brings up the time. In this case, four o’clock 28 in the afternoon. The plus key changes the hour upwards and the minus key changes it downwards accordingly.
A final click on the right button switches to the minutes menu 4 o’clock 28. I can turn back the minutes here or fast forward the minutes again.
Another click to the right brings us back to the year.
Zuletzt aktualisiert am 26. July 2024 um 04:31 . Ich weise darauf hin, dass sich hier angezeigte Preise inzwischen geändert haben können. Alle Angaben ohne Gewähr. (*) Bei den verwendeten Produktlinks handelt es sich um Affiliate Links. Ich bin nicht der Verkäufer des Produktes. Als Amazon-Partner verdiene ich an qualifizierten Verkäufen. Dein Preis ändert sich jedoch nicht.
Program start times
Now it’s time to program the start times for my three circuits. I have a total of only one program that wants to use. This means that all three irrigation circuits for my lawn are switched in sequence.
I only have to enter the start time of the first irrigation system or irrigation circuit and the duration in the Hunter X-Core control computer. Afterwards, the second surface will start automatically and when it is completed, the third surface will start.
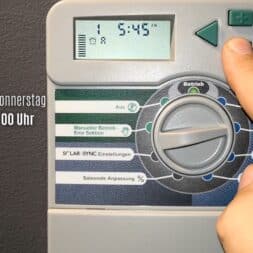
Now let’s start with the setting of the cycle start. To do this, set the switch accordingly and we see on the display already at six in the morning should start my sprinkler system.
With the minus key or the plus key I can increase or decrease the start times in 15 minute intervals to the start time I want. Since I only want to use one program, that is, one rhythm, we are already done at this point.

- Ventilbox mit 4 Magnetventilen anschlussfertig vormontiert
- Plug&Rain: Baugruppen statt viele Einzelteile, so gelingt die Planung und Installation einer Bewässerungsanlage sicher!
- Dimensionen für Eingang: 25mm PE-Rohr (3/4")
- Dimension der Abgänge aus der Ventilbox zu Tropfrohr und Regnern: 25mm PE-Rohr (3/4")
- Hohe Qualität und Komponenten von Hunter, Dura, etc - weltweit führenden Bewässerungsherstellern
Program watering duration
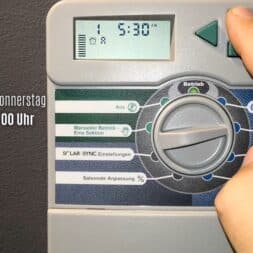
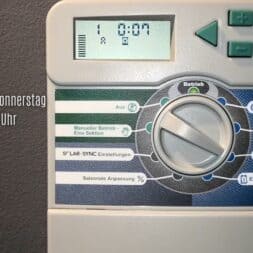
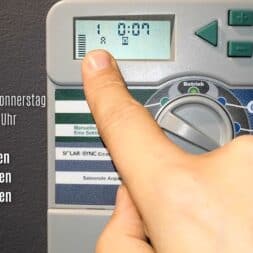
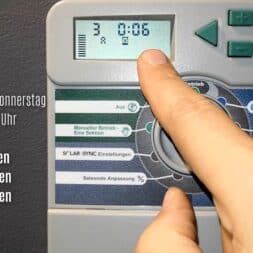
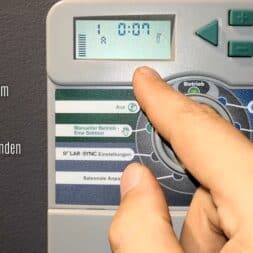
So let’s switch to the setting of the irrigation time. In this menu I will program in the desired irrigation duration for all three irrigation areas.
You see in circle 1 a time of seven minutes is already given. This means that when the program starts at six o’clock in the morning, the first lawn area is watered for seven minutes before the second lawn area is also watered afterwards.
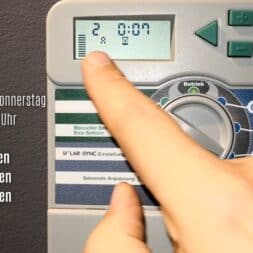
If seven minutes are too long or too short, I can vary them accordingly using the plus and minus keys. With a click on the right button I switch to the second circle. This should also be irrigated for seven minutes. Subsequently, the third circle should be irrigated.
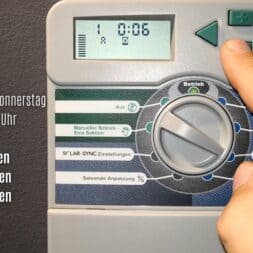
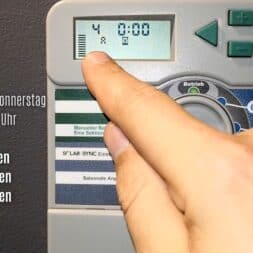
In my case, only six minutes because this area is somewhat smaller. Another click to the right shows us a 4 that has not been programmed.
Since I only have three irrigation circuits connected to my control computer, but it can handle four circuits, I just left the last circuit set to 0.
Thus nothing happens.
Video: Program Hunter X-Core
in the following video you can watch the programming step by step. On my Youtube channel you can find many more videos about garden irrigation and especially about the Hunter X-Core.
If you want to see more of me and my projects, feel free to check out my YouTube channel.

- HOHE DRUCK- & SCHLAGFESTIGKEIT: Das Schutzrohr weist eine hohe Schlagfestigkeit von 2kg/10cm und eine hohe Druckbeständigkeit von 750N/5cm auf und bietet dadurch eine hervorragende Stabilität und Trittfestigkeit.
- UNIVERSELL EINSETZBAR: Das Wellrohr eignet sich für die Verlegung auf und unter Putz, in Beton, in Estrichen, in Hohlwänden und Zwischendecken sowie auf Holz als auch für die Verlegung im Erdreich und Außenbereich.
- HOHE TEMPERATURBESTÄNDIGKEIT: Unser Elektroinstallationsrohr verfügt über eine hohe Temperaturbeständigkeit (dauernd) von -25°C bis hin zu +120°C und kann dadurch in vielen Bereichen Einsatz finden.
- FLEXIBEL & HOHE BIEGEFESTIGKEIT: Neben hoher Druck- und Schlagfestigkeit sind unsere Leerrohre flexibel und leicht zu verarbeiten. Sie besitzen eine hohe Biegefestigkeit und sind durch diese Eigenschaften leicht zu handhaben.
- HOCHWERTIGES MATERIAL & UV-BESTÄNDIG: Das Leerrohr besteht aus einem flammwidrigen Polyethylen mit hoher Dichte (PE-HD). PE-HD ist gegen nahezu alle Medien wie z.B. Alkohole, Fette, Mineralöle oder Kraftstoffe beständig. Dank dem zugesetzten UV-Stabilisator erreicht das Wellrohr eine UV-Beständigkeit von bis zu 120kLy und damit auch eine erhöhte Beständigkeit im Außenbereich.
- INTEGRIERTER ZUGDRAHT: Das Leerrohr ist mit einem integriertem Zugdraht ausgestattet, mit dem sich auch nach der bereits abgeschlossenen Installation Kabel leichter und unkompliziert einziehen lassen.
Program watering days
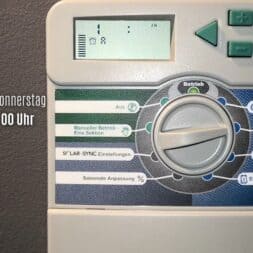
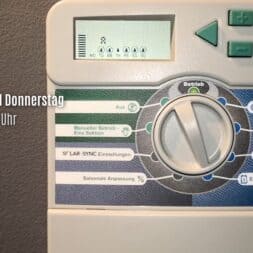
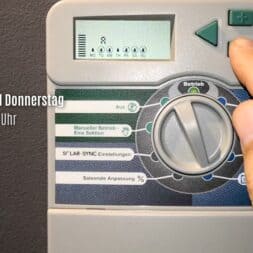
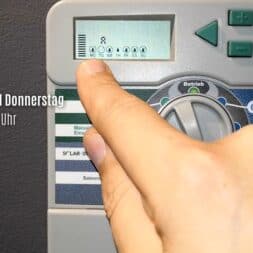
Now only the irrigation days are missing in which the program should be started. To do this, I switch to the Irrigation Days setting in the menu. In the menu you can see the days from Monday to Sunday which are executed in English.
Monday and Thursday have a raindrop as a symbol. Tuesday, Wednesday, Friday, Saturday and Sunday have a crossed-out raindrop as a symbol.
In this case, the program is to be started in my controller on Monday and Thursday morning at 6 o’clock. To change the watering days, I use the control pad again.
With the minus key I switch off the irrigation on this day and the cursor automatically jumps to the next day. If I press the minus key again, it changes to Wednesday.
Now, for example, if I want to sprinkle on Wednesday, press the plus button and the crossed-out raindrop turns into a normal raindrop.
In this case, therefore, irrigation would take place on Wednesday and Thursday respectively. Monday, Tuesday, Friday, Saturday and Sunday, however, not.
Solar Sync and seasonal adjustment
Thus, we have already made the date and time the start 6 am, the duration for each circuit, in minutes, and set the irrigation days. This completes the basic programming.
I will not go into the programming for seasonal adjustment or the solar sync setting here. There will be a second video about this and of course a separate blog entry.
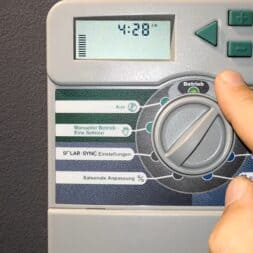
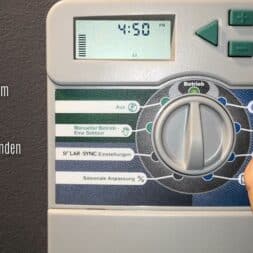
To let the control computer do its work now, I simply turn the wheel forward to “Operation”. 4:43 pm so evening or afternoon on Saturday.
The control computer will therefore only start to open the first circuit again on Monday early at 6:00.

- Mit der integrierten Quick-Response-Technologie kann der Hunter Rain-Click einen Controller befehlen, sich sofort abzuschalten, wenn es anfängt zu regnen
- Der Rain-Click kann an einer Traufe oder jeder flachen vertikalen Oberfläche wie einer Wand oder einem Zaun montiert werden
- Eine Dachrinnenhalterung ist ebenfalls erhältlich, die eine einfache Installation des Rain-Click am Rand einer Dachrinne ermöglicht
Start manual watering – 2 options
But now I may want to water the lawn outside the regular rhythm. I have two options for this. On the one hand, I can have a section that I have selected irrigated manually.
That would be the function “manual operation” Or I can start the complete program manually outside the programming.
Start individual sections manually
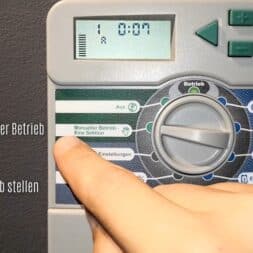
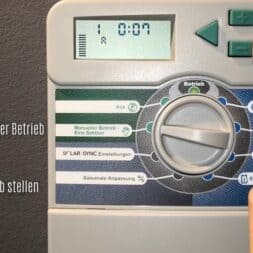
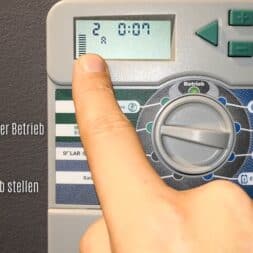
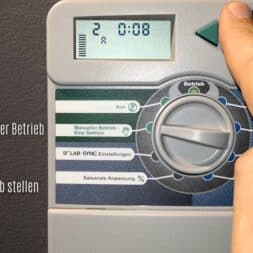
Let’s start with the manual operation of a single section. I want to manually irrigate Area 2, my second irrigation zone. To do this, I change the rotary switch to “manual operation”. You will see zone number 1 in the display with seven minutes to go.
These seven minutes takes over the control unit from our time programming.
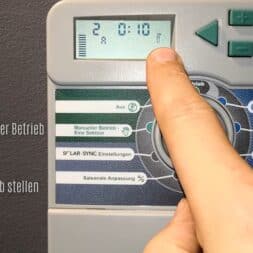
Now, however, I do not want to irrigate zone 1, but zone 2. Therefore, I switch to zone 2 and get seven minutes preallocated. This also follows from the standard programming. But now I need a longer irrigation period.
So I increase the whole thing to ten minutes and start the rhythm by turning the dial to the “Operation” mode.
You will see the “it is watering” icon in the display. By the way, this has no influence on the programming. The settings in manual mode do not overwrite the basic program.
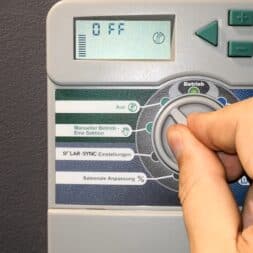
If the controller is turned to “Off”, the irrigation switches off.
Start entire program manually
However, if I want to irrigate not only a single sector, a single zone, individually outside the program, but run the entire program outside the programming times, I can do this quite easily.
I change the slider to “Operation” and press the cursor to the right for 3 seconds and can make settings here. For example, set the time up and down for each zone.
Zuletzt aktualisiert am 26. July 2024 um 04:31 . Ich weise darauf hin, dass sich hier angezeigte Preise inzwischen geändert haben können. Alle Angaben ohne Gewähr. (*) Bei den verwendeten Produktlinks handelt es sich um Affiliate Links. Ich bin nicht der Verkäufer des Produktes. Als Amazon-Partner verdiene ich an qualifizierten Verkäufen. Dein Preis ändert sich jedoch nicht.
Save data permanently in the X-Core
So that these settings do not disappear in the event of a power failure and simultaneous battery failure, I would like to save them directly in the device.
To do this, I switch to “Operation” and I press the Plus key and the PRG key simultaneously for 3 seconds. You will see a running symbol from left to right in the display.
In case of data loss or if all settings have been messed up, I can restore the programming by pressing the minus key and the PRG key simultaneously for 3 seconds.

- Das Set enthält Regnergehäse Hunter PROS-04-PRS40-CV und Hunter MP Rotator Düse zum Auswahl
- PRS40 - die beste Wahl für MP Rotator Düsen, 2,8 bar druckregulierter, Aufsteiger 10 cm (4"),
- Graue Kennungskappe für einfache Erkennung im Feld. Innovative, ausrichtbare Spülkappe
- MP Rotator - Präzise Beregnung mit beliebiger Einstellung von Teilkreis und Wurfweite (2,5 - 10,7m)
- Wurfweite kann bei allen Modellen um bis zu 25 % verringert werden.
ShortCuts of the Hunter X-Core irrigation computer
The Hunter X-Core irrigation computer offers numerous useful shortcuts that simplify the operation and programming of the device. These shortcuts provide quick access to special functions and settings. Here are the most important ShortCuts in detail:
List of key combinations:
- Total run time (Total Run Time):
- Buttons: [LINKS] + [PRG]
- Function: Displays the total watering time for the selected program.
- Test Program (Test Program):
- Buttons: [PRG] Hold for 3 seconds
- Function: Starts a short test cycle for all stations to check the functionality of the sprinklers.
- Simple recovery (Easy Retrieve):
- Keys: [PRG] hold + [+] to save
- Buttons: [PRG] hold + [-] to load
- Function: Restores the previously saved program settings.
- Total reset (total reset):
- Keys: [PRG] hold + [RESET]
- Function: Resets the Water Computer to the factory settings. All user-defined programs and settings are deleted.
- Run the program (Run Program):
- Buttons: [RECHTS] hold + [PRG] – select> program
- Function: Starts the selected watering program immediately.
- Programmable sensor compensation (Programmable Sensor Overdrive):
- Buttons: [MINUS] hold -> Switch to start times
- Function: Temporarily overrides the rain sensor to enable watering despite the sensor being switched off.
- Cycle and Soak:
- Buttons: [PLUS] hold -> Switch to runtimes -> [PRG]
- Function: Activates the cycle and soak function to divide watering into shorter intervals and thus improve water absorption.
- Delay between stations (Delay between Stations):
- Buttons: [MINUS] hold -> Switch to runtimes
- Function: Allows you to set a delay time between switching from one station to the next in order to protect the water pump.
- Solar Sync Delay (Solar Sync Delay):
- Buttons: [PLUS] hold -> Switch to Slolar Sync
- Function: Sets a delay for the Solar Sync Sensor to delay the adjustment of watering times based on weather data.
- Clik Delay (Clik Delay):
- Buttons: [PLUS] hold -> Switch to OFF
- Function: Sets a delay for the Clik sensors to delay the response to weather conditions.
These ShortCuts make using the Hunter X-Core irrigation computer more intuitive and efficient, allowing you to control the irrigation of your garden in the best possible way.

- Das Set enthält Regnergehäse Hunter PROS-04-PRS40-CV und Hunter MP Rotator Düse zum Auswahl
- PRS40 - die beste Wahl für MP Rotator Düsen, 2,8 bar druckregulierter, Aufsteiger 10 cm (4"),
- Graue Kennungskappe für einfache Erkennung im Feld. Innovative, ausrichtbare Spülkappe
- MP Rotator - Präzise Beregnung mit beliebiger Einstellung von Teilkreis und Wurfweite (2,5 - 10,7m)
- Wurfweite kann bei allen Modellen um bis zu 25 % verringert werden.
Alternatives to Hunter X-Core
In addition to the X-Core, Hunter also offers the more advanced Hydrawise irrigation computer, which is characterized by its networking capabilities and smart home integration.
The design of the Hunter Hydrawise includes a control panel with a touchscreen that enables intuitive navigation through the settings.
This computer can be controlled not only via direct input on the device, but also via an app, which enables remote access and control via the Internet.
In addition to the main control module, the Hydrawise also includes connections for several sensors that provide real-time data on weather conditions and soil moisture.
This data enables the Hydrawise to automatically adjust irrigation cycles to save water and optimize plant health.
Both systems, the X-Core and the Hydrawise, use solenoid valves to regulate the flow of water to the irrigation zones.
These valves are controlled by electrical signals sent from the computer based on the programmed irrigation schedules or information from the connected sensors.
The robust design of both models ensures durability and reliable performance, even under difficult environmental conditions.
I could also imagine installing a Hunter Hydrawise control computer in the future. This smart irrigation computer is compatible with the connections of the Hunter X-Core and can be easily replaced.

- Intelligente Beregnung basierend auf lokalen Wetterbedingungen mit vorausschauender Anpassung
- Verwenden Sie die App als Fernsteuerung für erhöhte Effizienz
- SMS-Warnmeldungen
Excel irrigation schedule and useful links
To make programming a little easier for me, I copied an irrigation matrix, a schedule, from the professional section. Under the following link you will find an Excel table which you are welcome to use for your own private purposes.
Please note that I can not take any liability for the file.
An official operating manual for the Hunter X-Core is available for download as a PDF from Hunter.
Summary and conclusion
In this article, I will focus on the programming of the Hunter X-Core.
The Hunter X-Core is a central component of efficient garden irrigation systems and offers flexible solutions for the automatic control of up to eight irrigation zones.
The models feature customizable watering schedules, connections for rain sensors and options for seasonal adjustments. They support the connection with weather stations to automatically stop watering when it rains.
The design of the Hunter X-Core includes an LCD display for easy menu navigation and a control module that connects to the solenoid valves that regulate the water supply.
The device has an integrated power supply and some models also have an additional battery.
Programming includes setting the time and date, start times and the watering duration for each zone.
I also explain how to set the irrigation days and make optional settings such as manual irrigation.
Dieser Beitrag ist auch verfügbar auf:
English
Deutsch


