Expand and extend gabion wall on slope | slope stabilization | raised bed
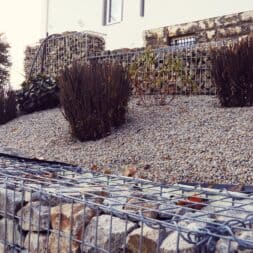
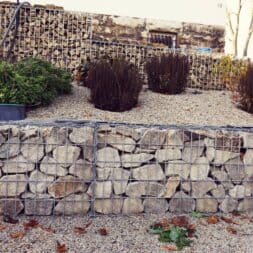
The small slope below the parking lot was secured with a gabion wall last year. I created a raised bed between the wall of stone baskets and the parking lot and planted the first plants.
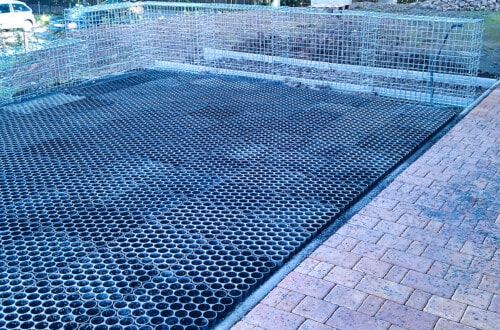
The raised bed has an automatic watering system and is additionally secured with a honeycomb fleece.
The area in front of the office now looks tidier and cleaner than before. Our visitors are offered a much more beautiful picture. The slope was also secured against slipping with the stone baskets.
In this article I describe how I extended the existing gabion wall with an additional stone basket.
Review: From slope to chic raised bed
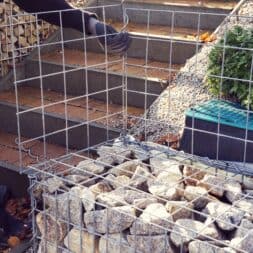
As I still had a stone basket left over, I wanted to integrate it into the existing gabion wall in a visually appealing way. The stone baskets consist of individual grids and the connecting spirals, which makes it possible to combine them as desired.
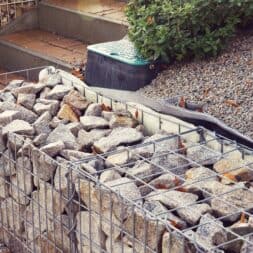
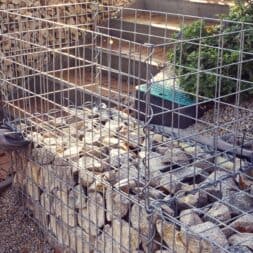
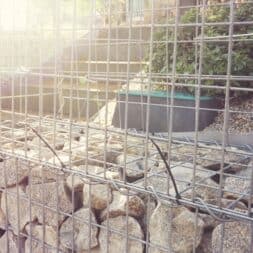
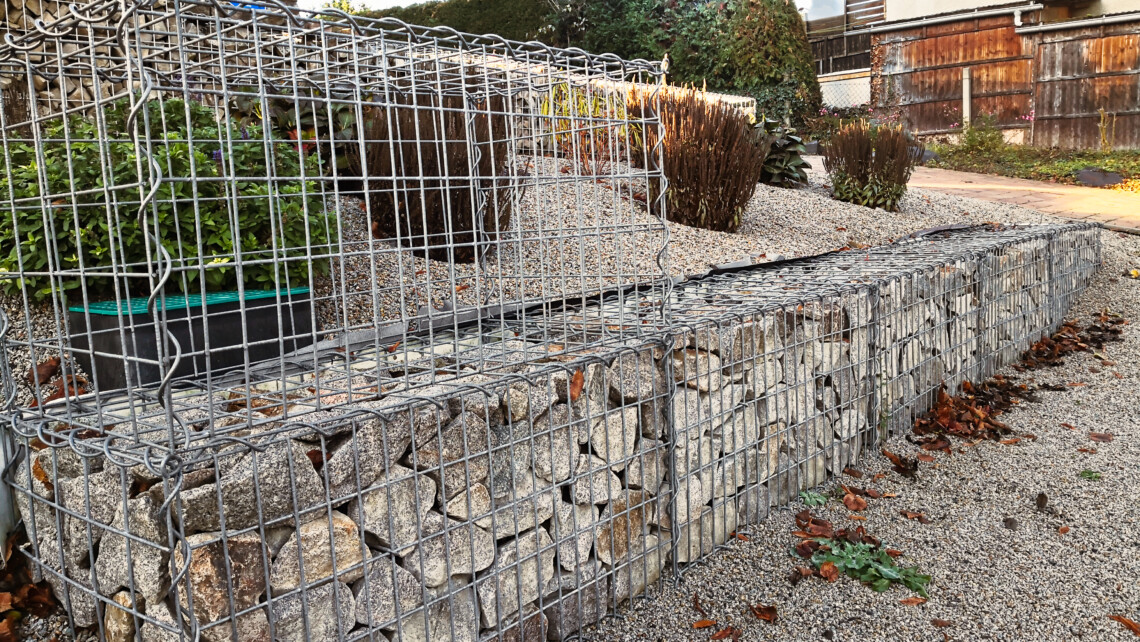
I found it ideal to place the new basket flush left on the existing slope protection.
This resulted in a beautiful finish to the garden steps made of paving stones, which are located on the slope. I described the construction of my garden staircase in the article“A paving stone staircase is built into the slope to the parking lot“.
The new stone basket not only blended harmoniously into the existing structure, but also offered functional advantages.
By placing the stone basket here, the path to the garden steps was now more clearly demarcated, providing a clearer structure and better orientation in the garden.
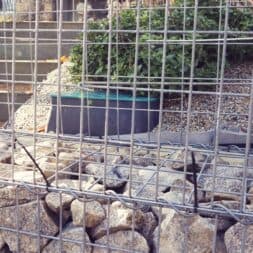
The stone basket also provided additional privacy for my valve box, which was right behind it. The valve box was therefore no longer directly visible, which benefited the overall appearance of the garden.
This integration also helped to stabilize the slope and additionally reinforced the existing gabion wall.

- Gabionenkorb * Breite 1000 mm * Höhe 500 mm * Tiefe 500 mm
- Frontgittergröße 1000 x 500 mm * Maschenweite 50 x 100 mm * Drahtstärke 4,5 mm
- Maschenweite der restlichen Gitter 50 x 100 mm * Drahtstärke 4,5 mm
- Verbindungsart * Spiralverbindung
- Ausführung Galfan (95% Zink, 5% Alu)
Video: Extending slope stabilization with gabions
I recorded the removal of my gabion wall for slope stabilization in a video and published it on my YouTube channel.
You can find my videos about gabions in my playlist slope protection with gabions in the garden.
If you want to see more of me and my projects, feel free to check out my YouTube channel.
Zuletzt aktualisiert am 25. April 2025 um 02:48 . Ich weise darauf hin, dass sich hier angezeigte Preise inzwischen geändert haben können. Alle Angaben ohne Gewähr. (*) Bei den verwendeten Produktlinks handelt es sich um Affiliate Links. Ich bin nicht der Verkäufer des Produktes. Als Amazon-Partner verdiene ich an qualifizierten Verkäufen. Dein Preis ändert sich jedoch nicht.
Gabions for slope stabilization: optimum stability and durability
Gabions, also known as stone baskets, are a popular method of slope stabilization and offer both functional and aesthetic benefits.
These constructions consist of wire mesh baskets filled with stones to stabilize slopes and prevent erosion. The choice of material and strength of the gabions plays a decisive role in their durability and effectiveness.
Durability of a gabion wall
The durability of gabions depends largely on the quality of the material used and the wire thickness.
Gabions with a wire thickness of 4.5 millimetres are more robust and more resistant to mechanical loads such as pressure and impact.
They offer a longer service life compared to gabions with a wire thickness of 3.5 millimetres, which tend to show signs of wear more quickly.
The use of high-quality, corrosion-resistant wire, such as galvanized steel, is crucial to protect the structure from weathering and rust.
Gabion materials and thickness
Gabions can be made from a variety of materials, including galvanized steel, PVC-coated steel and stainless steel.
Each material has specific properties that make it suitable for certain environments and requirements.
Galvanized steel offers a good balance between cost and durability, while PVC-coated steel provides additional protection against corrosive environments.
Stainless steel is the most durable option, especially recommended in salty or chemically aggressive environments.
Advantages of gabions
Gabions offer numerous advantages: they are flexible, permeable and environmentally friendly.
Their flexibility allows them to adapt to natural ground movements without losing their structural integrity.
The permeability helps with natural water drainage, which reduces the hydrostatic pressure behind the wall.
They also blend harmoniously into the landscape and promote biodiversity, as they provide habitats for various animal species.
Disadvantages of gabions
Despite their advantages, gabions also have disadvantages.
They can be labor-intensive to install and require careful handling to avoid damage to the wire mesh.
The aesthetic effect can vary and is highly dependent on the type of filling and the construction method.
To reduce these disadvantages, it is important to hire qualified specialists for the installation and to use high-quality materials. The choice of aesthetically pleasing filling materials such as natural stone can also improve the appearance.
In summary, gabions are an effective and sustainable solution for slope stabilization.
By selecting the right materials and wire gauges, their service life and functionality can be maximized, while potential disadvantages can be minimized through careful planning and execution.
Zuletzt aktualisiert am 25. April 2025 um 03:16 . Ich weise darauf hin, dass sich hier angezeigte Preise inzwischen geändert haben können. Alle Angaben ohne Gewähr. (*) Bei den verwendeten Produktlinks handelt es sich um Affiliate Links. Ich bin nicht der Verkäufer des Produktes. Als Amazon-Partner verdiene ich an qualifizierten Verkäufen. Dein Preis ändert sich jedoch nicht.
Opening the old gabion wall – installing new grids
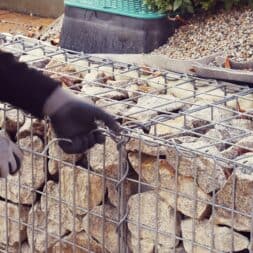
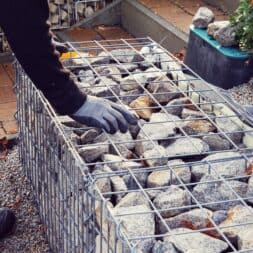
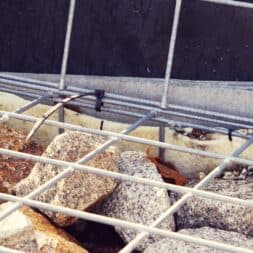
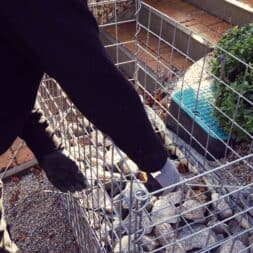
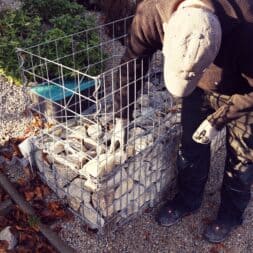
To connect the new stone basket to the existing gabion wall, I first had to remove the spirals from the lower stone basket and take off the lid.
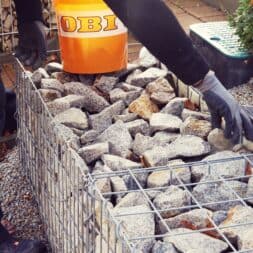
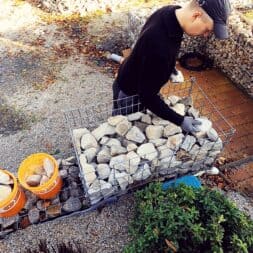
I then filled the upper part of the old gabion baskets with smaller stones and some gravel. This allowed the stones in the second basket to lie flat on the stones in the first basket. This method ensures a stable and even base for the new basket.
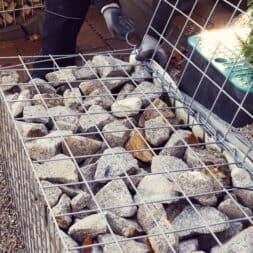
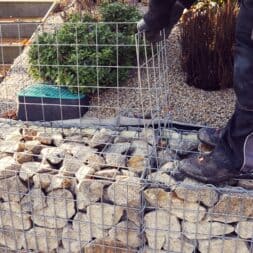
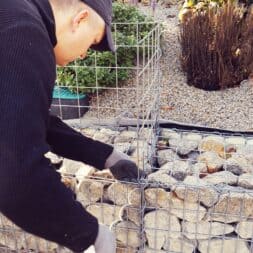
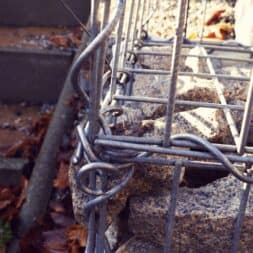
I then put the lid back on and placed the back wall of the new stone basket. I then used the spiral to connect all three grids together. It was important to make sure that the grids were as close together as possible to ensure a stable connection.
As the grids were not always perfectly aligned, twisting in the spirals was not always easy.
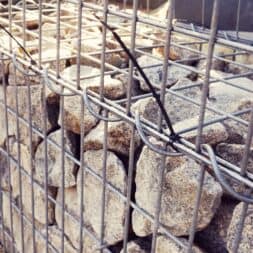
I therefore fixed the grilles with cable ties beforehand, which made it easier to screw in the spiral. This method proved to be very effective, as the cable ties held the grids in position, making it easier to screw in the spirals.
As soon as the metal spiral was placed on the gabion grids, I removed the cable ties again.
After the rear wall, I fitted the side walls and finally the front grille with the narrow mesh in the same way.

- ✔ Hochwertiges Geotextilvlies/Drainage- u. Filtervlies 150g/m² - Profi Qualität - MADE IN GERMANY
- ✔ MATERIAL: Qualitätsvlies aus 100% Polyester, SPEZIELL FÜR DEN AUSSENBEREICH - äußerst strapazierfähig
- ✔ EIGENSCHAFTEN: sofort wasserdurchlässig, UV-Stabil, reißfest, verrottungsfest, beständig gegen Bitumen + Folien, atmungsaktiv, metallfrei (detektorgeprüft)
- ✔ EINSATZBEREICH: Drainage- und Filtervlies im GaLa-Bau: für Wege-, Pflaster- u. Terrassenbau, Dachbegrünung, Wärmespeicher für Beete und Gewächshäuser, Steingärten, Schutz unter Teichfolien, WINTERVLIES: Schutz vor Frost und niedrigen Temperaturen
- ✔ ANGEBOT: 300g (bohrbar), 300g, 500g, 1000g / 2m-Breite/ Groß-Mengen
Spacers and granite stones for the gabion
After I had positioned the new stone basket, I was able to install the spacers.
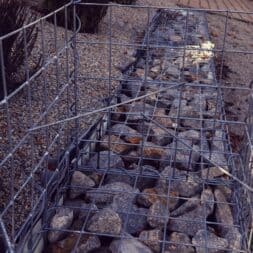
These are important to prevent the stone basket from bulging. As this gabion is free-standing, I positioned the spacers across the corner to ensure that none of the four side rails bulge out.
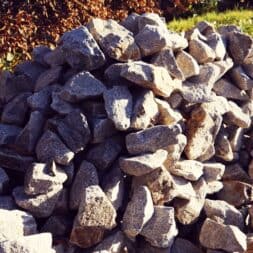
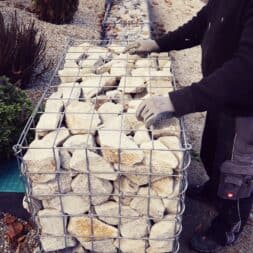
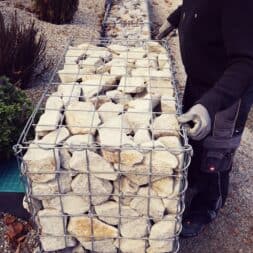
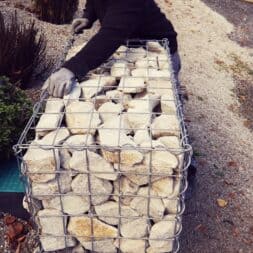
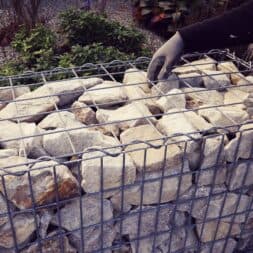
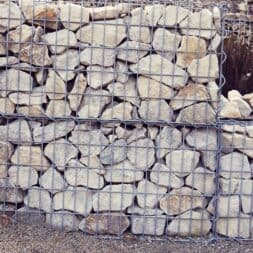
After assembling the basket, I filled it with stones. As before, I also used 80 x 120 granite stones here. I positioned the stones on the outside so that they looked visually appealing.
Granite stones are ideal for installation in gabions. They are extremely robust and resistant to the effects of the weather, which ensures a long service life.
In addition, granite stones have a natural beauty and uniform color that give the gabion wall an elegant appearance. Granite is also heavier than many other stones, which provides additional stability and minimizes the risk of slipping.
Another advantage of granite stone is its low water absorption capacity. In contrast to other stones, which absorb water and can be damaged by frost, granite stones remain intact and thus ensure the lasting stability of the gabion.
Finally, I mounted the lid on the filled stone basket and secured it with the spirals.
The gabion wall is very stable and has reliably secured the slope for several years now. Visually, I also like the wall very much. The use of granite stones has proven to be particularly advantageous, as they are not only functional but also aesthetically pleasing.

- 830mm x 1050mm Gabionen von Zaunbau Gortner
- Gabionenzaun
- Zaun und Gabionensysteme
- Steinmauer
Summary and conclusion
Last year, I secured the slope below the parking lot with a gabion wall and created a raised bed between it and the parking lot.
This raised bed, equipped with automatic irrigation and additionally secured by a honeycomb fleece, has visually enhanced the area in front of our office and now offers our visitors a more appealing image.
In addition to the aesthetic improvement, the gabion also provides effective slope stabilization.
As I had a surplus stone basket, I integrated it flush left into the existing gabion wall, which created a harmonious transition to the garden steps made of paving stones.
The stone baskets, which consist of individual grids and connecting spirals, were easy to combine.
To give the free-standing gabion additional stability, I installed spacers to prevent the side rails from bulging out.
After assembly, I filled the basket with 80 x 120 granite stones, which I positioned in a visually appropriate way, especially on the outer sides.
Finally, I fitted the cover and secured it with spirals, which makes the gabion wall very stable and has reliably secured the slope ever since.

- Schneidleistung bis 48 HRC Härte
- Robuste Schneiden zusätzlich induktiv gehärtet, Schneidenhärte ca. 62 HRC
- Angeschmiedeter Anschlag mit komfortablem Dämpfer
- Gute Zugänglichkeit durch sehr flachen Kopf- und Gelenkbereich
- Schenkel ergonomisch abgewinkelt für ermüdungsarmes Arbeiten
Dieser Beitrag ist auch verfügbar auf:
English
Deutsch


