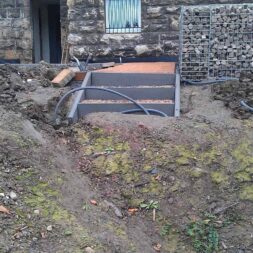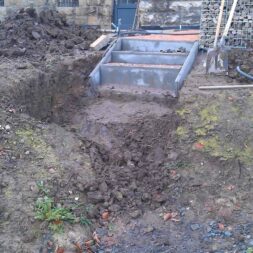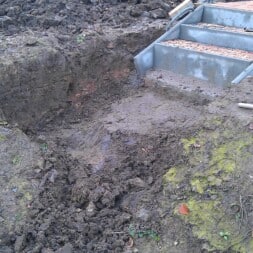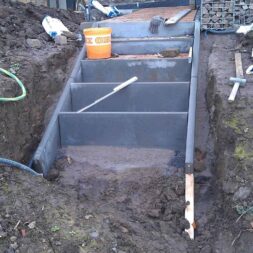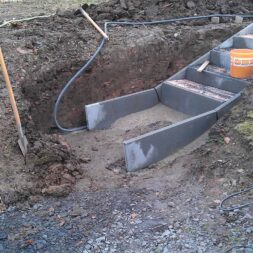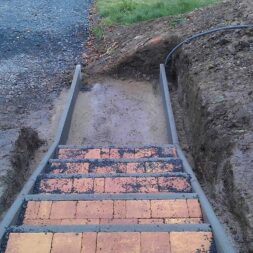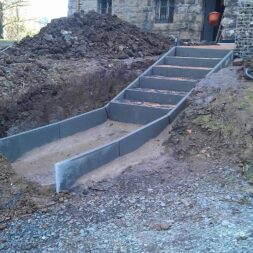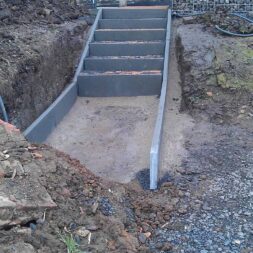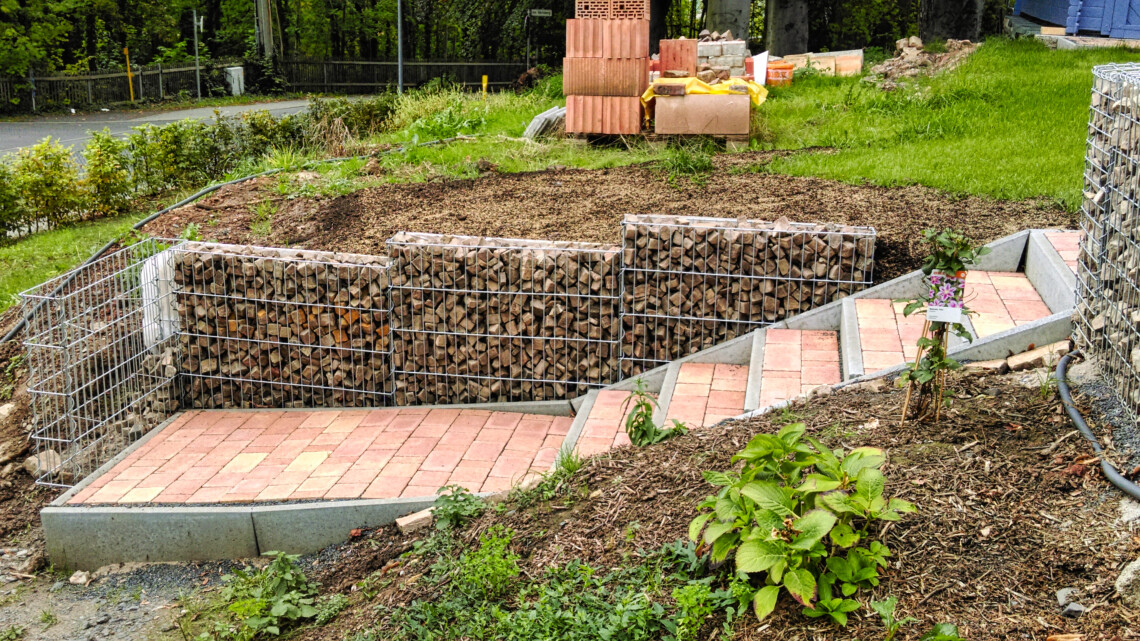
A paving stone staircase is built into the slope leading to the parking lot
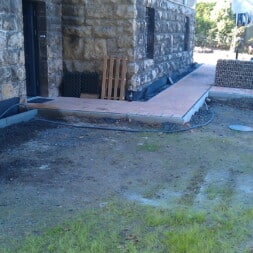
The stairs for the slope in front of our house are finally being tackled. The path from the parking lots will be much shorter in the future with a staircase made of old town cobblestones, which I will build directly into the ground. But first I have to excavate the slope and lay concrete kerbs.
Why build stairs into the slope?
A week’s vacation is over, and in addition to the excursions, we can also look back on considerable progress on our construction site.
The basement foyer and the office are partially resplendent with new plaster and fresh paint. But we have also achieved a lot in the outdoor area.
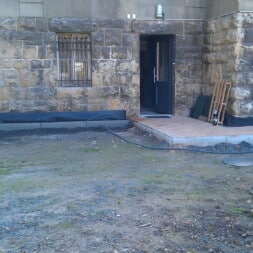
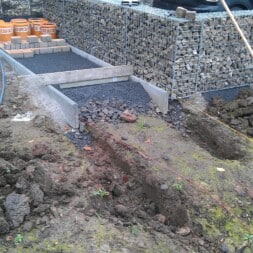
The kerbs along the house wall, which visually delineate the sidewalks, now extend from the east side to the middle of the south side of the house. The cobblestone path from the driveway runs parallel to the house to the basement door, where the customer office is also located.
We are planning a new staircase to shorten the route from the parking lots below the slope. This gives customers and residents direct access from the parking lot to the basement without having to take a detour via the driveway.
The staircase has to overcome the approximately two-meter-high slope and must be both stable and safe. We are also aiming for an appealing visual effect, so we plan to design the stairs with the same paving stones that were already used for the walkways.
Appropriate safety measures are required to prevent the earth to the left and right of the stairs from slipping. So there are some important aspects to consider.
Old town pavers for the garden stairs
The original plan was to use old town paving stones for the new staircase. However, these stones are available in different designs and it was important to us that the new staircase should also be designed in an orange color.
After making enquiries at the local building materials dealer, we took a look at the large steps from RINN, which had the perfect dimensions and the desired color.
However, we found that the concrete steps, measuring 100 x 15 x 40 centimeters and weighing over 100 kg, were clearly too unwieldy to install on our own without a lifting device.
In addition, the price for the small staircase was well over EUR 1000.00, which was not justifiable for us.
In the end, we decided to stick with our original plan and build a garden staircase with paving stones from RINN and concrete kerbs.
Zuletzt aktualisiert am 24. November 2025 um 21:47 . Ich weise darauf hin, dass sich hier angezeigte Preise inzwischen geändert haben können. Alle Angaben ohne Gewähr. (*) Bei den verwendeten Produktlinks handelt es sich um Affiliate Links. Ich bin nicht der Verkäufer des Produktes. Als Amazon-Partner verdiene ich an qualifizierten Verkäufen. Dein Preis ändert sich jedoch nicht.
Video – Building garden steps with paving stones on a slope
After all the work, it’s always worth taking a look at the past and getting an idea of what the Art Nouveau villa looked like before the renovation.
You can find more videos in the My construction projects playlist
But you are also welcome to take a look at my YouTube channel.

- Zum Herausnehmen und Versetzen von Verbund- sowie Pflastersteinen
- An Werktagen vor 12 Uhr bestellt, innerhalb von 0 bis 1 Werktag versendet!
- stufenlos verstellbar
- Deutscher Hersteller
- Spannbereich von ca. 10 - 610 mm. Inkl. Federstahlklingen, Federstahlklingen auswechselbar
The path to the new garden stairs is paved
As always with such projects, we started with surveying and planning.
To determine the dimensions for the stairs and the correct angle, I first had to finish the paving stone path behind the single parking space right up to the edge.
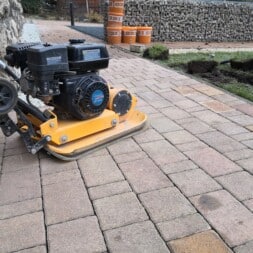
As the kerbs were already in place, all I had to do was fill in the chippings and remove them. I was then able to lay the stones and secure them with the vibrating plate.
This way I had my starting point for the staircase and could think about where exactly it should run and how steep the angle should be.
Measure and align garden stairs
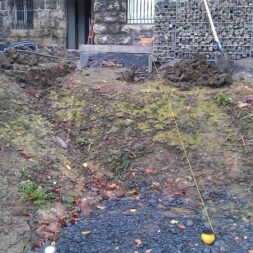
With my starting point and the planned end point, I was able to determine the alignment of the stairs and the required angle. However, it was still crucial to determine the correct number of steps.
The steps should have a standardized height of 15 centimeters and a usable tread surface of 35 centimeters deep. This corresponds to about two rows of paving stones including kerbstones and joints.
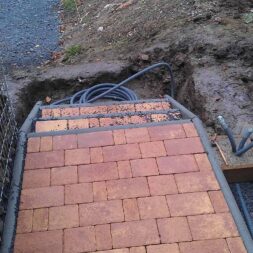
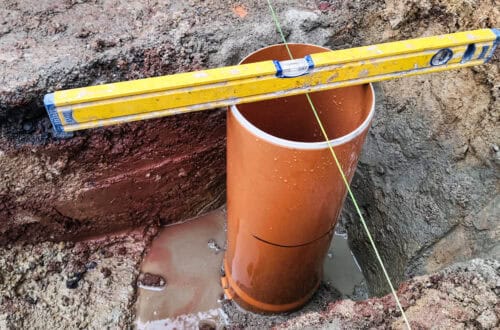
In addition to the stairs, I decided to lay a large empty conduit to be prepared for possible future cabling.
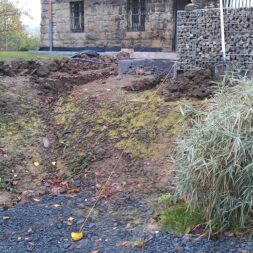
Aligning the alignment lines was quickly done, and I was looking forward to starting digging out half the slope during my vacation week.
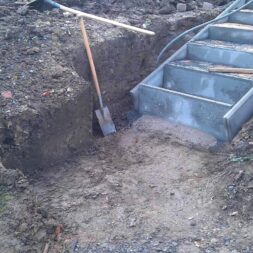
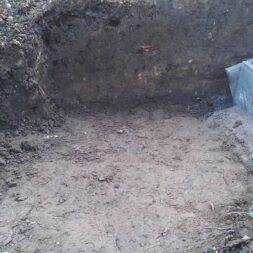
The cold, wet weather didn’t make digging in the clay soil any easier, of course, but I was determined to get the job done.

- Plattengröße: 540 x 420 mm / Hohe Vorlaufgeschwindigkeit – zur Erhöhung der Arbeitsleistung
- Verdichtungsdruck: 23000 N / Leistungsstarker 5,6 PS Motor
- Inklusive Fahrvorrichtung, zum Transport auch durch eine Person
- Inklusive schwarzer Gummimatte für Pflasterarbeiten
- Automatischer Vorlauf – erlaubt dem Anwender dennoch problemlosen Eingriff in die Bewegungsrichtung
Building garden stairs with concrete curbs
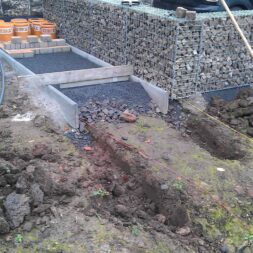
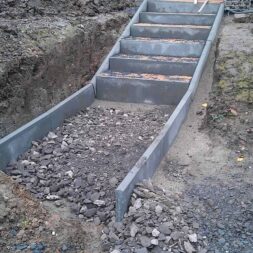
Contrary to the usual procedure, I started building the garden staircase at the top end. I made this decision because I was able to connect the stairs directly to the finished walkway and had enough space at the bottom.
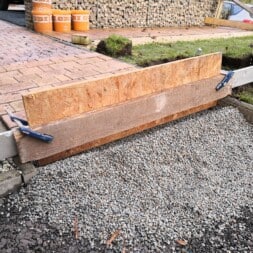
After I had dug out the first few meters, I started setting the kerbs. I first measured the step height of 15 centimetres as well as the thickness of the paving stones and the leveling chippings and placed the next shelf at this height.
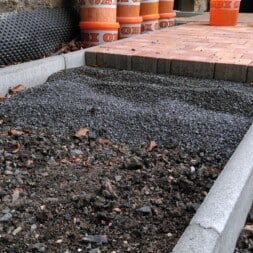
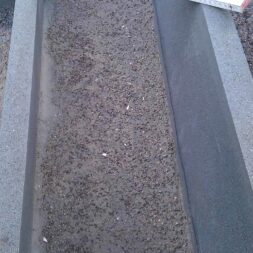
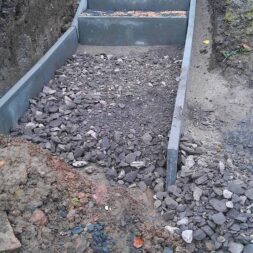
To ensure a solid attachment, I decided not to use the usual 25-centimeter-high concrete kerbs, but 30-centimeter-high concrete lawn edging. I placed these using a sufficient amount of concrete, but not too much to leave room for the paving stones.
I then added an adjoining shelf to the left and right to give the staircase the necessary stability.
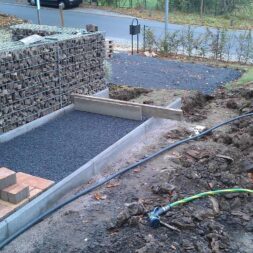
I integrated small drainage channels at the corners to prevent stagnant water from forming in the trough-shaped construction.
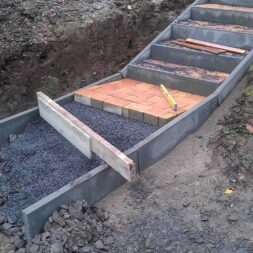
The whole area was then filled with chippings, leveled and the paving stones laid.
Interestingly, the top step is slightly crooked. However, as I had already installed a slight slope in the upper walkway to allow rain and snow to run off, this was unavoidable.

- Winkelschleifer mit sehr robustem Gehäuse für den harten Baustelleneinsatz
- Kompakter, flacher Getriebekopf für höhere Schnitttiefe
- mit Anlaufstrombegrenzung verhindert ungewolltes Anlaufen nach Sapnnungsunterbrechung
- Arbeit: Schleifen mit Schleifblatt 2.5 m/s²
A platform for the garden stairs
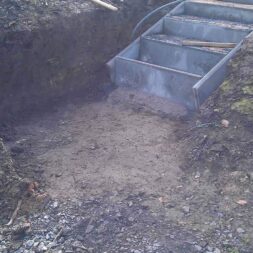
Bit by bit, I made slow but steady progress. I dug my way through the wet and loamy earth into the slope.
Originally, 11 stages were planned. But after some deliberation, I decided to dispense with the last or first step and build a larger landing at the bottom instead.
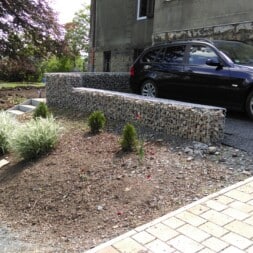
This decision enabled me to stabilize the slope on the south side more effectively with a retaining wall.
The platform should be slightly sloping to ensure a step height of approx. 15 cm when the two parking spaces are completed later.

- 830mm x 1050mm Gabionen von Zaunbau Gortner
- Gabionenzaun
- Zaun und Gabionensysteme
- Steinmauer
- Hält bis zu 1,5x länger als eine Bosch Eco for Universal Trennscheibe
- Äußerst effizient für Bauarbeiter: Lange Lebensdauer
- Mit 22,23 mm Bohrungsdurchmesser für Standard Winkelschleifer mit Spannmutter
- Zum Schneiden verschiedener Baumaterialien, z. B. Stein, Ziegel, Stahlbeton und anderer gängiger Baumaterialien und Verbundwerkstoffe
- Lieferumfang: PRO Multi Material Diamanttrennscheibe, 230 x 22,23 mm
Result and conclusion
The construction progress can be clearly seen in the pictures.
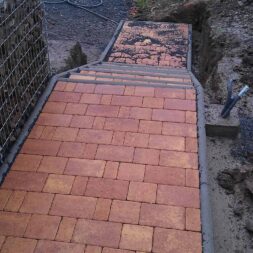
Once all the stones had been laid, I went over the top of the path and the bottom of the small platform again thoroughly with the vibrating plate to compact the stones.
I used a board and a hammer to press the stones in the steps into the laying gravel to stabilize them and bring the tread surface to an even height.
To finish, I generously spread and swept in chippings to close the joints.
Although not everything is perfect, once the sides have been clad and the large parking space has been completed, only the treads will be visible – and they look really smart!
Zuletzt aktualisiert am 24. November 2025 um 21:18 . Ich weise darauf hin, dass sich hier angezeigte Preise inzwischen geändert haben können. Alle Angaben ohne Gewähr. (*) Bei den verwendeten Produktlinks handelt es sich um Affiliate Links. Ich bin nicht der Verkäufer des Produktes. Als Amazon-Partner verdiene ich an qualifizierten Verkäufen. Dein Preis ändert sich jedoch nicht.
Dieser Beitrag ist auch verfügbar auf:
English
Deutsch


