-
Dreame A1 Pro in test – Cordless robotic lawnmower without boundary wire & RTK
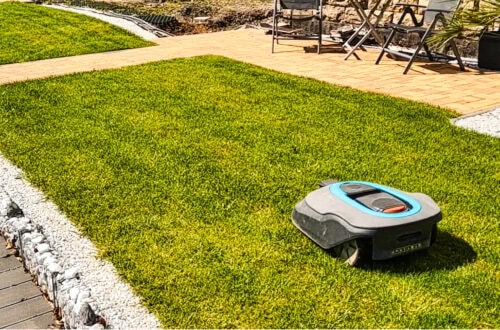
The Dreame A1 Pro robotic lawnmower is a wireless robotic lawnmower without a boundary wire, RTK or external antennae – and I was able to test it extensively for several weeks. In this article, I will show you how the Dreame A1 robotic lawnmower with LiDAR navigation, app control and intelligent obstacle detection works, where its strengths lie and where there is still room for improvement. All the technical data, my everyday experiences and a detailed comparison with other robotic lawnmowers – now in the full test report.
-
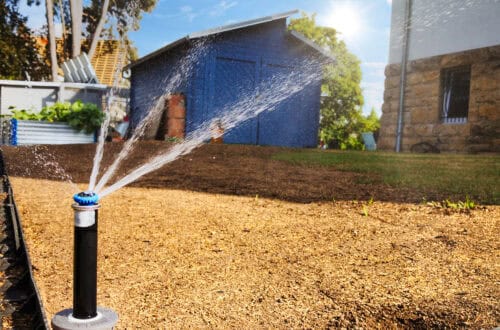
6 Hunter pop-up sprinklers for optimum lawn irrigation in the test
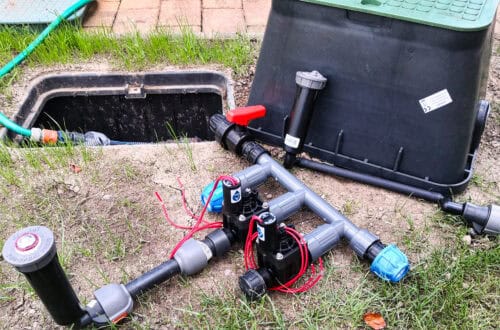
Hunter pop-up sprinklers, geared sprinklers and MP Rotators compared in practice: In this article, I show you which sprinklers have proven themselves in my garden – from classic Hunter geared sprinklers such as the I-20 and PGP Ultra to the compact PGJ and pressure-regulated PRS40 housings with MP Rotator nozzles. I share my experiences from daily use, compare the models with each other and give tips on planning efficient lawn irrigation. If you want to optimize your garden irrigation, you will find lots of helpful information here – including direct recommendations and a clear comparison table.
-
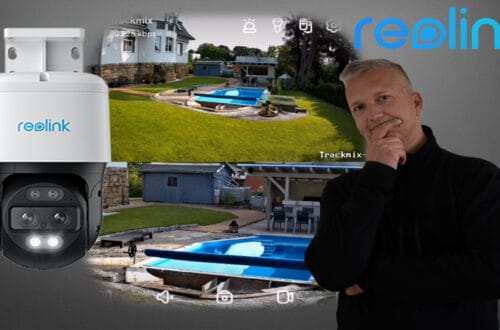
180° surveillance test: These 4 Reolink cameras secure your home seamlessly
Reolink 180-degree cameras in the test: I tested four current models with dual-lens technology – the Argus 4 Pro, Duo 3 PoE, Duo 3 WiFi and Duo 3V PoE. The focus was on 180° field of view, image quality, night vision, WLAN vs. PoE, motion detection and smart home functions. The article shows which Reolink surveillance camera is really convincing, what is important when buying and which solution is best suited for which environment. All cameras were installed, tested in everyday use and linked to the Reolink app. The test provides real experience – compact, practical and with a clear recommendation.
-
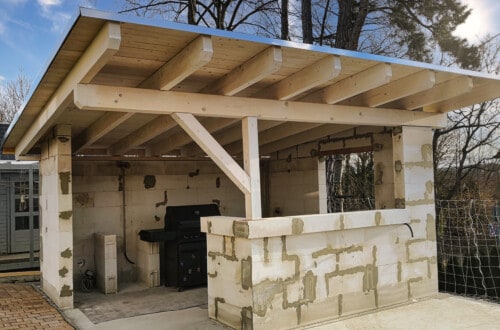
Permanently installing the sizzle zone of the Napoleon gas barbecue in the outdoor garden kitchen
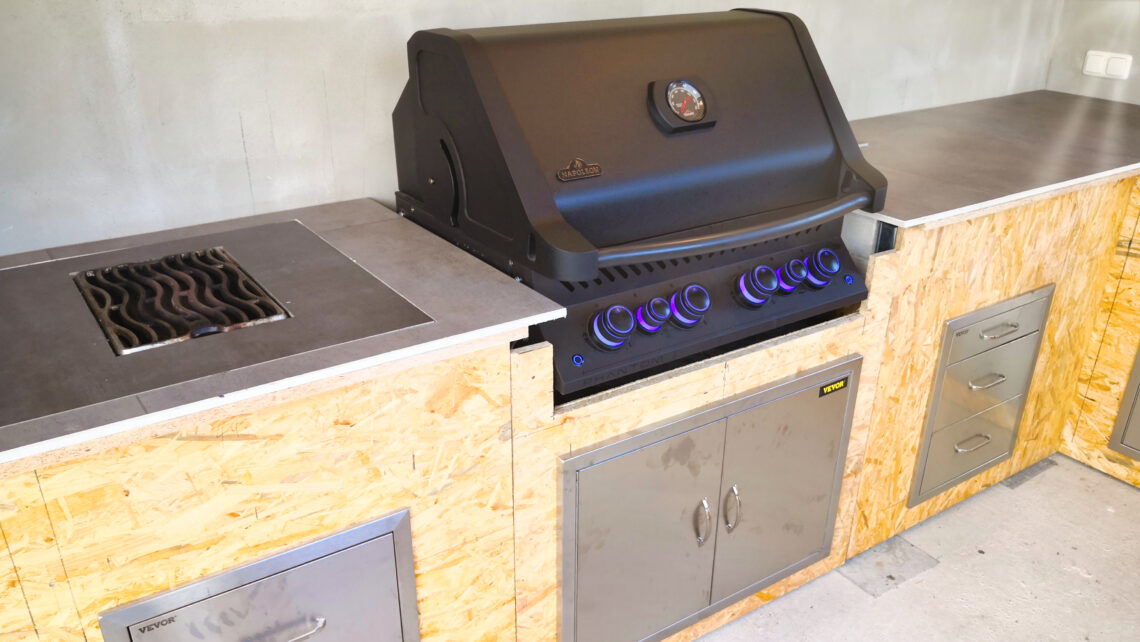
The Napoleon PHANTOM P500 is a powerful gas barbecue – and with the built-in sizzle zone it becomes the centerpiece of my outdoor kitchen. In this post, I’ll show you how I removed the sizzle zone, integrated it into the worktop and permanently installed the grill body in the kitchen unit. From the gas connection to the power supply to the porcelain stoneware tiles, I document the complete conversion step by step – including all solutions for heat, grease, ignition and dismantling.
-
Integrate Reolink camera into the network – WLAN & PoE step-by-step guide
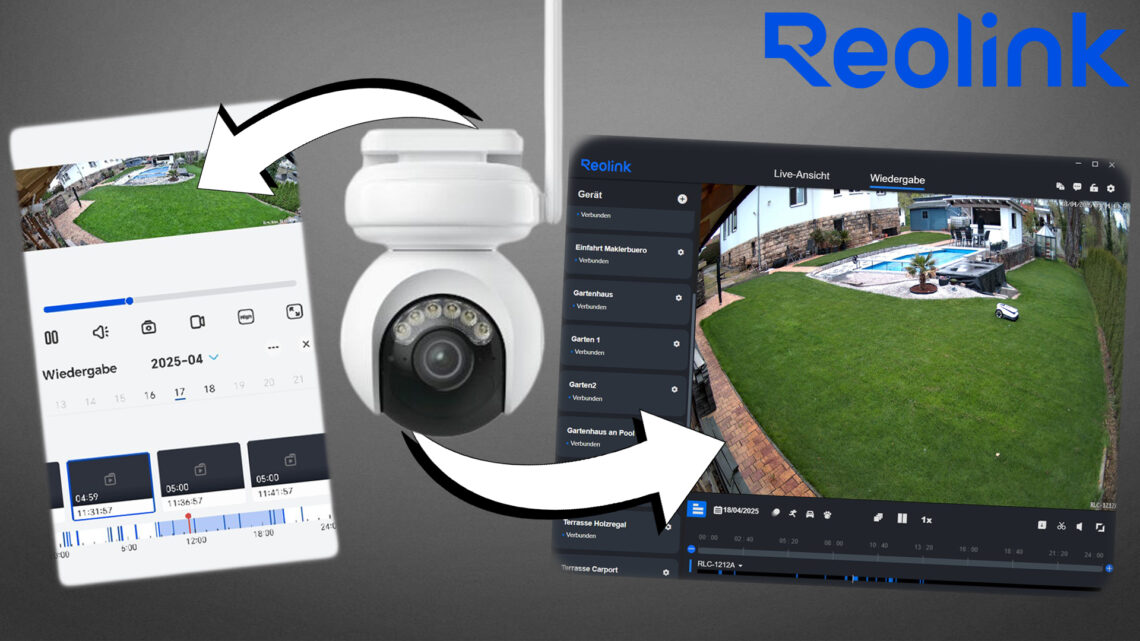
Reliably integrating Reolink IP cameras into the network, setting up PoE and WLAN models and managing them with the Reolink Client and the Reolink app – that’s exactly what this article is about. Step by step, I’ll show you how I integrated a wired Reolink Elite X Pro PoE camera and a Reolink Altas WLAN battery camera into my home network. I also provide troubleshooting tips and advice on how to optimize your WLAN connection. All processes are based on practical experience and are explained in such a way that they are easy and safe to set up.
-
Anthbot Genie robotic lawnmower in test: Perfect lawn mowing without cables?
A robotic mower without boundary wire, equipped with RTK navigation, GPS, camera and intuitive app control – that’s exactly what the Anthbot Genie 600 offers. In this article, I’ll show you how the model works in my garden, what you need to bear in mind when setting it up, setting it up and mapping it, and how the robot performs in everyday life. I will go into the scope of delivery, technical data, zone management, edge cutting, AI functions and firmware development. There are also comparisons, recommendations and honest feedback from the field.

