Preparing Your Robotic Lawn Mower for Winter: Properly Storing the Battery, Charging Station, and RTK for the Winter
To me, winterizing a robotic lawn mower means more than just turning it off and storing it away. Using the ANTHBOT M9 PRO as an example, I’ll show you how I clean it, change the blades, and care for the battery so the robotic lawn mower can stay protected over the winter. I’ll also address the questions that come up every year: Does the charging station need to be dismantled? Does the RTK antenna stay outside? And when does the battery need to be recharged? I’ll explain my approach, highlight differences compared to other models, and show what I look out for when storing it for the winter and when starting it up again in the spring.
Preparing Your Robotic Lawn Mower for Winter—A Step-by-Step Guide
- Choose the right time: Keep an eye on the weather and lawn growth. Complete winter preparations on a dry day before the frost sets in.
- Give the lawn one final mowing: Don’t mow the grass any shorter than necessary. For me, it was four centimeters.
- Turn off the robot: End the mowing job, remove the unit from the charging station, and turn it off completely.
- Clean the underside: Remove grass clippings with a brush. Use water only on equipment designed for this purpose; do not use a high-pressure washer to avoid injury.
- Inspect the blades and components: Remove old blades, clean the blade holders, and check the wheels, sensors, and charging contacts.
- Allow to dry completely: Remove any residual moisture from the gaps. Then install the new blades using the appropriate new screws.
- Prepare the battery: Charge the M9 PRO to over 80 percent. For other models, different charge levels and intermediate charges may be necessary.
- Disable the theft alarm: On the M9 PRO, turn it off before storing the device, then turn the device off completely.
- Prepare the charging station: Clean it and protect the connections. My M9-PRO station stays outdoors without power; mark its position and orientation when taking it down.
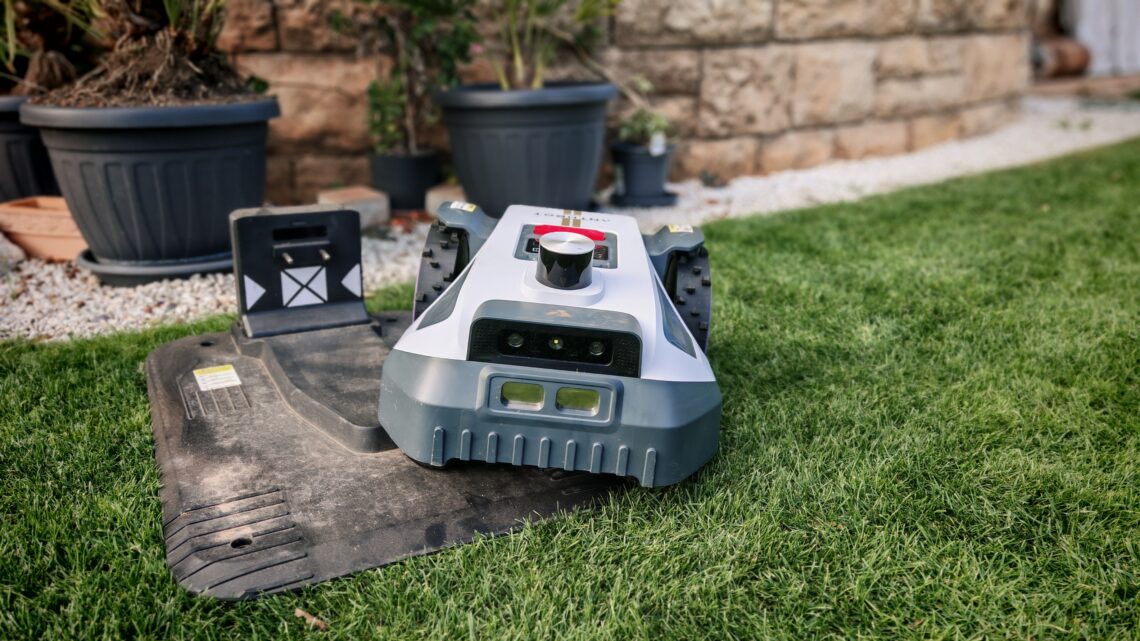
- Check the RTK antenna: Disconnect the power supply and protect the connections. When removing the antenna, document its exact mounting position.
- Store safely: Place the clean, dry robot in a frost-free location where it is stable and does not block any walkways.
- Check the spring startup: Inspect the installation, battery, blades, and settings. Then, verify the boundaries and the return to the station during a supervised test run.

- HOLOSENSE 4-IN-1 NAVIGATION – OHNE BLINDE FLECKEN: Schluss mit Orientierungslosigkeit. Durch die Fusion von 360° LiDAR, RTK/NetRTK und Dual-Vision garantiert dieser Mähroboter ohne Begrenzungskabel eine 1 cm genaue Positionierung. Ob unter dichten Bäumen oder in engen Gassen – unser System navigiert in 99 % aller Gärten absolut zuverlässig und blindpunktfrei, wo herkömmliche Mähroboter mit GPS oft scheitern.
- PLUG & PLAY: 3-MINUTEN-SETUP: Sparen Sie Zeit und Nerven. Dank LiDAR und NetRTK ist dieser Rasenmäher Roboter in nur 3 Minuten einsatzbereit – ganz ohne mühsame Kabelverlegung. Mit nur einem Tap in der App erstellt der Rasenmähroboter automatisch eine präzise Karte Ihres Gartens. Verwalten Sie bis zu 20 Zonen mühelos mit smarten Zeitplänen, die Wetterdaten und Sonnenzeiten berücksichtigen.
- PROFI-ERGEBNIS & SMARTE KANTEN: Holen Sie sich den Look eines erstklassigen Anwesens. Dieser Rasenroboter liefert durch präzise U-Bahnen und eine 20 cm Messerscheibe ein makelloses Schnittbild. Dank EdgeWiz-Technologie werden Kanten perfekt gemäht, was manuelles Nacharbeiten minimiert. Exklusiv: Passen Sie die elektr. Schnitthöhe (3–7 cm) bequem per App an – für einen Rasen wie vom Profi.
- MAXIMALE AGILITÄT & 45% STEIGUNG: Der M9 Pro meistert dank seiner kompakten Bauweise selbst Engstellen ab 65 cm. Als leistungsstarker Rasenroboter ohne Kabel bewältigt er mit seinen Offroad-Rädern Steigungen von bis zu 45 % (24°) mühelos. Das integrierte TCS-Antischlupfsystem garantiert volle Traktion auf jedem Terrain – egal ob auf unebenen Flächen oder feuchtem Gras.
- SICHERHEIT & SORGLOSES MÄHEN: Genießen Sie volle Sicherheit und Ruhe. Ihr neuer Rasenmäher Roboter arbeitet mit ≤ 58 dB extrem leise. Dank IPX6-Wasserschutz und Regensensor ist er absolut wetterfest. Für optimalen Schutz sorgen der mechanische Not-Stopp, die KI-Hindernisvermeidung sowie der integrierte Diebstahlschutz mit App-Benachrichtigung für maximale Sorgenfreiheit.
My Winter Prep on the ANTHBOT M9 PRO
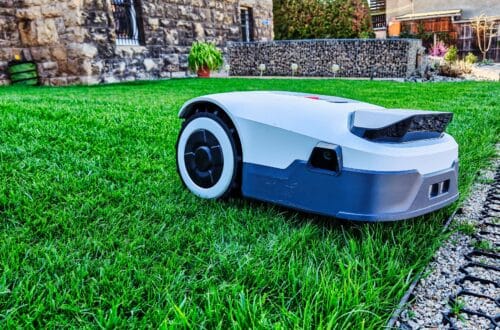
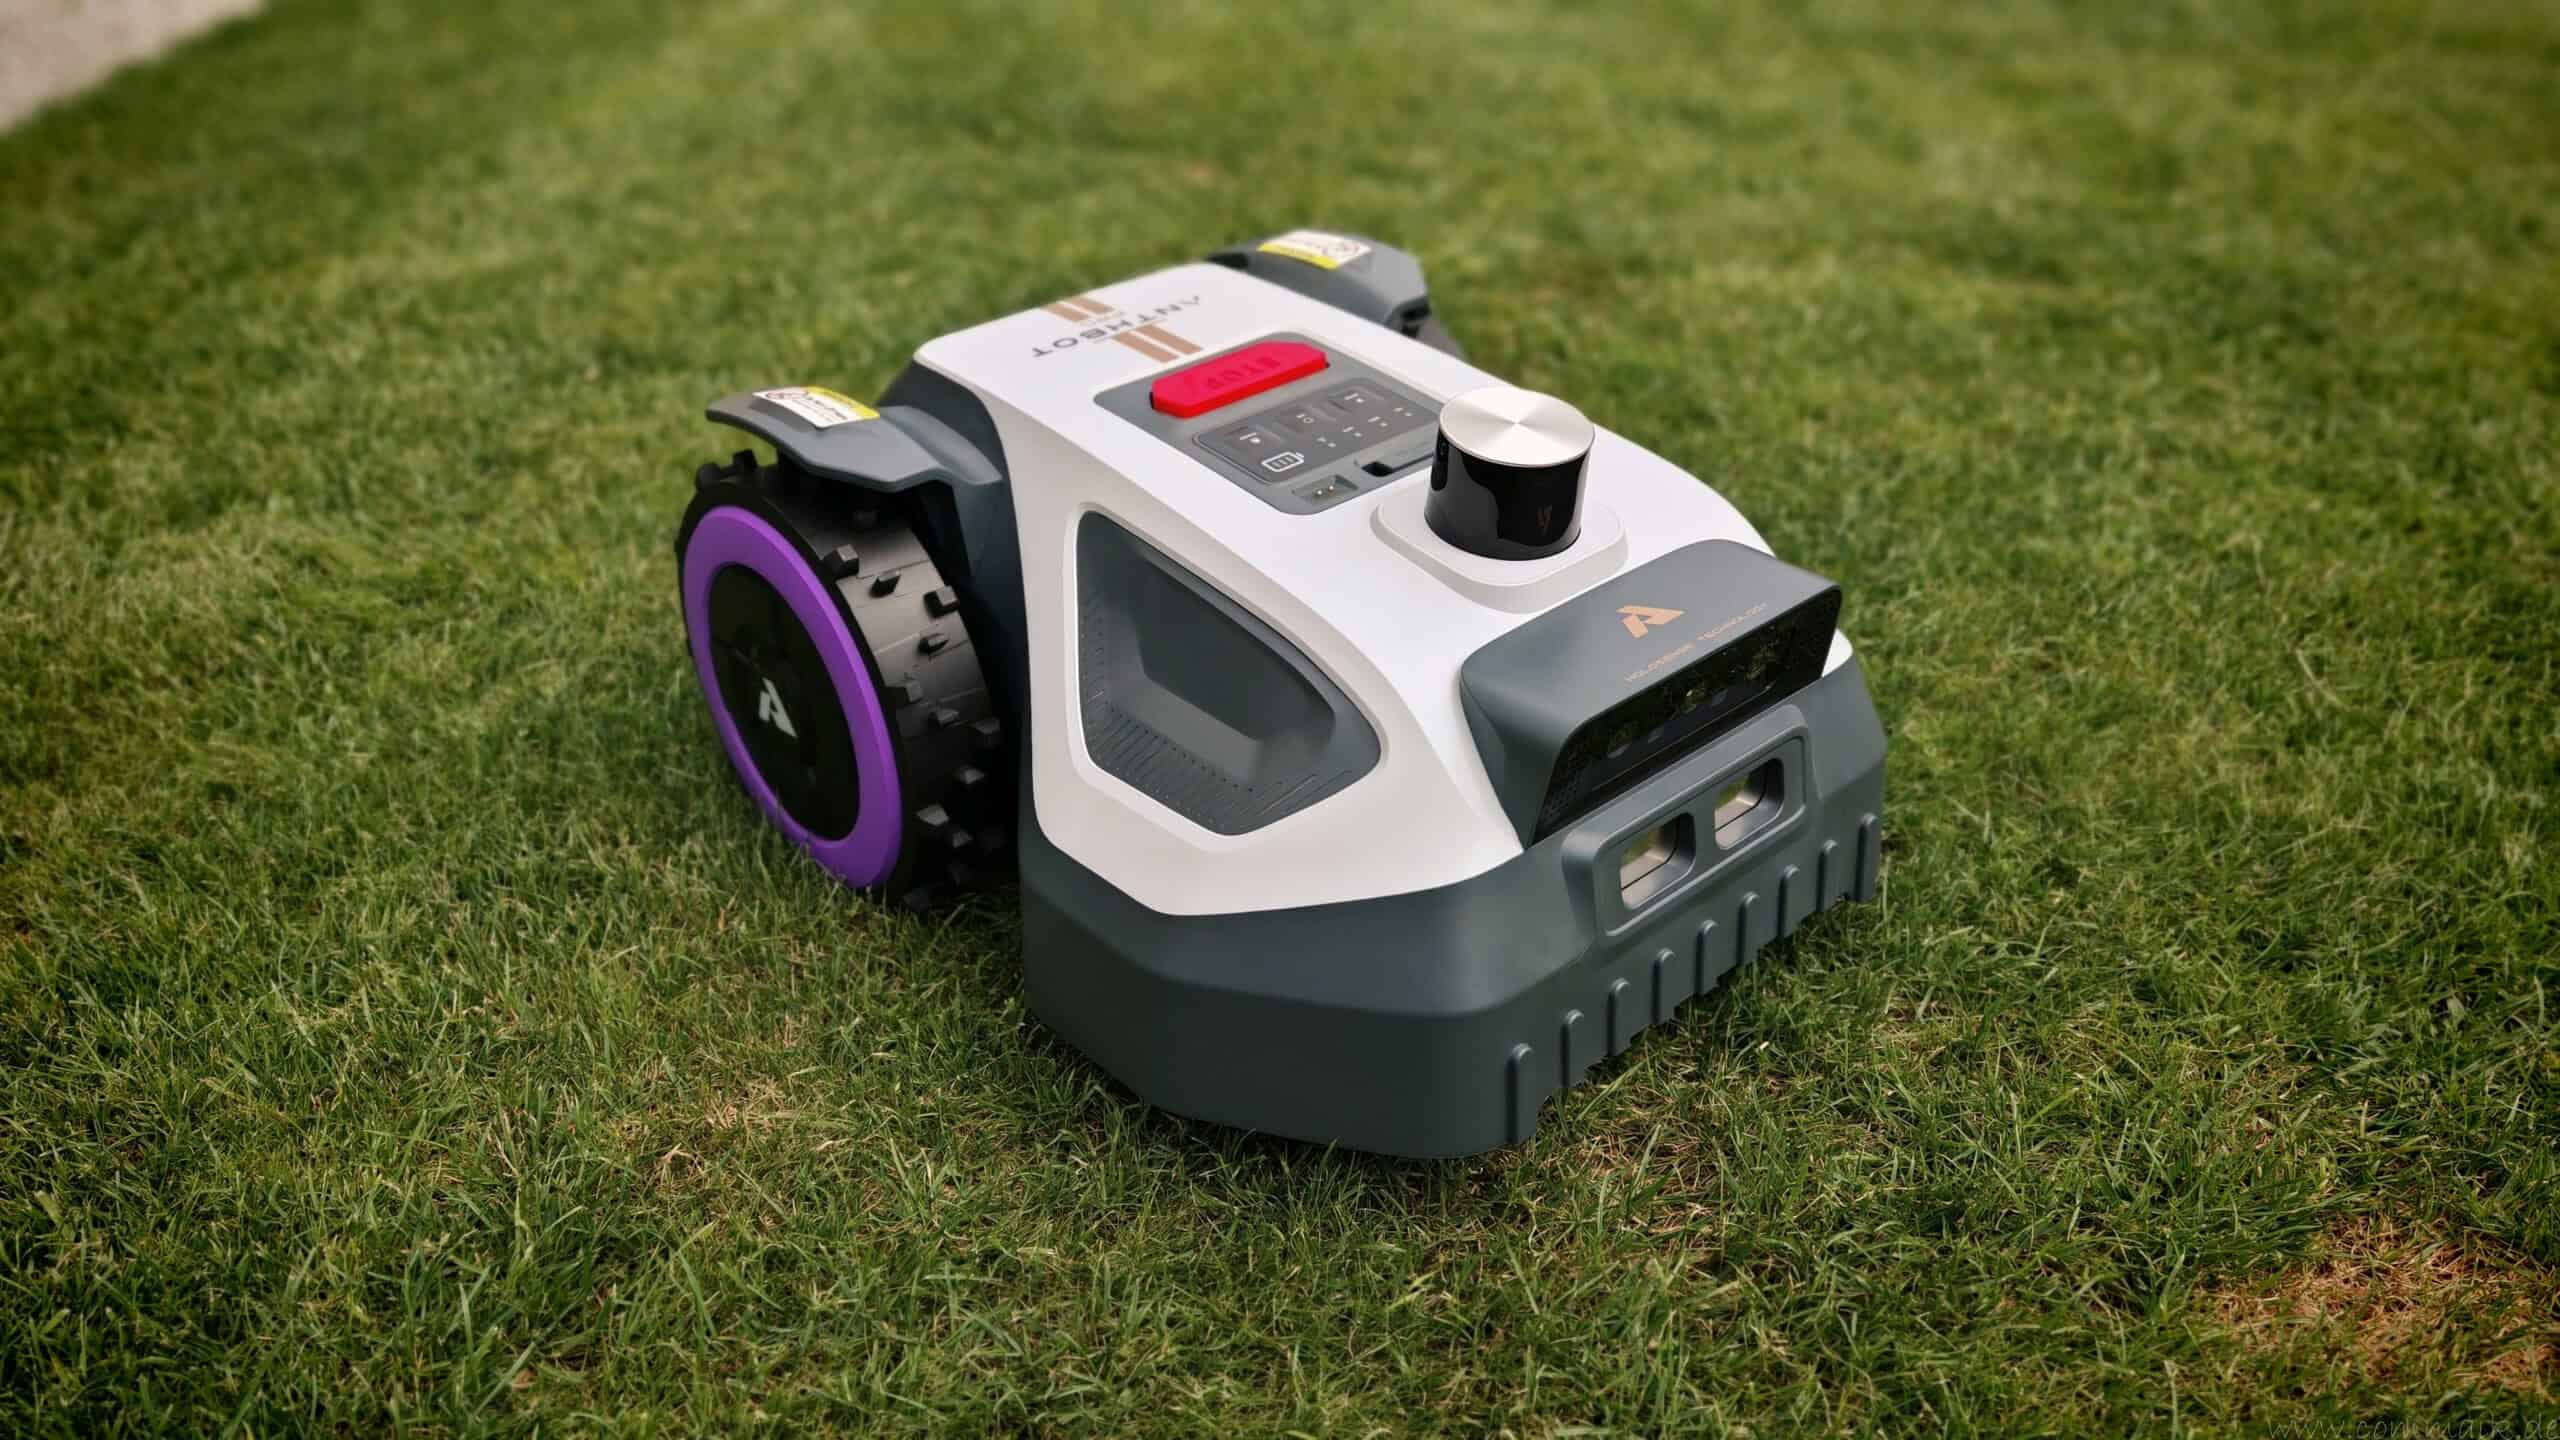
This fall, I’ll be using the ANTHBOT M9 PRO to show how I prepare my robotic mowers for winter. Before storing them away, I used it to mow my lawn one last time to a height of four centimeters. After that, I’ll take care of the underside, the blades, and the battery. For me, the charging station and RTK antenna are also part of the winter prep.
I take this opportunity to check the areas that are easily overlooked during the season. Grass clippings accumulate under the housing, dirt builds up on the blade mounts, and damp grass clippings get stuck between the wheels. That’s why I combine cleaning with a little maintenance.
| Range | Here’s what I focus on when preparing for winter |
|---|---|
| Cleaning | Remove any grass clippings from the underside, wheels, and blade disc, and let everything dry completely |
| Blade Replacement | Unscrew the old blades, check the blade mounts and threads, and install the new blades with the appropriate screws |
| Battery care | Charge the M9 PRO’s battery to over 80 percent, then turn the device off completely |
| Charging station | Clean the station, disconnect the power supply, and protect the connectors from moisture |
| RTK antenna | Check the fasteners and connections, and maintain the original installation position |
I make a point of replacing the blades in the fall. Without the old blades, I can reach the joints more easily and clean them more thoroughly. Then I install the new blades so that this task is already taken care of by spring.
When it comes to outdoor installation, I draw on my previous experience. I keep the M9 PRO’s charging station unplugged in my yard. I also leave the RTK antenna mounted on its permanent wall bracket. I haven’t had any problems so far with antennas left outside over the winter on my devices from ECOVACS, ANTHBOT, and Lymow. This way, I save myself the trouble of setting them up again and avoid accidentally changing their position when reattaching them.
At the start of the season, I still check to make sure the saved boundaries still match the actual lawn area so the mower can work efficiently. Especially around narrow passages, walls, and edges, this initial supervised test run is an essential part of my routine.
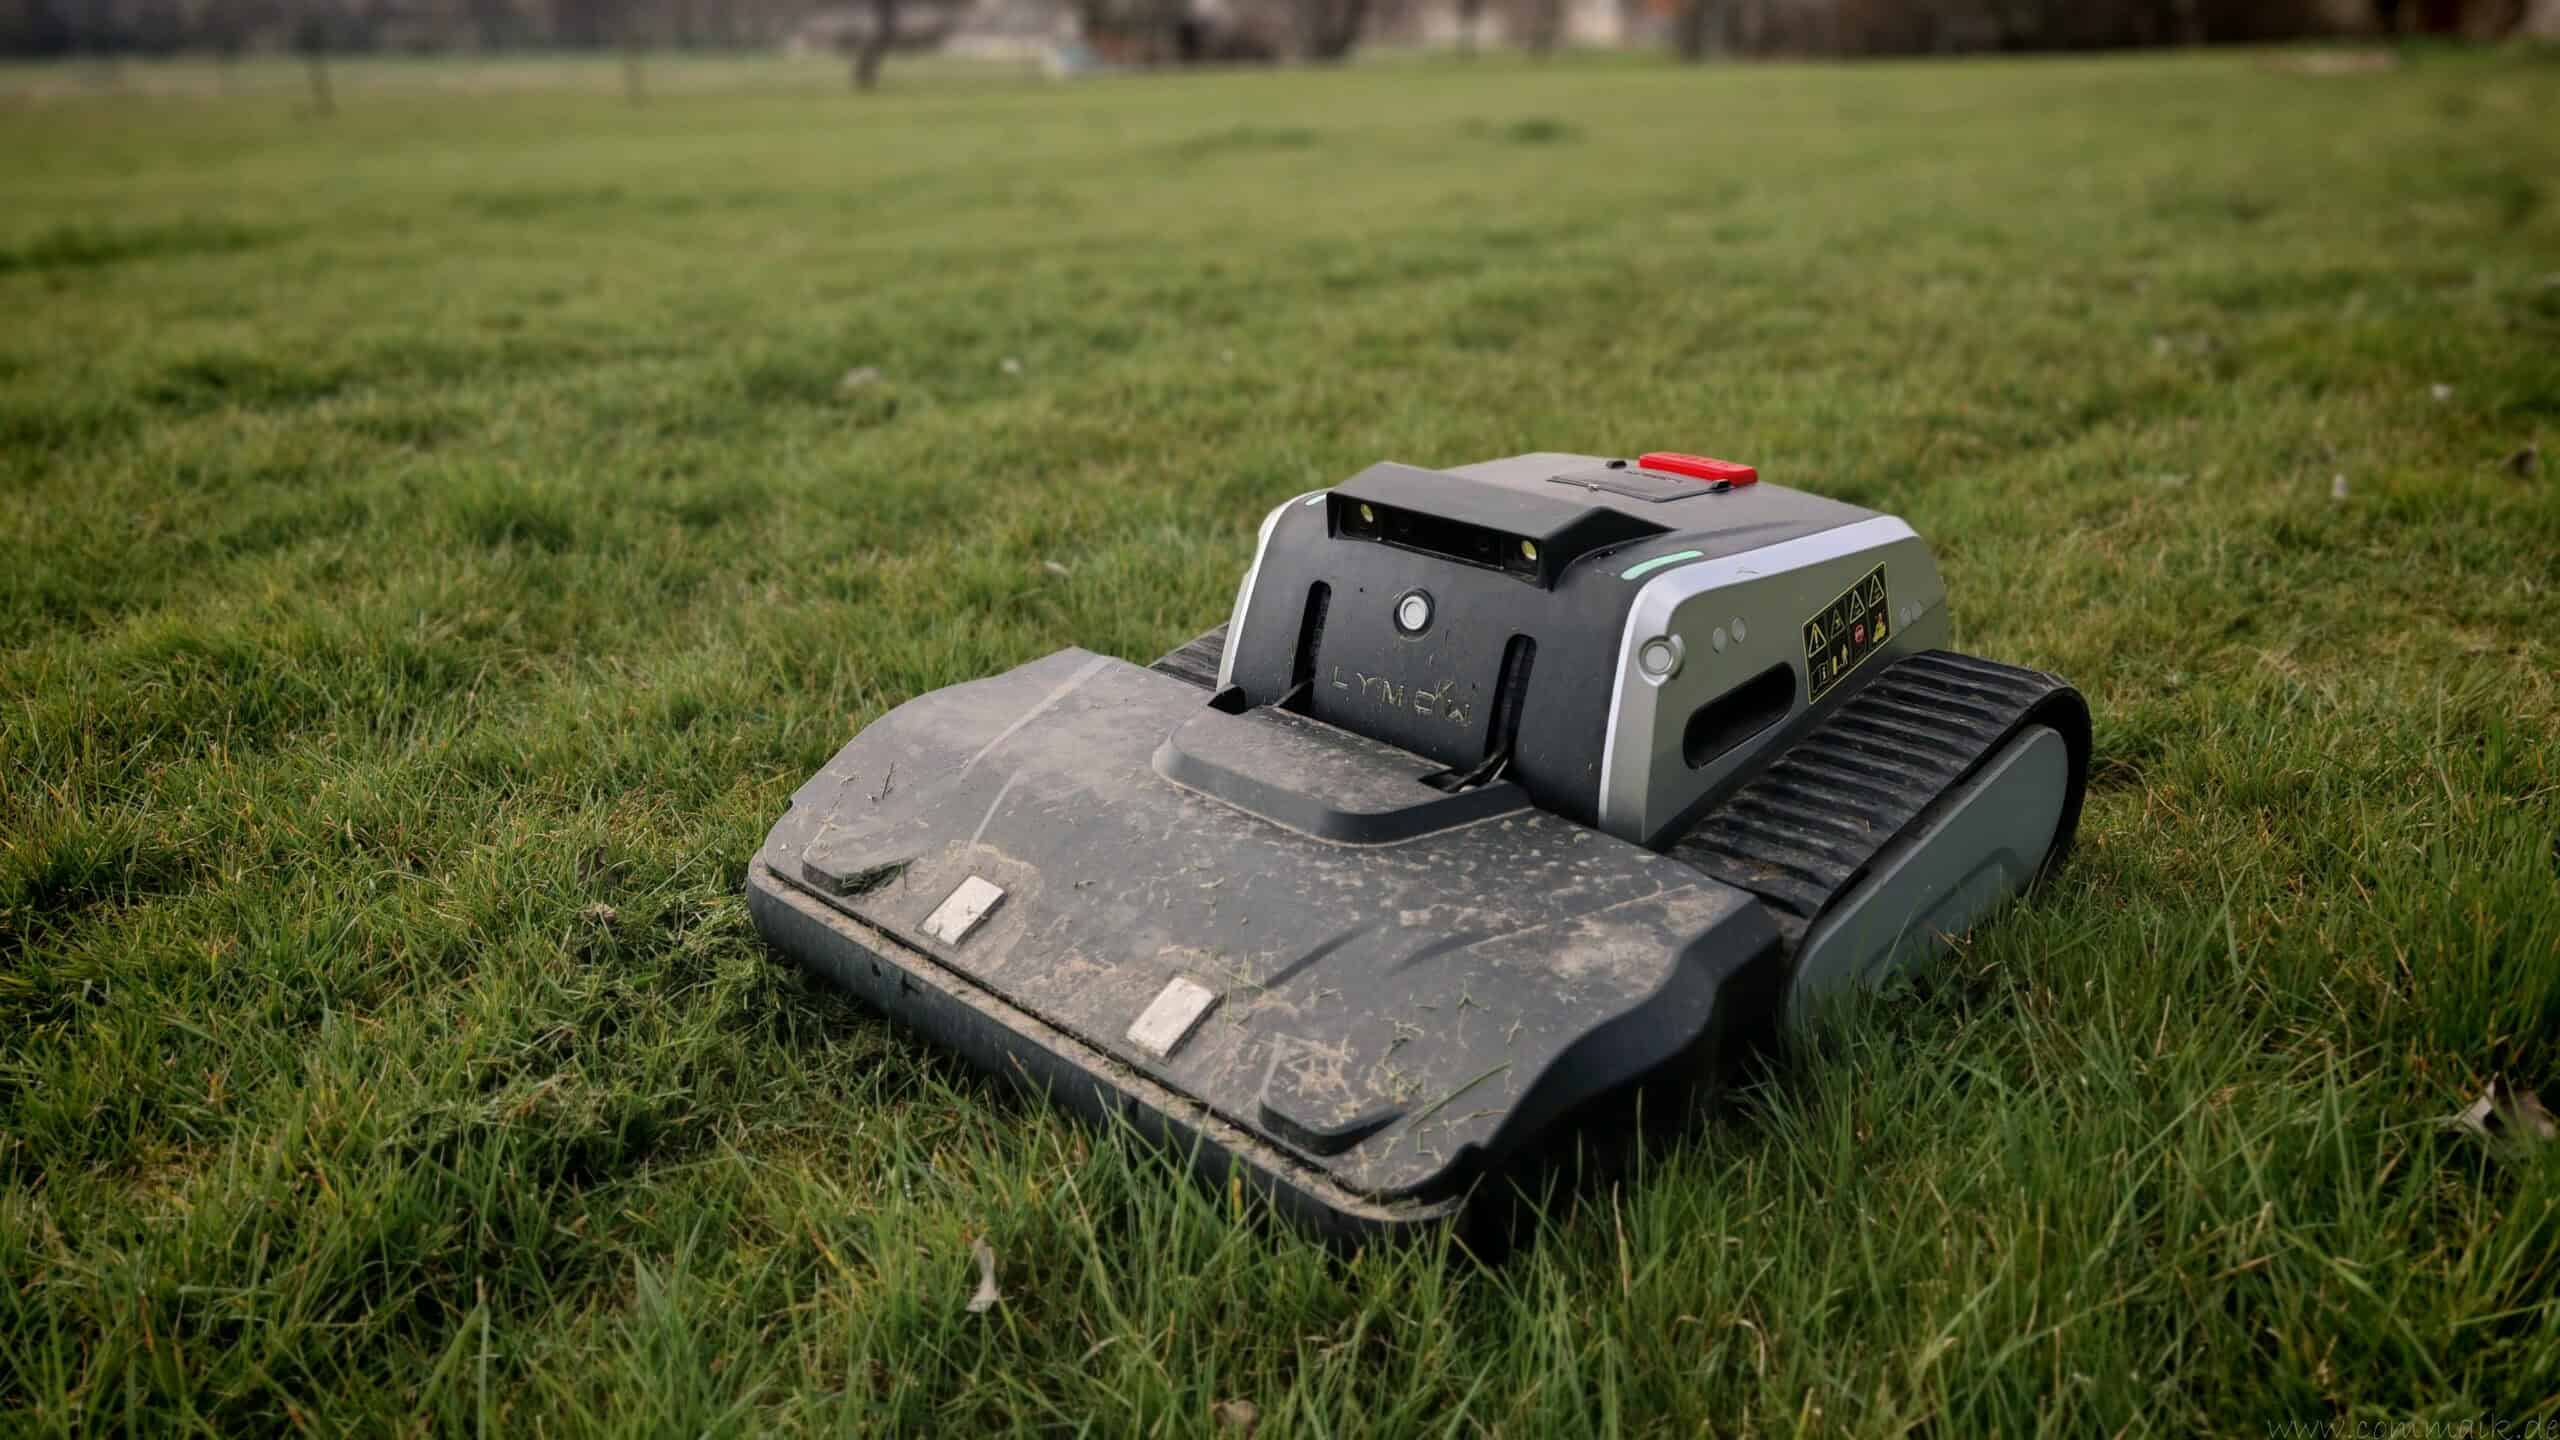
When should I winterize my robotic lawn mower?
I base my decisions on the weather and the lawn’s growth. In our part of the world, mowing usually becomes an issue in October, or by early November at the latest. Once temperatures drop consistently and the grass barely grows anymore, I no longer see the point in mowing regularly. If the fall is mild, the mowing season can last a little longer, while early frosty nights bring the winter break forward.
The ANTHBOT M9 PRO is designed to operate within a temperature range of 3 to 45 °C. So as soon as nighttime temperatures of 3 °C or lower are forecast, it’s time to move them to a sheltered storage area. I also check the respective temperature limits for my other devices—there isn’t a set schedule for all of them.
Take advantage of a dry day to store the items
When preparing for winter, I try to pick a dry day if possible. That way, I can give the lawn one last mow, then remove the grass clippings, and take my time checking the blades, charging station, and connections. After cleaning, I let everything dry completely before putting the robot into winter storage.
Before putting my lawn into storage, I mowed it one last time to a cutting height of four centimeters. At the end of the season, I don’t cut it unnecessarily short; instead, I base my decision on its condition and how much more it will grow.
I keep an eye on the weather forecast. I’d rather get the work done on a dry fall day than have to winterize the mower later when there’s frost and the grass is wet.

- 3er Komplett-Set zur Reinigung & Pflege von Gartengeräten. Premium Spezialreiniger, extra saugstarkes Mikrofasertuch und hochwertige Reinigungsbürste in einem Set – die umfassende Lösung für Reinigung, Pflege und Werterhalt von Mährobotern und Gartengeräten.
- Effektive Reinigung ohne aggressive Chemie. Der Spezialreiniger löst Grasrückstände, Pflanzensäfte und Schmutz, während die Bürste mit integriertem Schaber auch hartnäckige Ablagerungen materialschonend entfernt.
- Premium Spezialreiniger - Made in Germany. Gebrauchsfertig, einfach in der Anwendung und mit Abperlwirkung – reduziert erneute Verschmutzung und hält Geräte länger sauber.
- Großes, extra saugstarkes Mikrofasertuch & Premium Reinigungsbürste. Das langlebig verarbeitete Tuch nimmt Feuchtigkeit zuverlässig auf. Die Bürste mit Spezial-Nylonborsten und Gummischaber sorgt für effektive Reinigung auch bei starker Verschmutzung.
- Hochwertig verpackt - auch ideal als Geschenk. Hochwertige Premium-Verpackung – perfekt für den eigenen Anspruch oder als praktisches Geschenk für Garten- und Technikliebhaber.
Why Batteries and Electronics Need a Winter Break
My robotic mowers stay in the yard throughout the season, come rain or shine. In winter, however, several challenges come into play: low temperatures, persistent moisture, and a long period of inactivity. As soon as the grass barely grows anymore, I therefore bring the mowers into winter storage. Outdoors, they no longer serve any useful purpose but remain exposed to the elements.
Protect the battery from cold temperatures and excessive discharge
At low temperatures, a lithium-ion battery may deliver less usable energy. This temporary drop in battery performance does not mean that the battery is permanently damaged. Nevertheless, I would like to ensure that the battery is stored in as consistent and protected conditions as possible during this break of several months.
Then there’s the charge level: Even when not in use, a battery can slowly discharge. Depending on the device, functions such as monitoring or communication may continue to consume power. If the robot is left outside unattended all winter with little charge remaining, the charge level can drop too low. A deep discharge can cause permanent damage to the battery.
That’s why, for me, maintaining an appropriate charge level and fully turning off the device are just as much a part of winter preparation as finding a suitable storage location. Whether you need to recharge it in between depends on the specific device.
Prevent Moisture, Corrosion, and Frost Damage
Thoroughly cleaning the underside is especially important to me. Damp grass clippings often accumulate around blade mounts, screws, and wheels. If these deposits remain on the mower for months, they trap moisture and can lead to corrosion. In the spring, corroded fasteners may then be more difficult to loosen.
Temperature fluctuations also play a role. When moist air cools on cold surfaces, condensation can form. If moisture comes into contact with electrical connections or enters inadequately protected areas, it can cause contact problems and damage. Water that collects in accessible crevices and freezes can also put strain on components and connections.
That doesn’t mean that every mower left outside will necessarily develop a problem. However, I’d like to reduce these preventable issues rather than waiting until spring to look for the cause of charging problems, tight screws, or error messages.
The robotic mower can be stored for the winter much more effectively if it is clean, completely dry, and kept in a frost-free location. At the same time, while preparing it, I can identify any signs of wear and damage and carry out the necessary maintenance before the start of the next season.
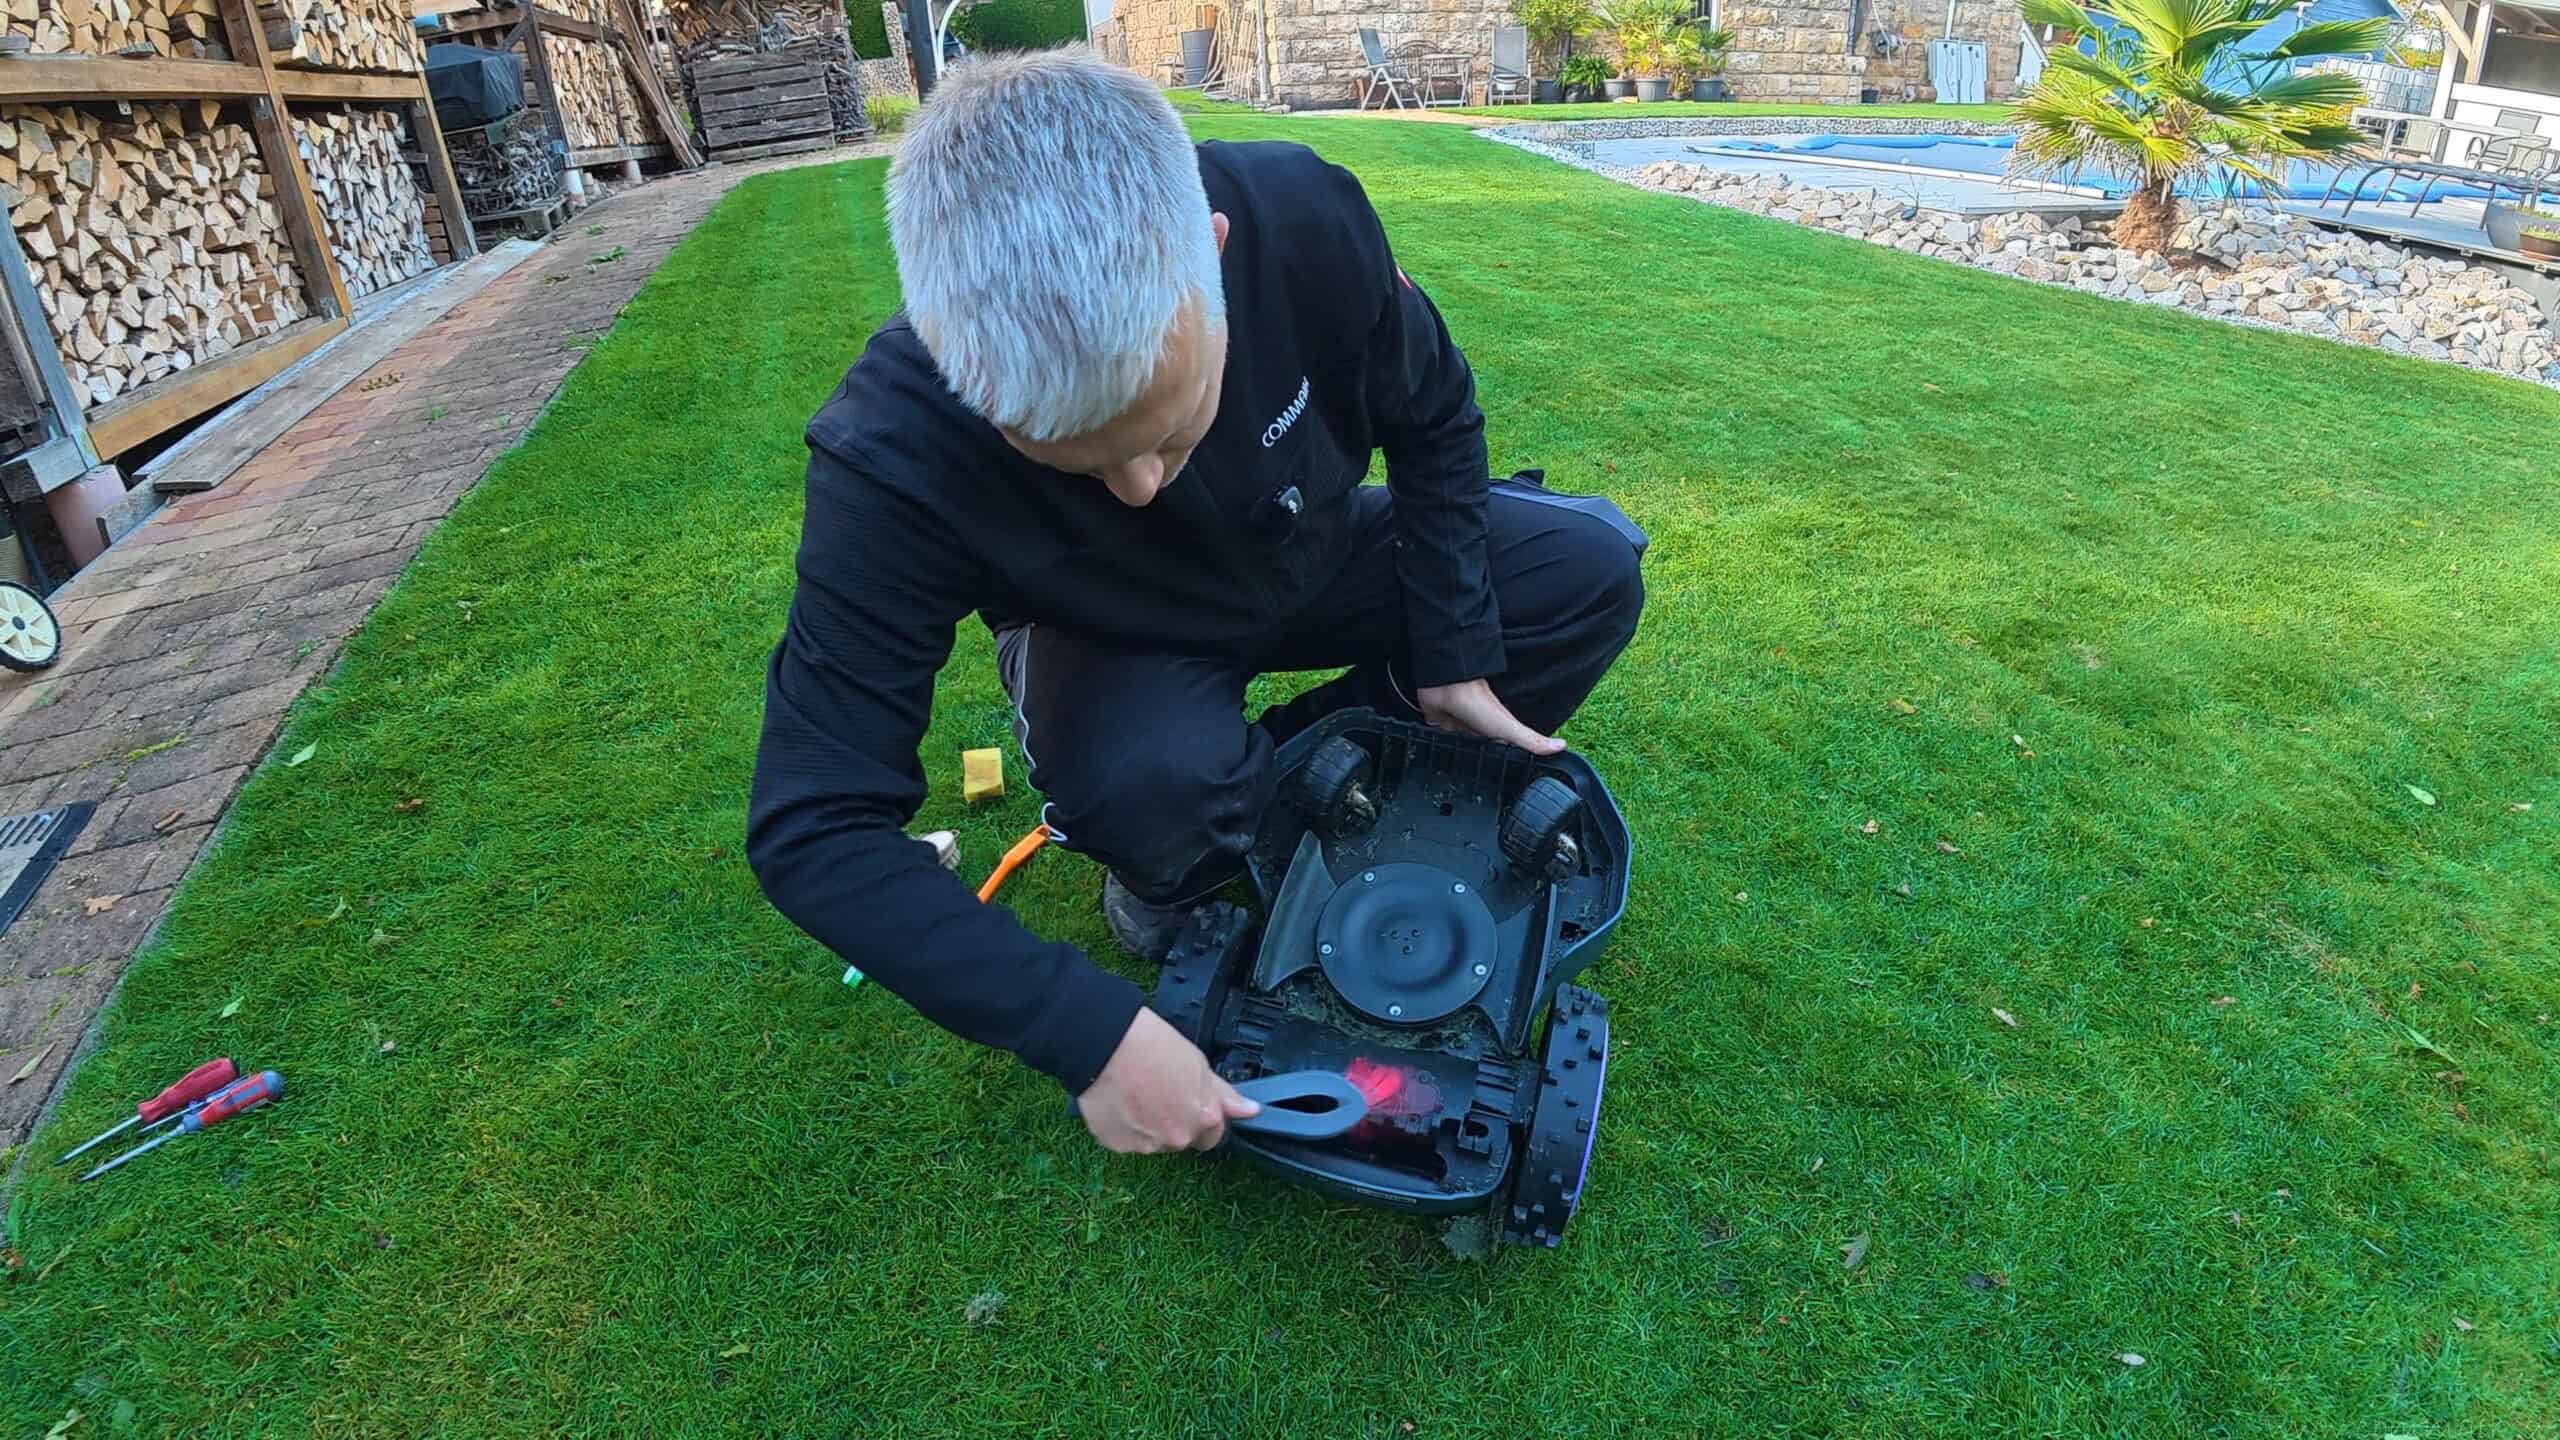
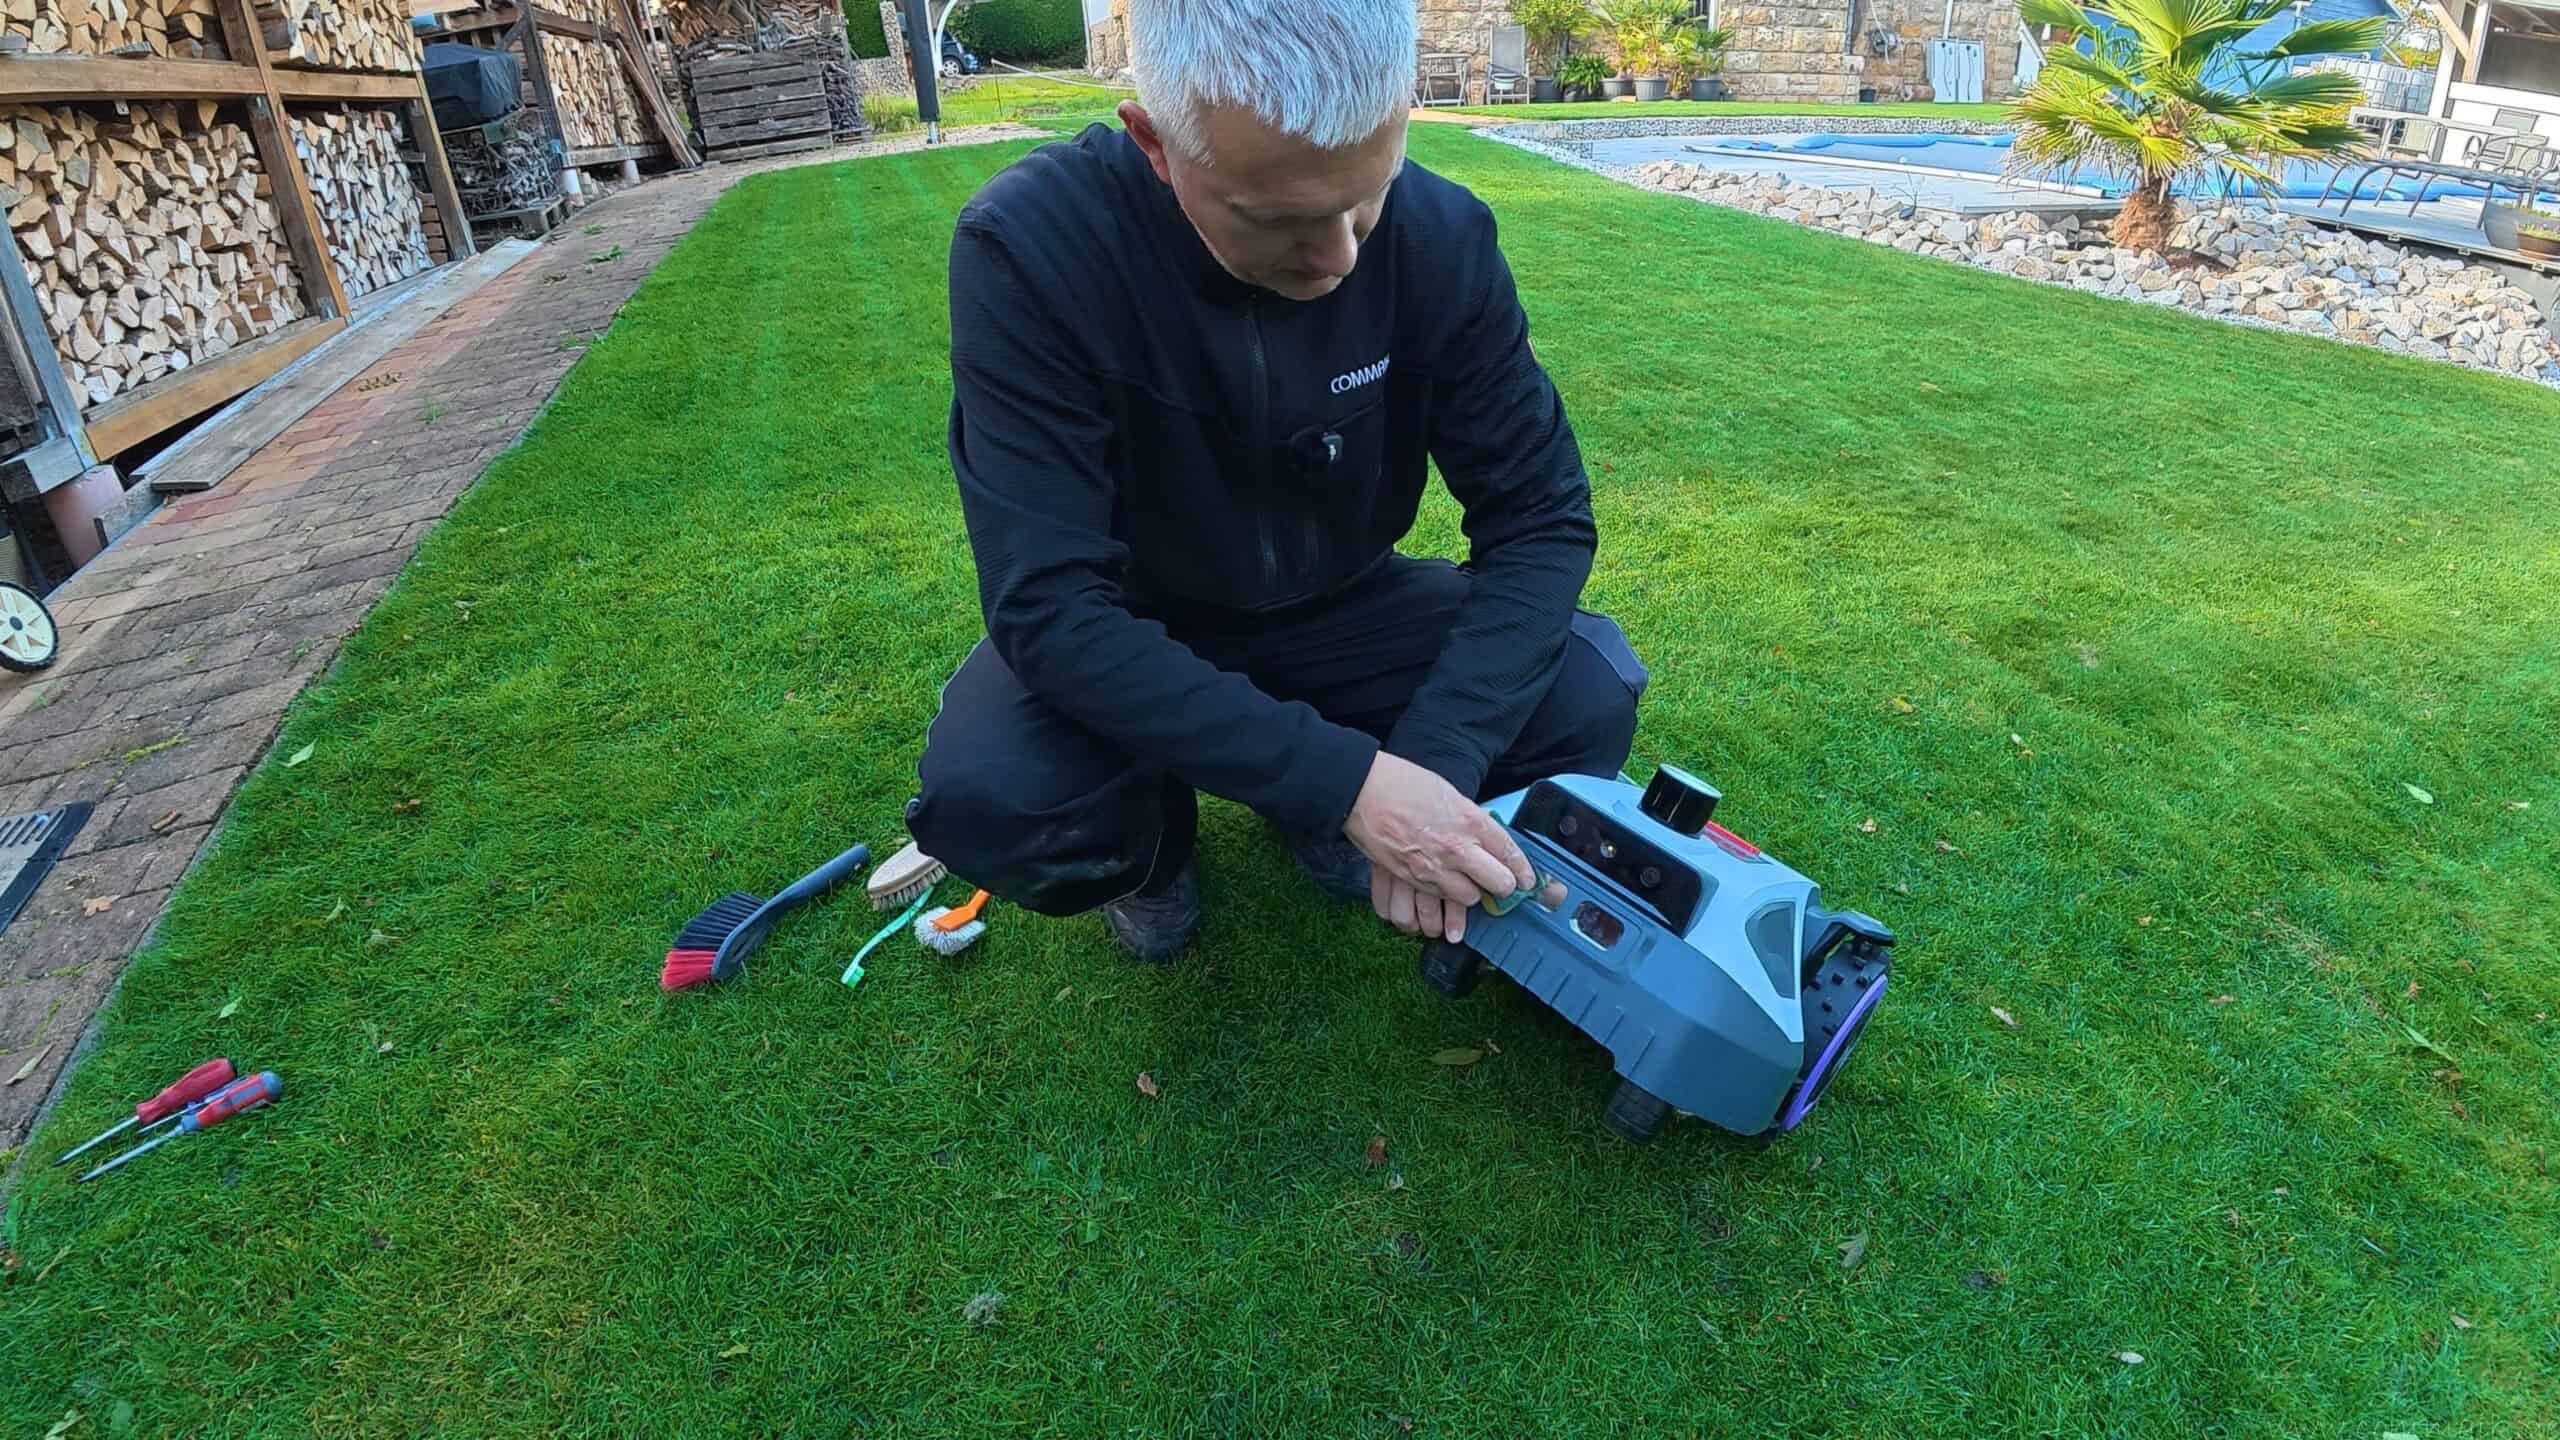
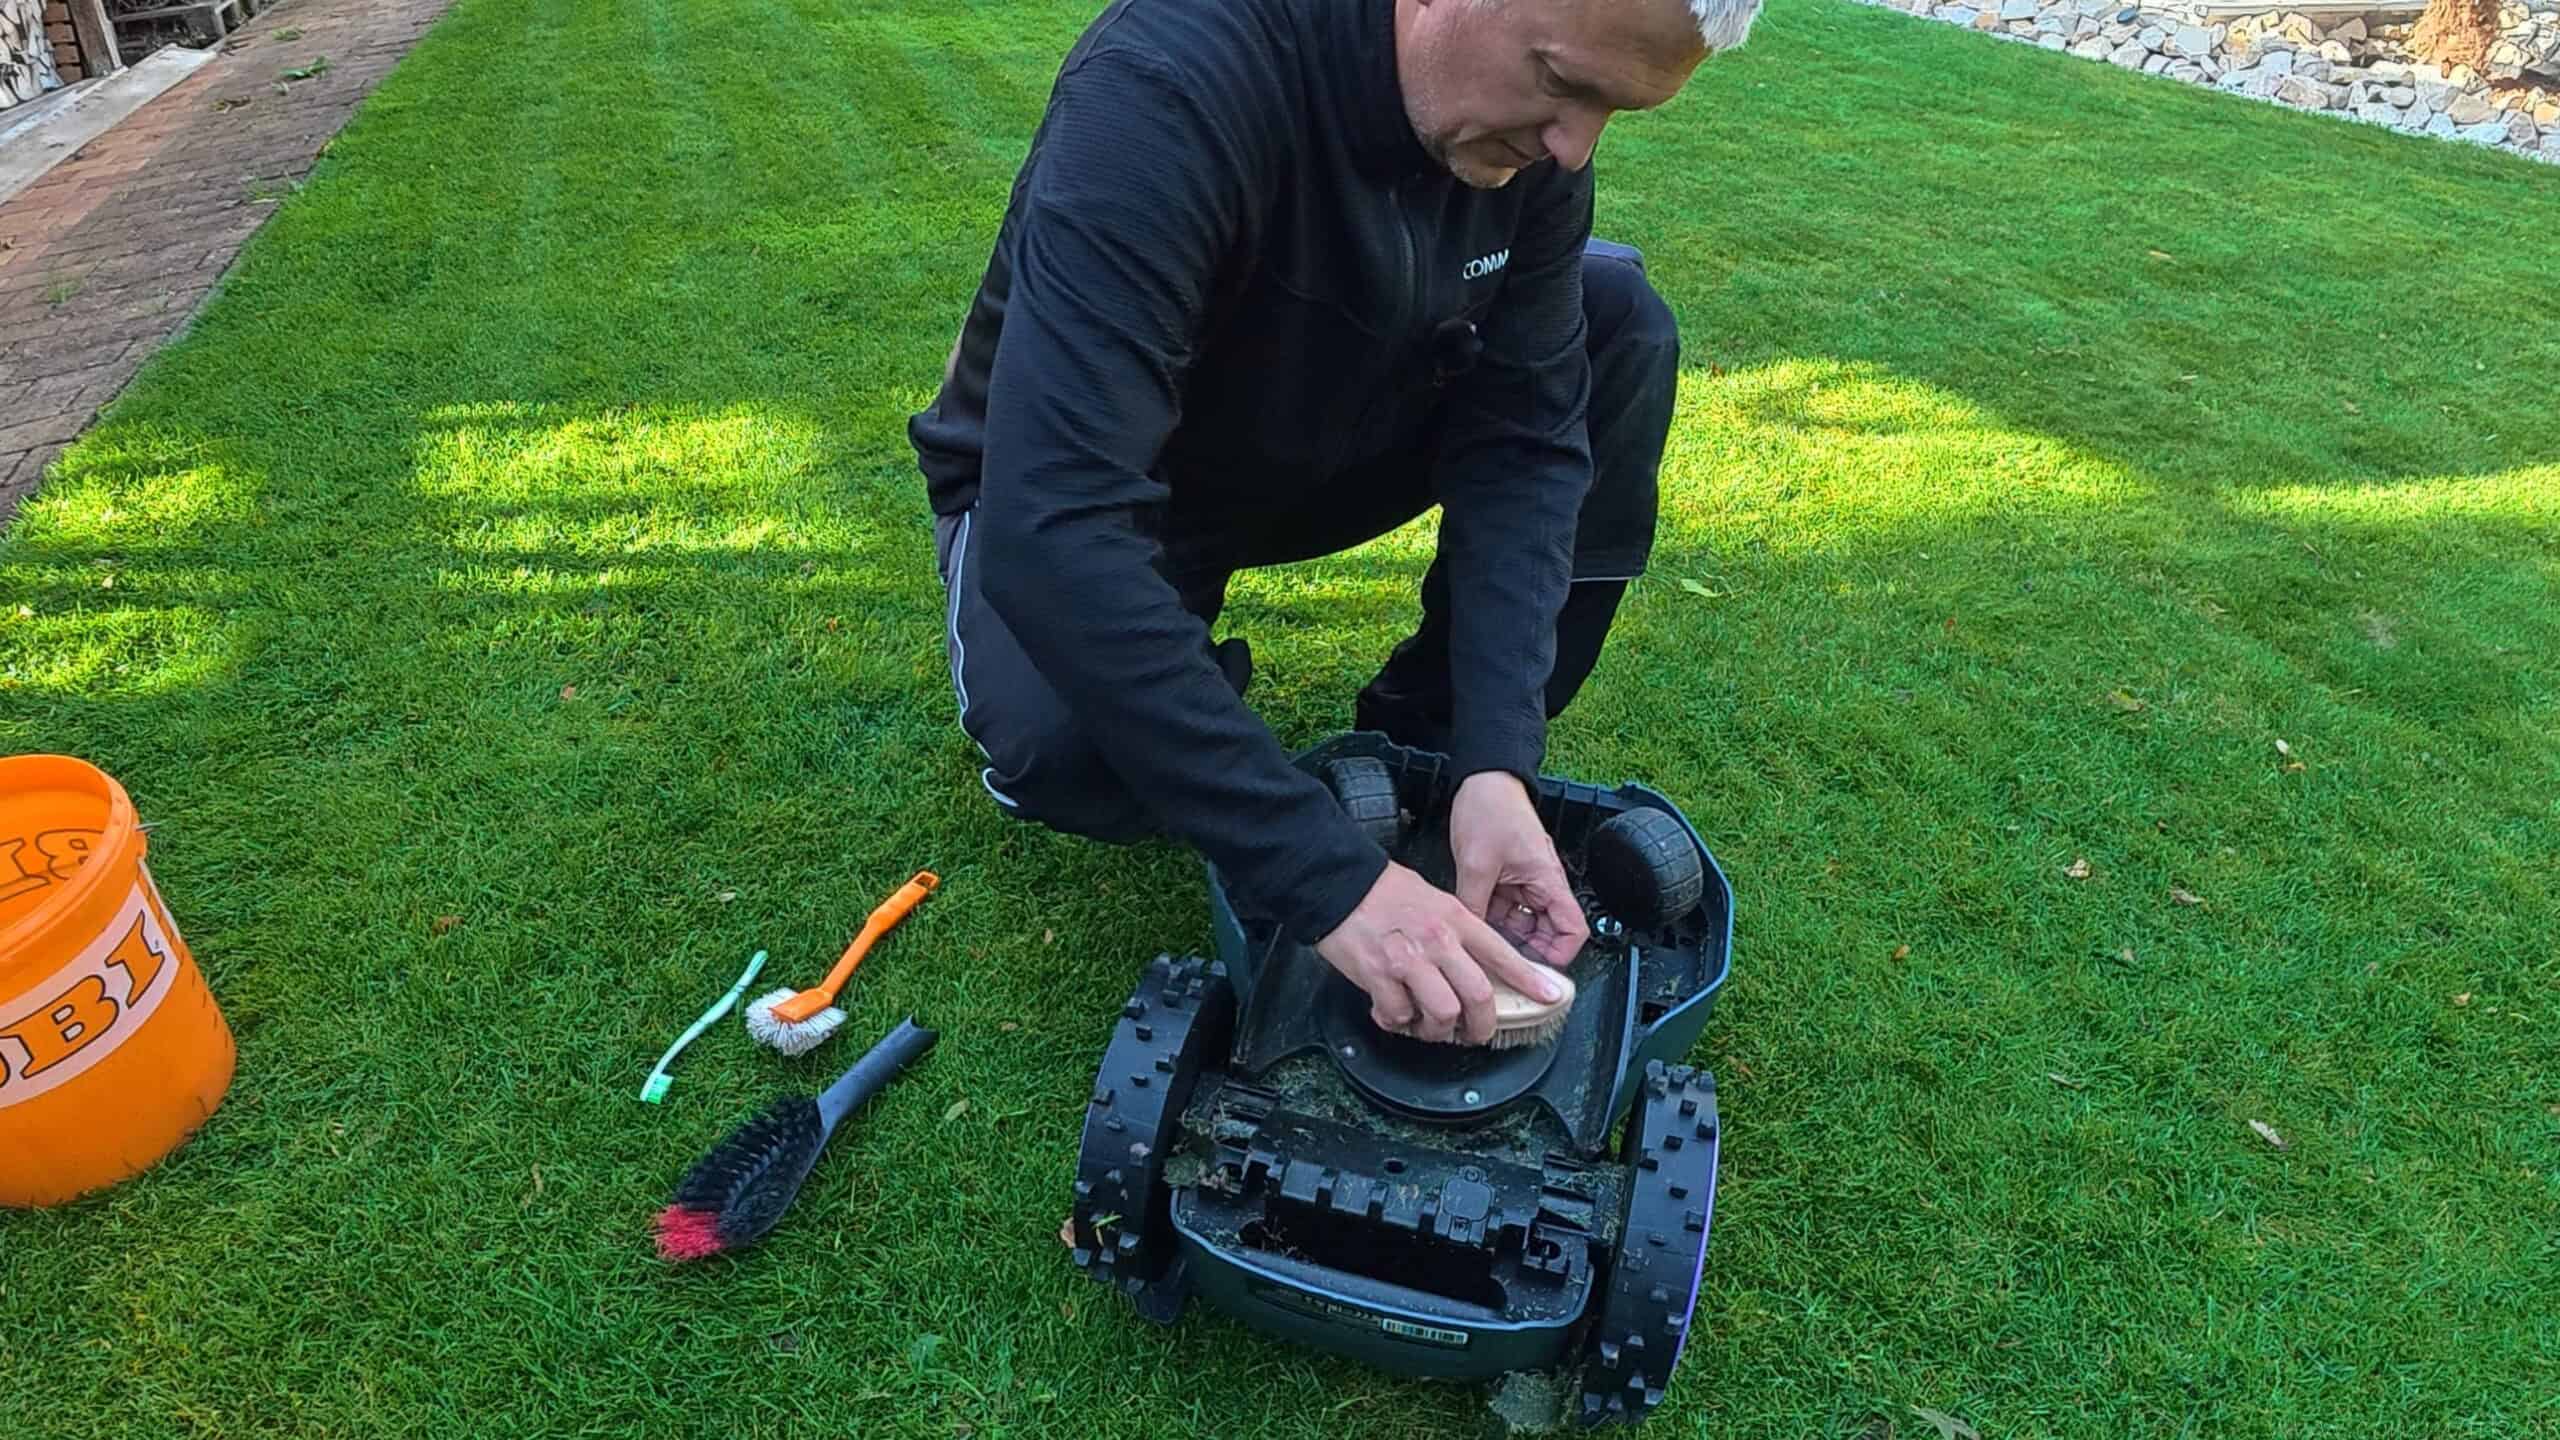
Cleaning the Robotic Lawn Mower – Here’s How I Do It with the ANTHBOT
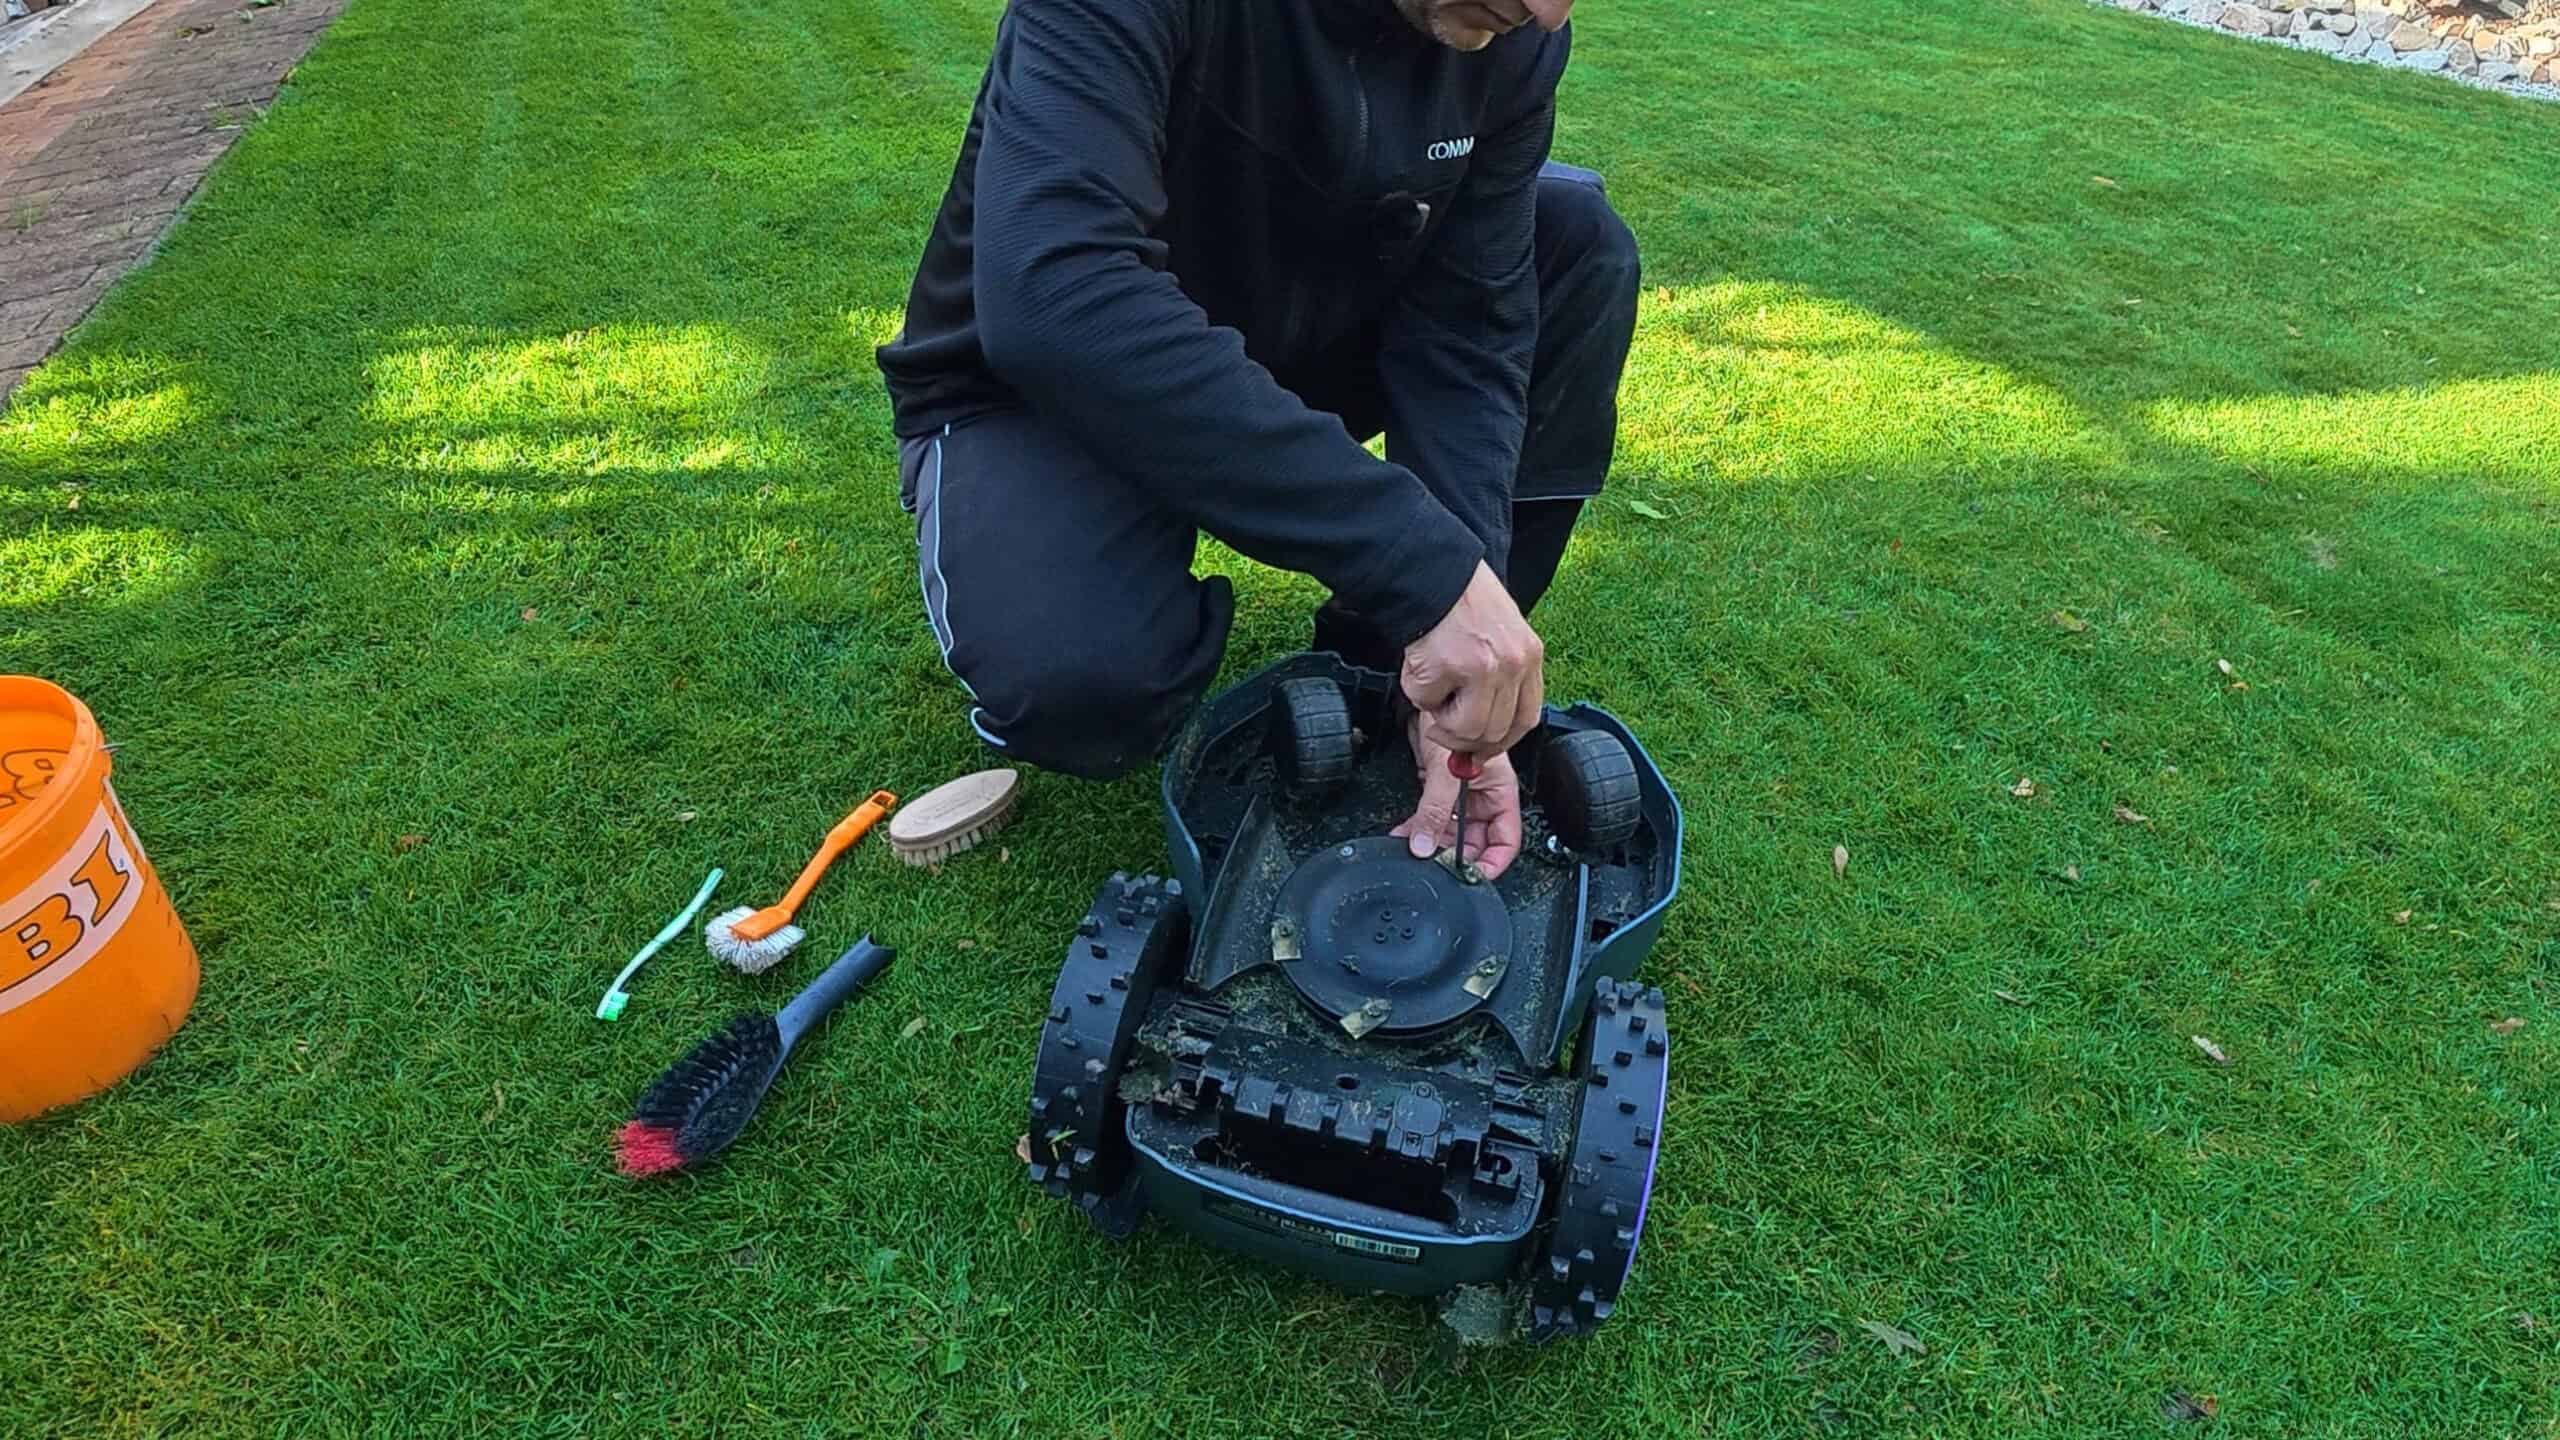
First, I finish the mowing job, remove the robot from the charging station, and turn it off completely. Then I carefully set the device down so that I can easily reach the underside without damaging the housing or the sensors.
When working near the sharp blades, I wear appropriate protective gloves. Even when the device is turned off, the blades still pose a risk of injury.
Remove grass clippings with brushes
I start with the clumps of grass on the bottom of the housing, the wheels, and around the blade disc. For this, I use different brushes: a stiffer one for stubborn buildup on non-sensitive areas and softer brushes for delicate surfaces. I also use an old toothbrush to get into narrow gaps.
Mechanical pre-cleaning already removes a large portion of the dirt. That way, I don’t have to spend as much time rinsing with water later, and I don’t end up flushing large clumps of grass through the machine unnecessarily.
To thoroughly clean the blade holders, I unscrew the old blades. This allows me to reach the areas that would otherwise remain hidden beneath the blades and screw heads. While doing so, I also check to see if any fasteners are damaged or corroded.
I pay particular attention to the following areas:
- Blade plates and blade holders: Remove any buildup and inspect the mounting points.
- Wheels and Axle Areas: Remove any grass clippings that are stuck and any foreign objects that have become wrapped around them.
- Bottom of the housing: Remove moisture buildup from the corners and recesses.
- Sensor surfaces: Clean gently with a soft brush or a suitable cloth.
- Charging contacts: Check for dirt, buildup, and visible damage to ensure the device’s longevity.
I don’t just want to end up with a clean mower. Only once the grass clippings are removed can you really tell if there’s any wear or damage anywhere.

Rinse off any remaining residue with water
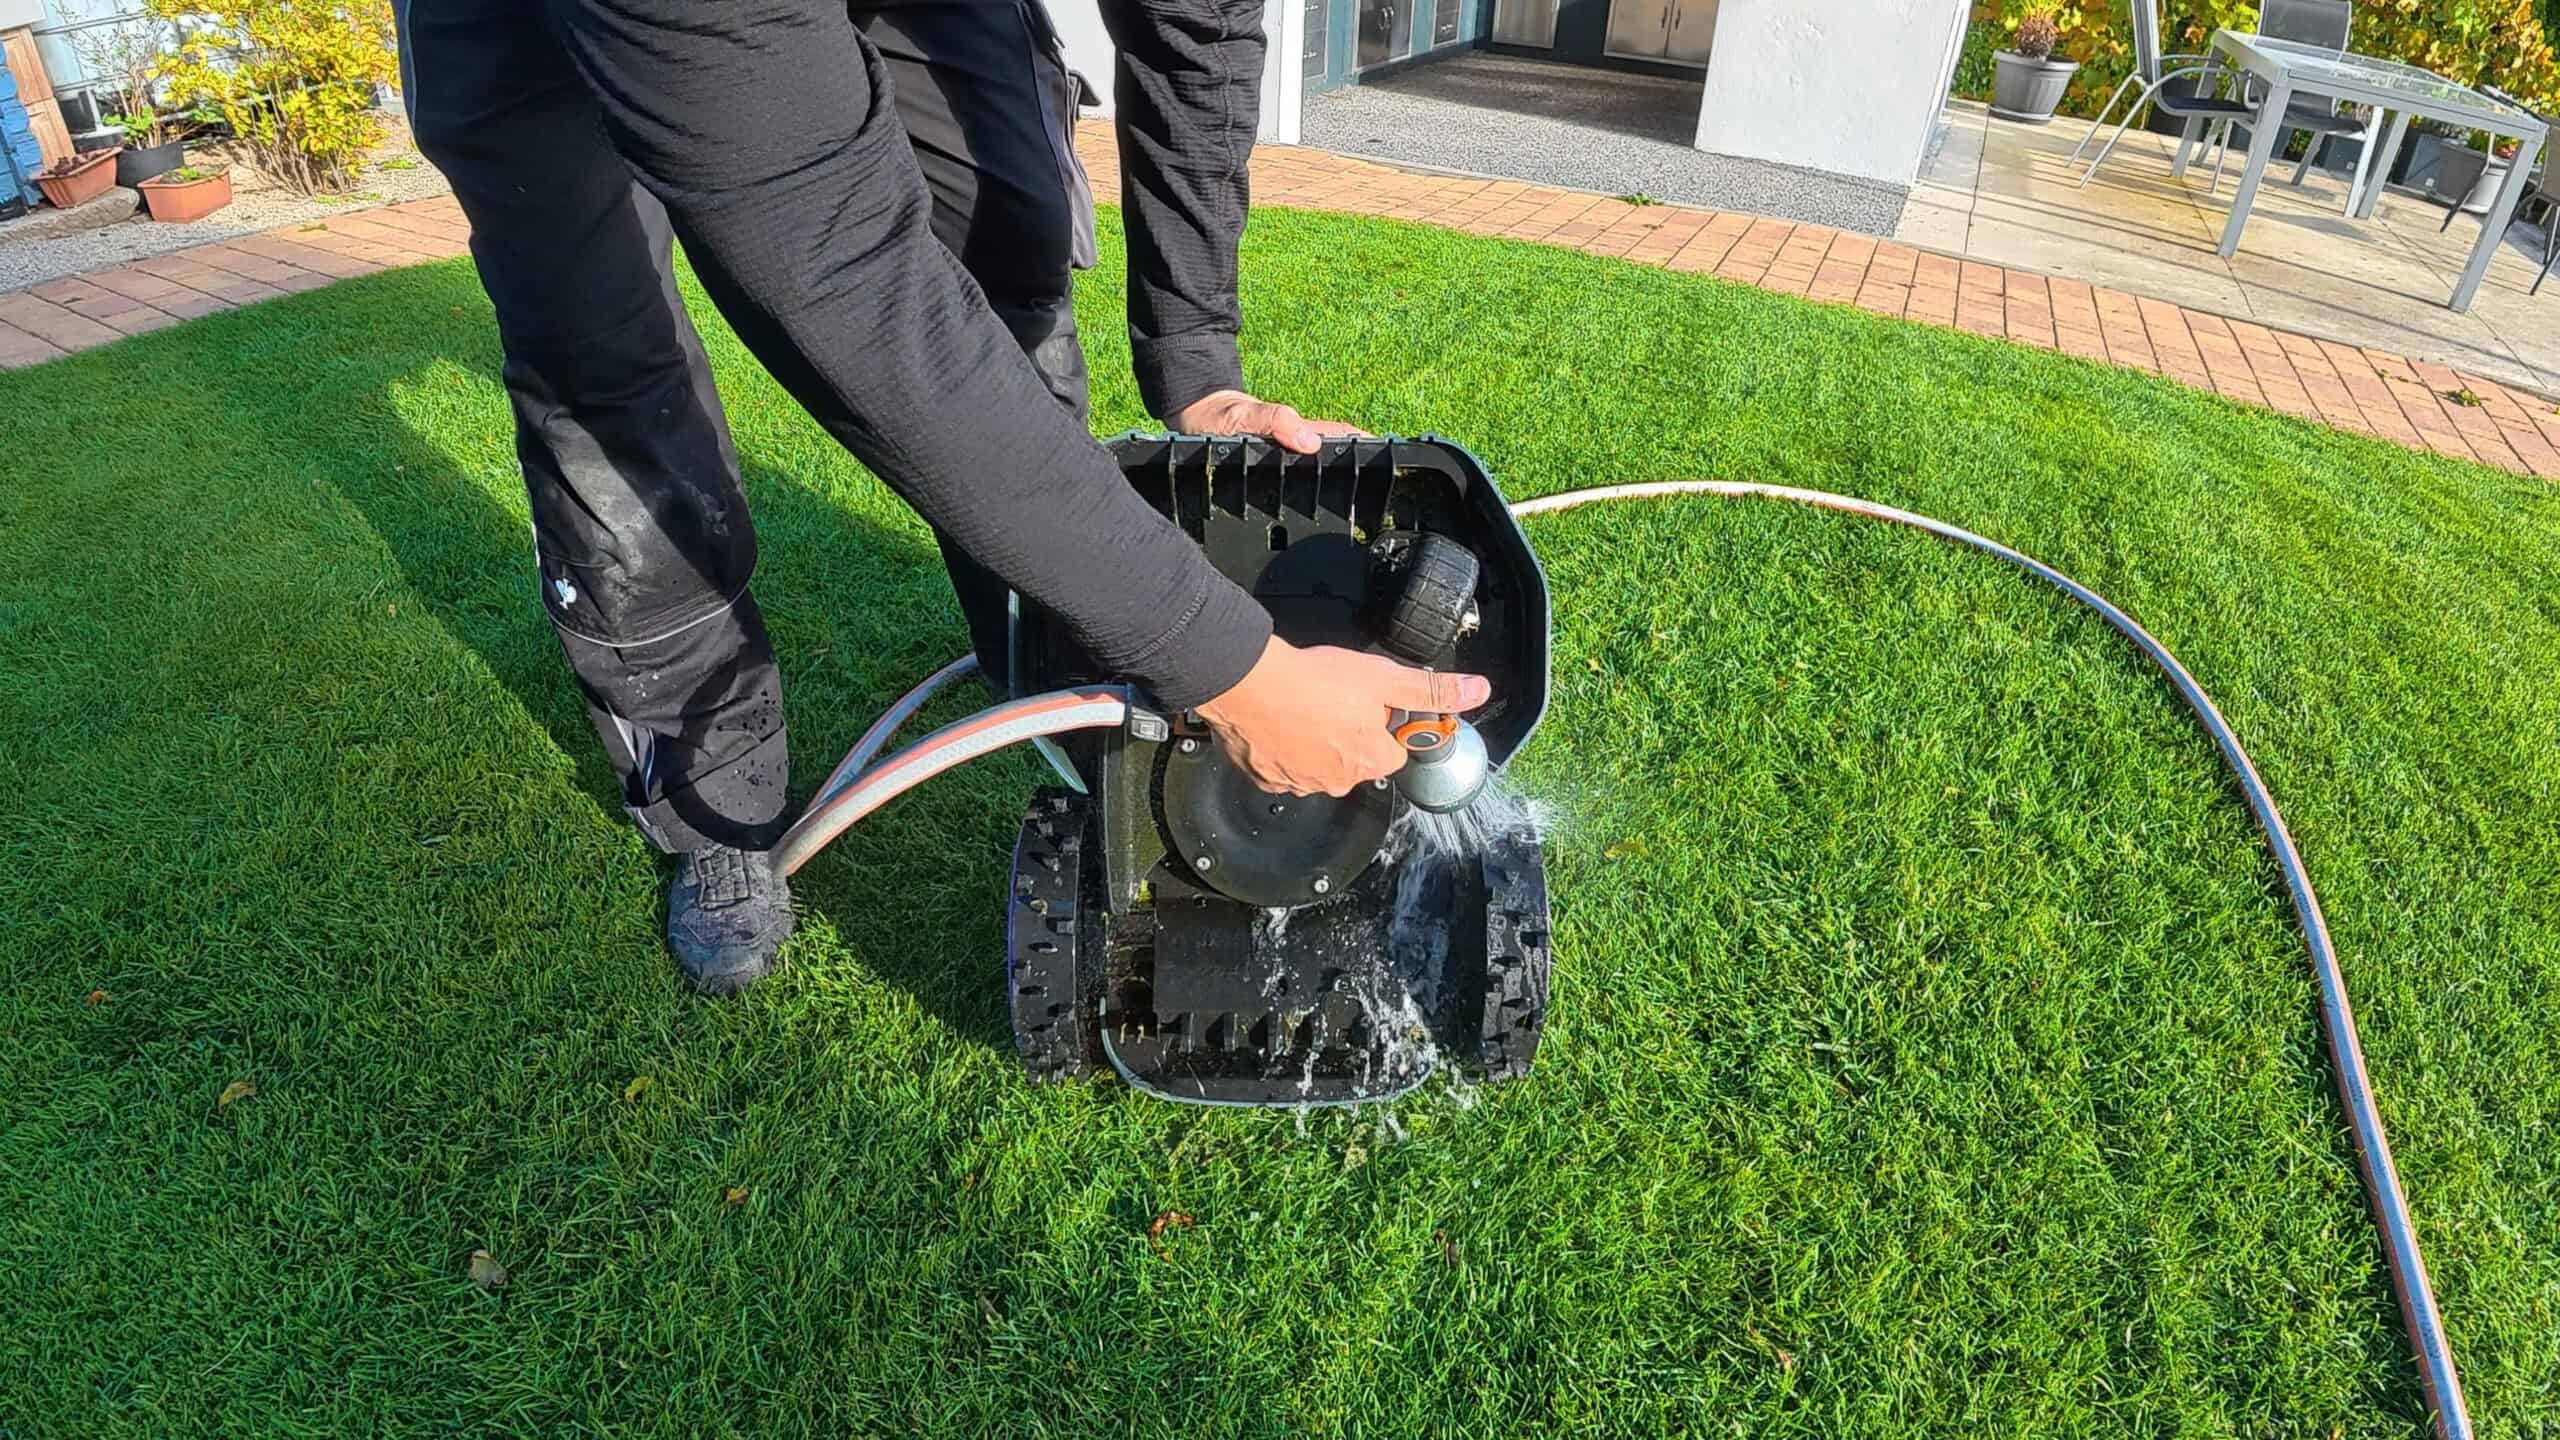
After brushing it off, I rinse off the remaining grass clippings from the M9 PRO with a garden hose. The device is designed to be cleaned with water. Even so, I use a gentle stream of water and keep it away from connectors, openings, and sensitive areas.
I don’t use a pressure washer. The powerful jet can put strain on seals and components and force water into areas that remain protected during normal rinsing.
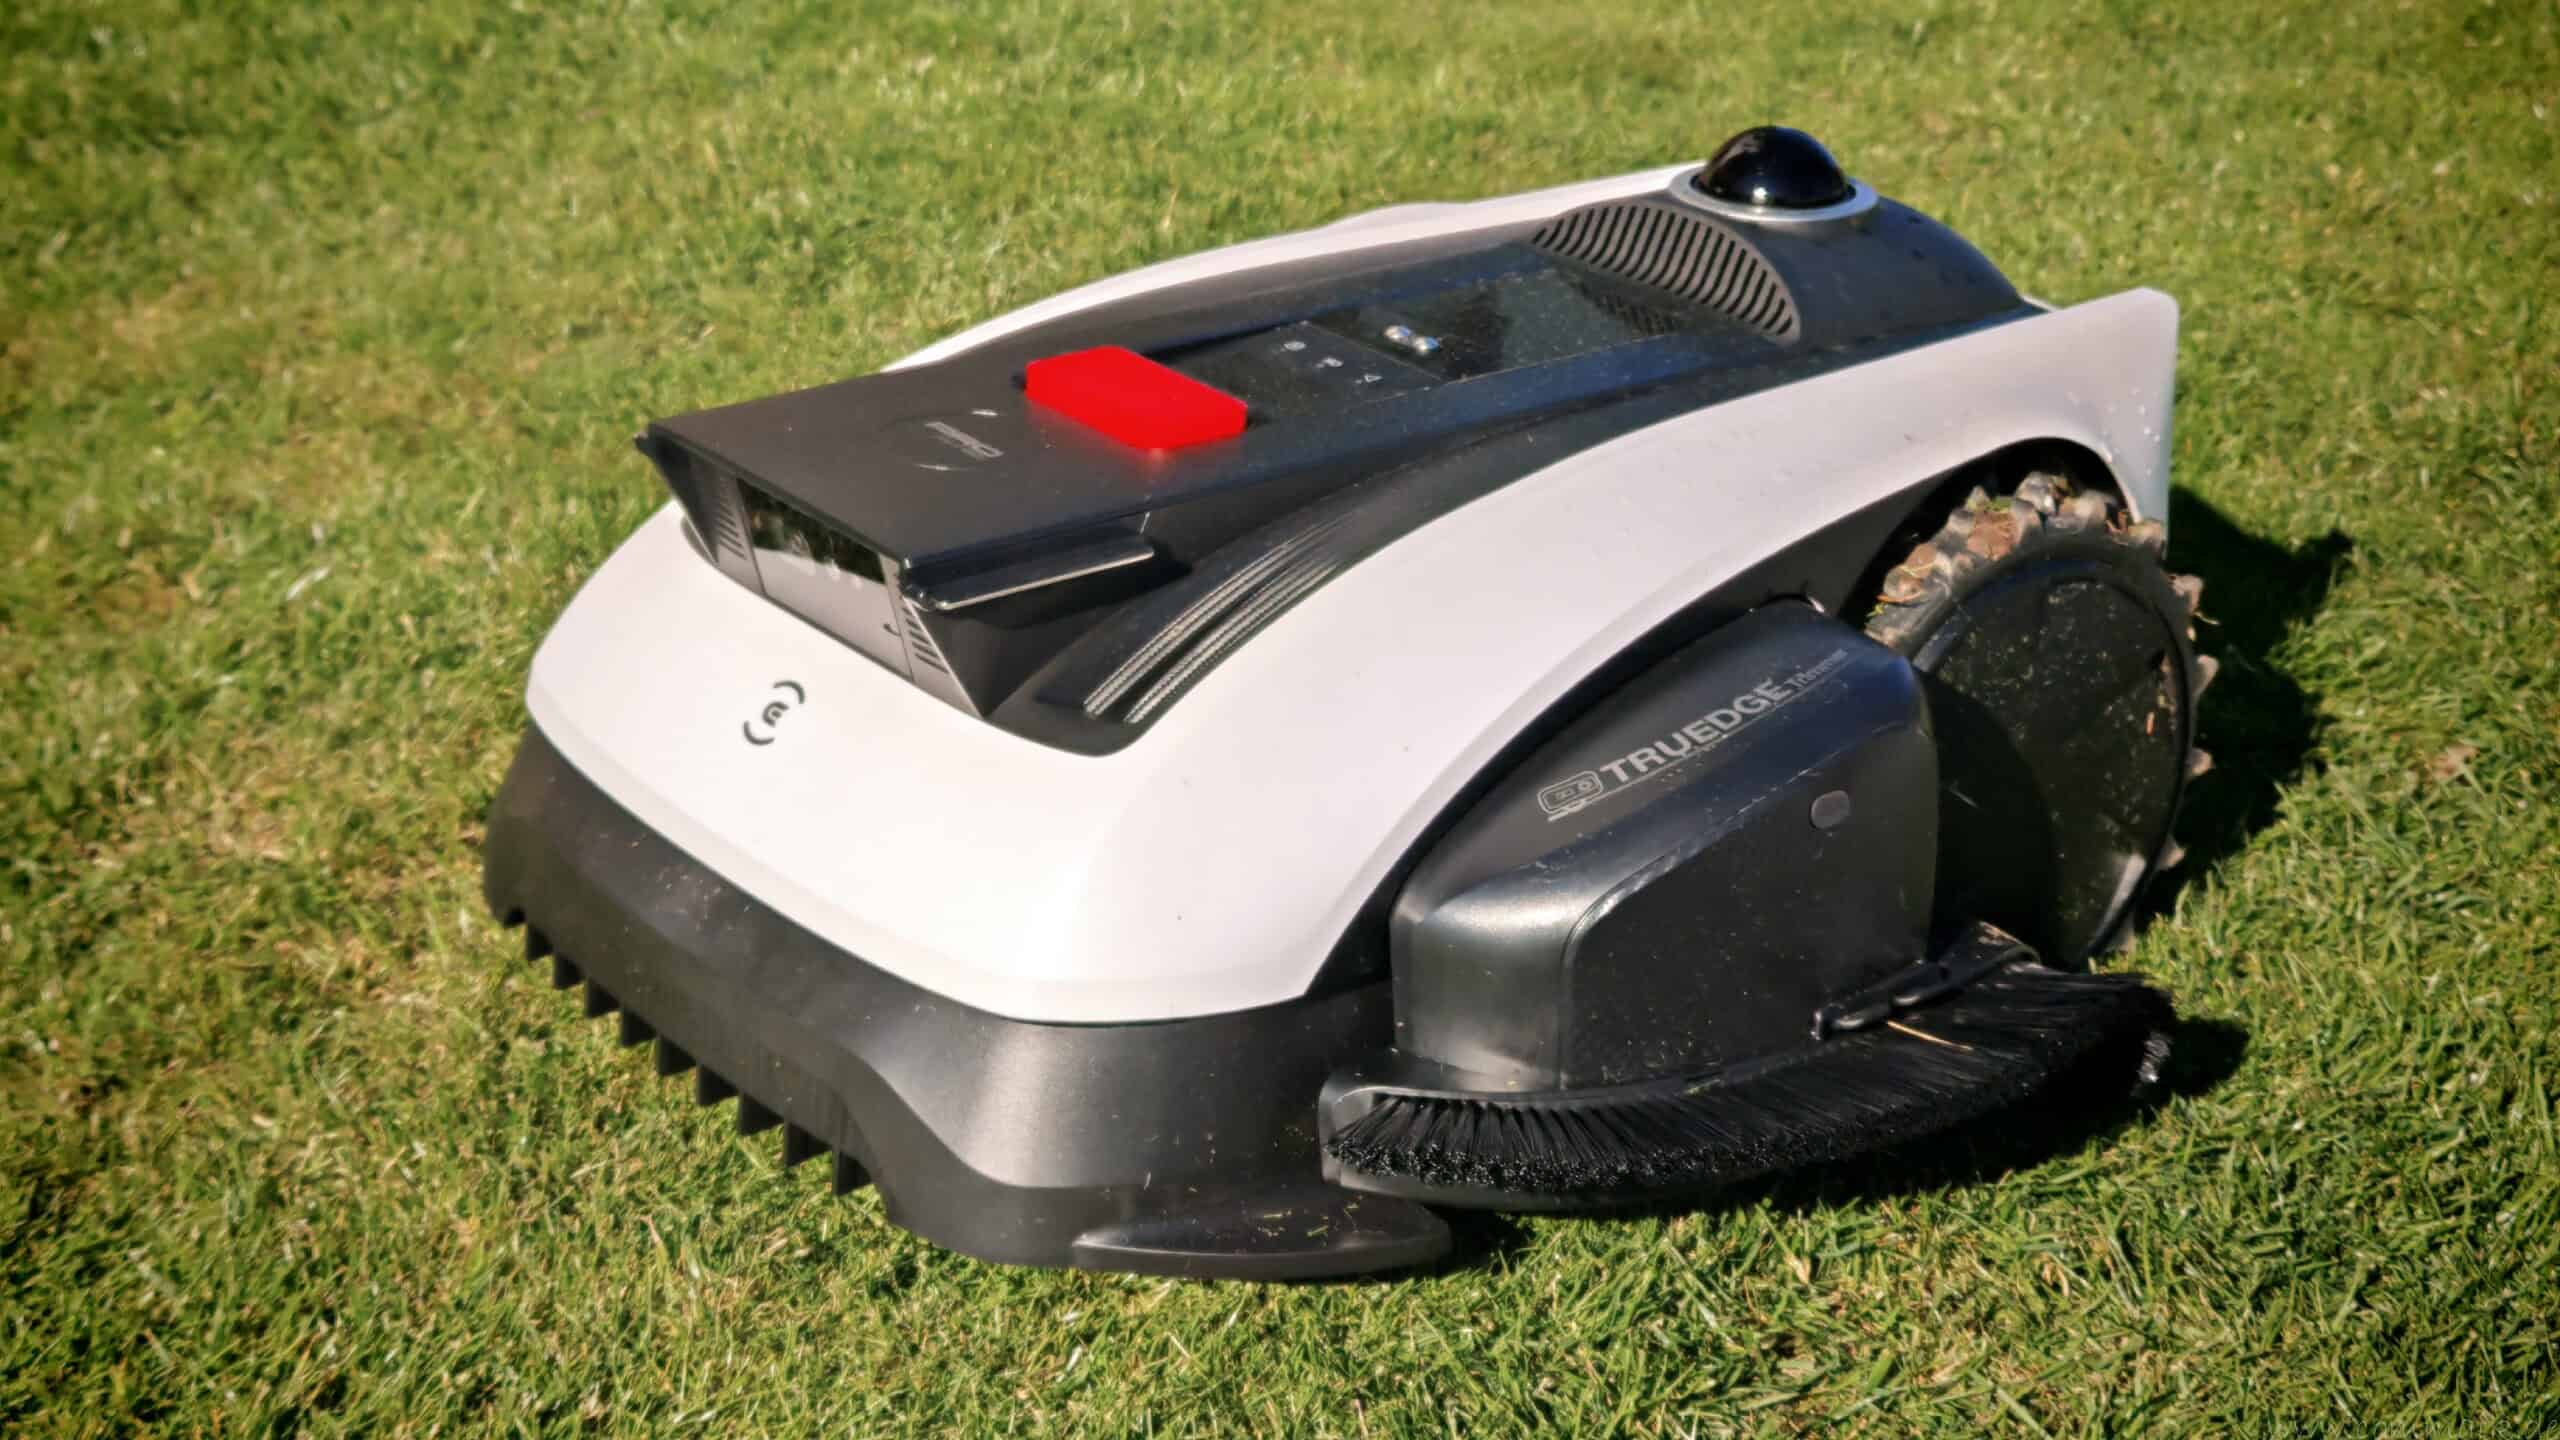
Cleaning procedures may vary for other devices. If rinsing isn’t an option, a brush and a slightly damp cloth are the best choices. Therefore, the water-cleaning method I use for my ANTHBOT can’t simply be applied to every robotic lawn mower.
I usually don’t need any additional cleaning products for normal grass clippings. For stubborn stains, I only use a product that won’t damage plastics, seals, or coatings.
Let it dry completely and check it one last time
After cleaning, I wipe down accessible surfaces with a clean cloth and let the robot dry completely in a sheltered, well-ventilated area. I pay special attention to crevices and gaps where water might remain. Simply making sure it’s dry on the outside isn’t enough for me before storing it away for several months.
Afterward, I check the cleaned areas one more time and install the new blades using the appropriate new screws. This way, the robotic mower goes into winter storage clean and dry, and the blade replacement for spring is already taken care of.
Compressed Air or a Water Hose—My Experiences with Cleaning
With my older robotic mowers, which couldn’t be cleaned with a water hose, I used compressed air after brushing them down. This allowed me to remove loose grass clippings even from hard-to-reach crevices without introducing additional moisture. My compressor is equipped with an oil separator to ensure that as few oil particles as possible get onto the device along with the compressed air. I work at reduced pressure and from a slight distance, and I do not blow directly into bearings, seals, or electrical connections.
I also use compressed air in the fall to winterize my lawn irrigation system and protect it from frost. I use it to blow any remaining water out of the pipes. The oil separator also plays an important role in this process, ensuring that as little oil residue as possible enters the system.
With the ANTHBOT M9 PRO, I’ve started using the garden hose. The main reason for me is that it’s more convenient: The hose is already out in the garden in the fall anyway, whereas I’d have to set up and connect the compressor and the compressed air hose first. In addition, damp, clinging grass clippings can be easily rinsed off with water. Afterward, the robot must be allowed to dry completely. Compressed air remains a practical alternative for loose, dry debris; for clumps of grass that are stuck fast, I first loosen them with the brush using either method.
Robotic Lawn Mower Maintenance – Why I Replace the Blades in the Fall
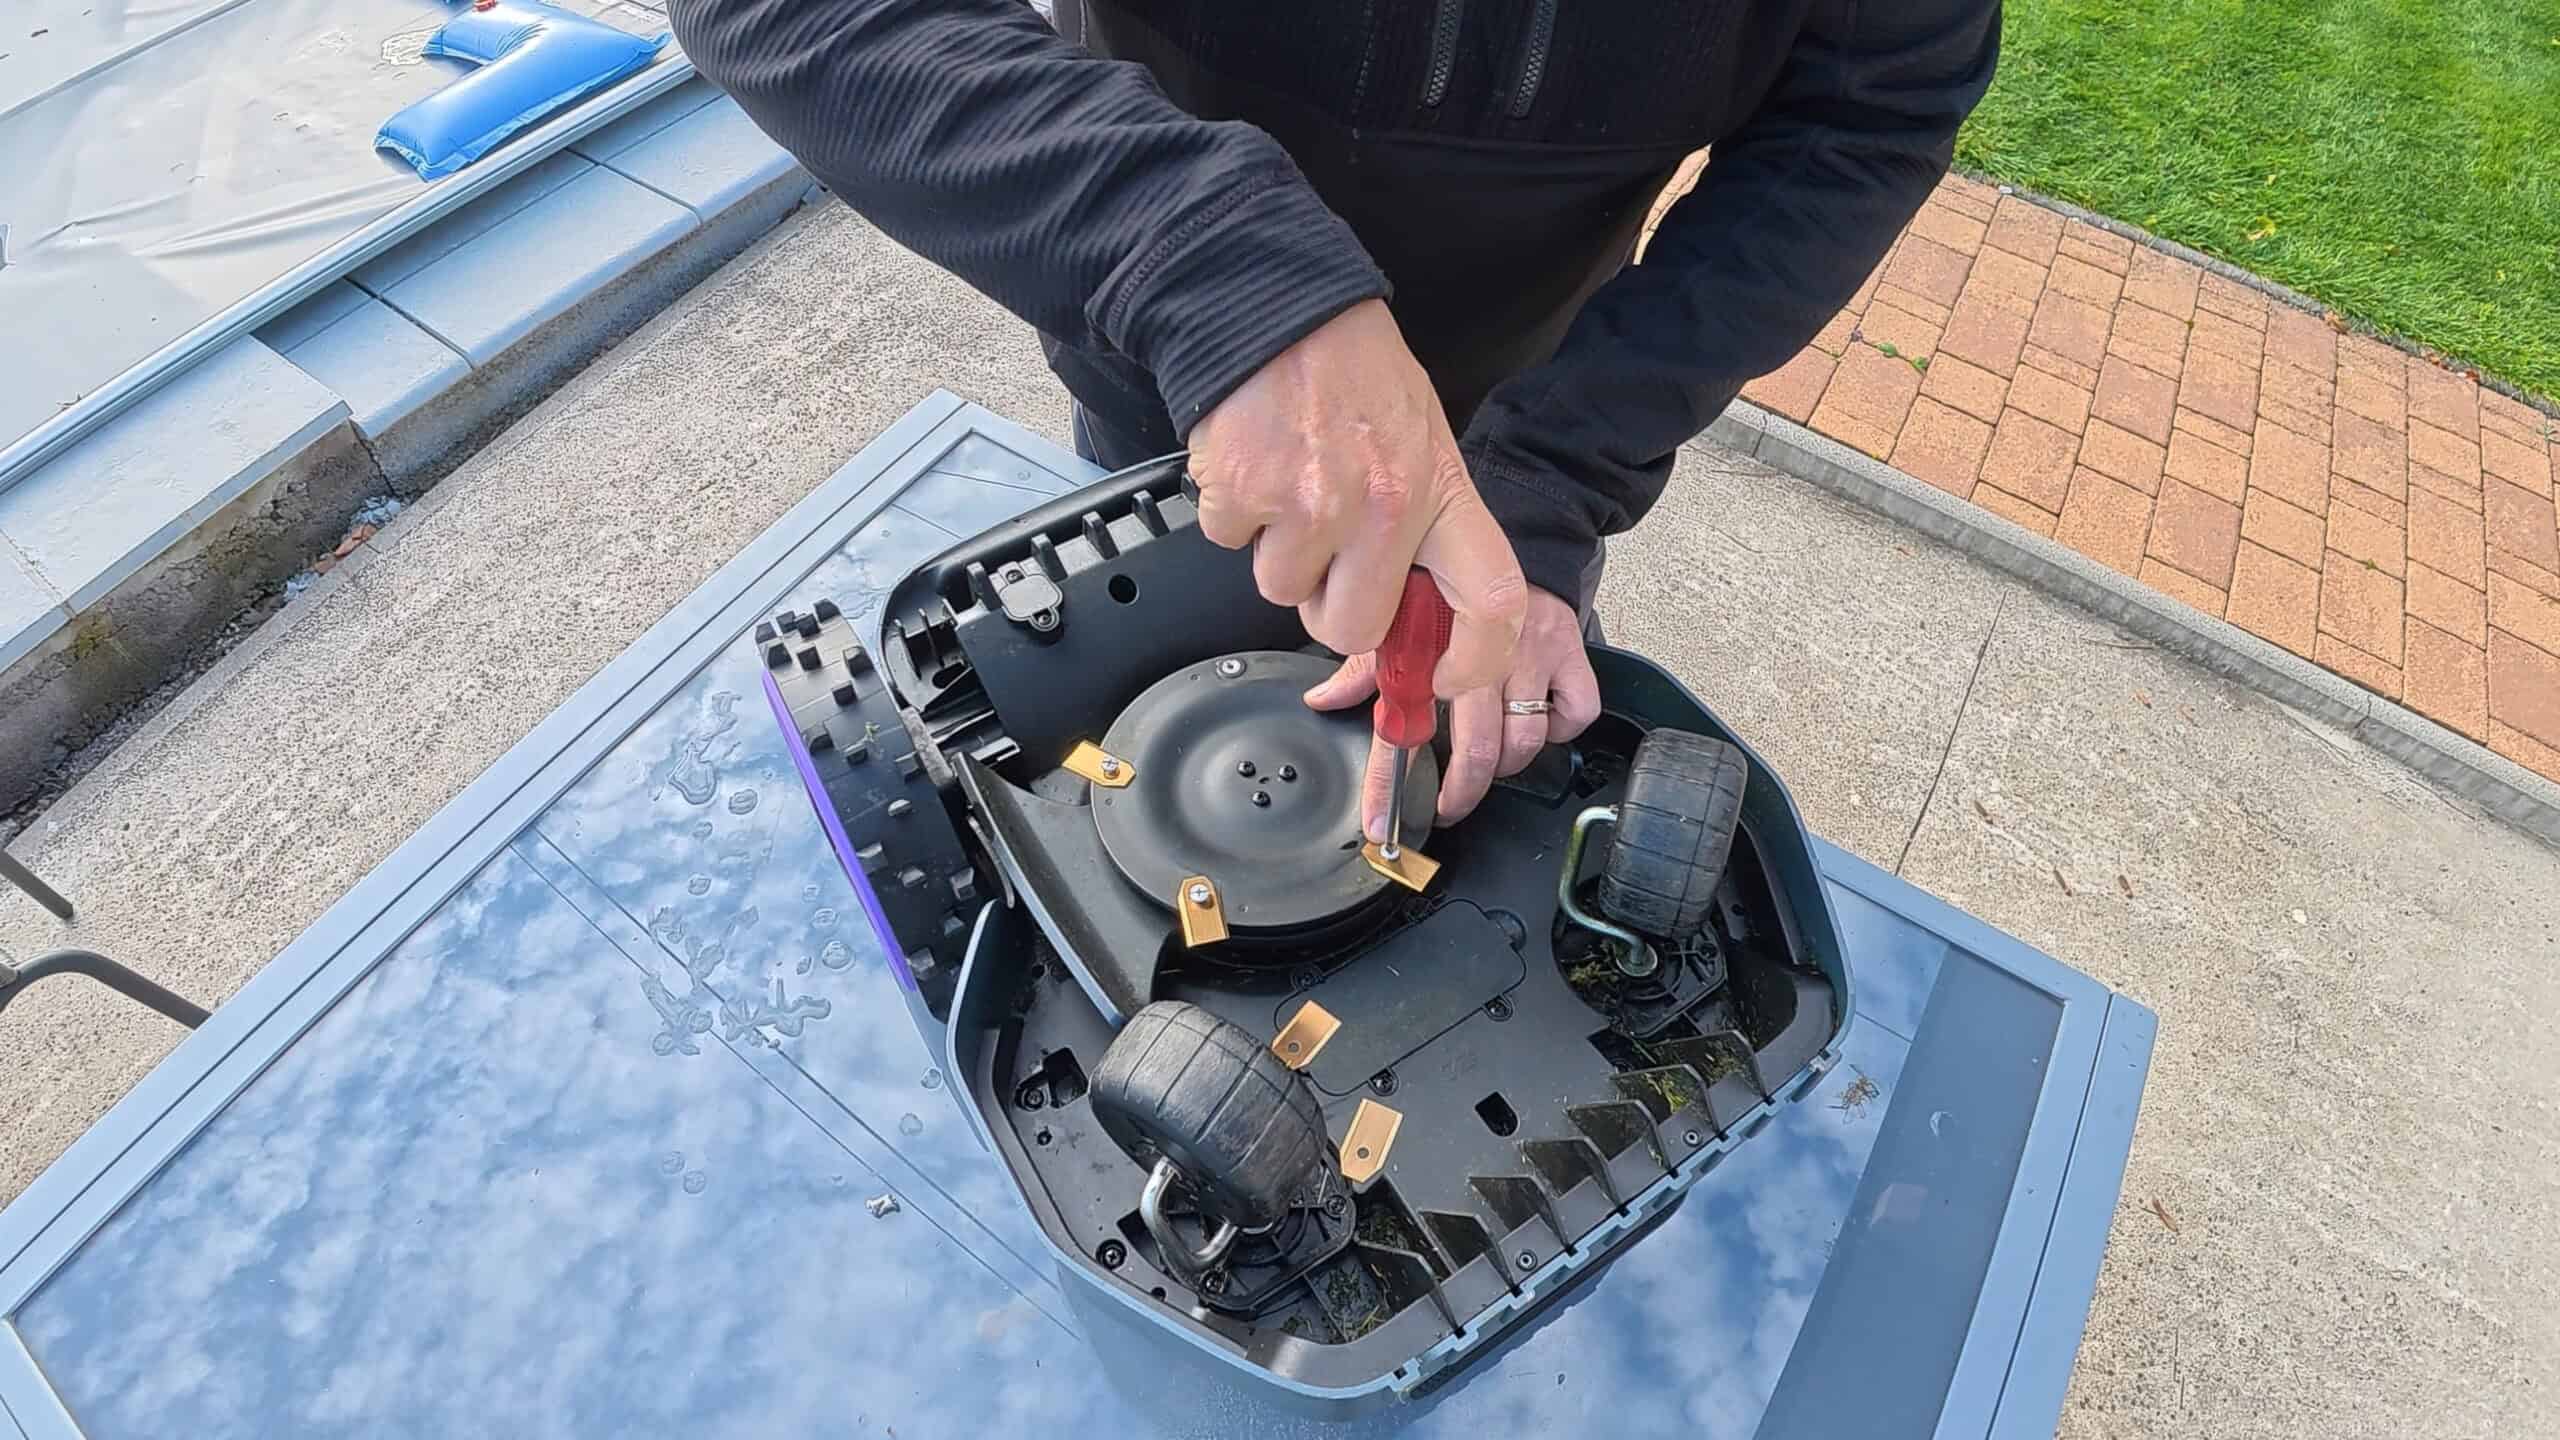
I remove the old blades before putting the mower into winter storage. Without the blades, I can reach the blade mounts and the hidden areas of the blade deck much more easily. Grass clippings and dirt accumulate there during the season, and they’re difficult to remove by simply brushing them off.
I also check the screws, threads, and mounting points. I prefer to loosen any screws that are already corroded now, rather than leaving them with damp deposits until spring. This way, I can thoroughly clean the mounting points and spot any damage or wear early on.
After cleaning, I let everything dry completely. Then I install new blades using matching new screws. The blades must be securely fastened while still being able to move freely within a movable blade holder. I do not apply oil, grease, or threadlocker to the threads.
I’m already familiar with regular blade replacement from my Gardena Sileno+. In my post about installing and maintaining the Gardena Sileno, I also described how to replace the blades and shared my experiences with the device.
New blades for a clean cut this spring
Whether I install the new blades in the fall or just before I use them for the first time doesn’t make much difference to my routine, as long as they’re stored in a dry place. I prefer to do the replacement at the same time as cleaning. That way, the blade plate is already accessible, and the work for the spring is already done.
Worn blades should be replaced with new ones by the start of the new season at the latest. Sharp blades cut the blades of grass cleanly. Dull or damaged blades, on the other hand, tend to leave frayed cut edges, the tips of which may turn brownish. This affects the cut even if the robotic mower continues to mow the area regularly.
With the new blades in the fall, I’m therefore already setting the stage for a clean first cut. Before the season starts, I still check the fastenings and the mobility of the blades one more time.

- ✅【VIELSEITIG EINSETZBAR】Passend für alle Automower Husqvarna und Gardena Modelle: 105, G1, G2, 220AC 230ACX 260ACX 265ACX 305 308 310 315 320 330ACX 420 430X 440 450X R38Li R40Li R45Li R50Li R70Li R75Li R80Li R100Li R130Li R160Li R165 Sileno smart usw
- ✅【MIT HERVORRAGENDER SCHNEIDLEISTUNG】Diese scharfen Automower Ersatzmesser bieten beidseitiges Schneiden, um sicherzustellen, dass die Schnittkanten glatt sind. Die Klingen sind perfekt mit dem Rasenmäher kompatibel. Halten Sie Ihren Rasen sauber und schön
- ✅【UNIVERSALE AUTOMOWER ERSATZKLINGEN】Unsere Ersatzklingen(0,75 mm dick, 3 g), geeignet für alle Husqvarna Automower und Gardena Mähroboter, sichern eine breite Kompatibilität. Ideal für eine Vielzahl von Modellen, bieten sie eine zuverlässige Leistung
- ✅【ROBUST UND LANGLEBIG】Die Ersatzklingen aus Kohlenstoffstahl von Willingood überzeugen durch ihre hohe Härte für präzises Schneiden, extreme Verschleißfestigkeit für langanhaltende Schärfe und gute Zähigkeit, die Brüche selbst bei harten Böden zuverlässig verhindert. So wird eine maximale Lebensdauer erreicht.
- ✅【MIT INNOVATIVEN SCHRAUBEN】In der Verpackung von diesem Ersatzmesser Set können Sie genügend 30 Stück materialschonende Schrauben finden, um bei jedem Messerwechsel eine neue Schraube zu verwenden
Video: How to Properly Store Your Robotic Lawn Mower for the Winter
In the video, I demonstrate the steps right on the M9 PRO: the final cut, cleaning the underside, changing the blade, and my choices regarding the battery, docking station, and RTK antenna.
I post more practical gardening projects and equipment reviews on my YouTube channel, COMMAIK.
Zuletzt aktualisiert am 4. November 2026 um 09:47 . Ich weise darauf hin, dass sich hier angezeigte Preise inzwischen geändert haben können. Alle Angaben ohne Gewähr. (*) Bei den verwendeten Produktlinks handelt es sich um Affiliate Links. Ich bin nicht der Verkäufer des Produktes. Als Amazon-Partner verdiene ich an qualifizierten Verkäufen. Dein Preis ändert sich jedoch nicht.


Charging the Battery Properly—What Charge Level Is Best for Winter Storage?
Before I put my robotic lawn mower into winter storage, I take care of the battery. I don’t want to store the device with the battery nearly empty, nor do I want to have to recharge it unnecessarily often during the winter months. However, the ideal charge level varies depending on the model.
I contacted the product and development team directly regarding my ANTHBOT M9 PRO. Their recommendation is to charge the battery to over 80 percent before storing it and then turn the robot off completely. According to this information, once prepared this way, I don’t need to check or recharge it regularly during the usual winter break and can store it in the basement with peace of mind.
That’s why I charge the M9 PRO properly after cleaning it and letting it dry completely. Only then do I turn it off for long-term storage and put it in its protected storage place.
Why the Battery Needs an Energy Reserve
Even when the mower isn’t in use, the battery charge level doesn’t necessarily remain the same over several months. For one thing, the battery slowly discharges on its own. For another, depending on the model, certain features that consume a small amount of power may still be active. These include, for example, monitoring, theft protection, or a connection to the app.
If there is a sufficient residual charge, there will be a reserve for this purpose. If, on the other hand, a battery that is already largely discharged is left unattended for an extended period of time, its state of charge may drop further. Deep discharge can permanently damage the battery, making it impossible to charge normally.
However, keeping the charge level as high as possible isn’t automatically the best solution for every device. The storage charge must be compatible with the built-in battery and the energy management system. That’s exactly why I did my own research for my M9 PRO, rather than simply adopting a general recommendation for lithium-ion batteries from many manufacturers.
ANTHBOT, Robomow, and Worx—the differences I’ve researched
I compiled the information on the other devices during my research in the respective support documents and winter recommendations. The differences are particularly evident in the recommended charge level and in interim charging.
| Model or Series | Charge Level Before Storage | Battery Care During the Winter Break |
|---|---|---|
| ANTHBOT | Over 80% | After I inquired directly, I was told that it is turned off and does not require regular recharging. |
| Robomow RS, RC, and RX | Load completely | According to the research, the storage period with a fully charged battery is limited to a maximum of six months |
| Worx Landroid Vision | About 70–80% | Recharge every two months if possible; store the removable battery separately |
For Robomow, this information applies to the specific series mentioned. I would also not apply the recommendation for the Worx Landroid Vision to all Landroid models without first verifying it.
During my research, I also came across a general ANTHBOT winter guide that recommends a charge level of at least 85 percent and a top-up charge after 120 days. If the break is significantly longer than the usual winter hiatus, I would check the charge level again.
When I would recharge in the winter
If I had a device that requires periodic recharging, I would schedule a check-up right when I put it away for the season. That way, I won’t forget about the battery just because there’s nothing to do in the garden at the moment.
Before recharging, the device must be dry and within the permissible charging temperature range. I would therefore first let a robot that has cooled down significantly come to room temperature in a suitable indoor location.
For my routine, it’s crucial to ensure the right charge level before shutting it down. For the M9 PRO, that’s over 80 percent. With other devices, however, a full charge or a lower level with occasional recharging may be recommended. A single percentage figure for all robotic mowers would not account for these differences.

- PRAKTISCHES REINIGUNGSSET: Umfassendes Reinigungsset für Ihren Rasenmäher Roboter, passend für alle gängigen Rasenroboter - bestehend aus 4 Teilen
- KLINGENBÜRSTE: Mit einem Durchmesser von 12 mm, um Grasreste zwischen dem schwer zugänglichen Messer und dem darunter liegenden „Teller" zu entfernen, dies ist besonders wichtig, wenn der Roboter auf nassem Gras unterwegs war
- ZWISCHENRAUMBÜRSTE: Mit einem Durchmesser von 35 mm, um die Zwischenräume zwischen Rädern und Achse, bzw. unter dem „Teller" zu reinigen
- GEHÄUSEBÜRSTE: In der bewährten „Herzform" mit sehr festen Borstenbesatz, um das Innengehäuse und die Räder von hartnäckigen und angetrockneten Verschmutzungen zu befreien
- AUFHÄNGERING: Zur praktischen Aufbewahrung des Sets, so dass die Bürsten abtrocknen können
- FARBLICHE GESTALTUNG: Die Bürsten sind in den Farben rot und schwarz gehalten, damit Sie sie auch auf dem Rasen immer gut wiederfinden können
- DEUTSCHE QUALITÄT: Hochwertige Verarbeitung aus eigener Produktion in Deutschland hergestellt für langlebige Nutzung
The Right Storage Location—Keep It Dry and Frost-Free During the Winter
I store my robotic lawn mower in the basement over the winter. There, it stays dry and frost-free, is protected from direct sunlight, and isn’t right next to a heater. It’s important to me that the storage area provides consistently suitable conditions over several months.
An unheated garage or garden shed is only an option if it actually stays frost-free. A roof protects against rain and snow, but it doesn’t keep out the cold. A damp basement wouldn’t be a good choice for me either.
Park it safely without the robot getting in the way
I’m looking for a level, stable spot where the mower can stand securely and doesn’t have to be moved every time I do other work. Especially in the basement or garage, it shouldn’t block a doorway or be placed where I regularly carry tools or garden equipment past it. That way, I can avoid accidentally bumping into the mower’s housing or setting something down on it.
At the same time, the device remains easily accessible. If I want to check the charge level or look something up, I don’t have to clear out half the shelf first.
Before storing it, I let the robot dry completely. There shouldn’t be any moisture left under the casing or in the crevices. That’s why I don’t pack it away while it’s still damp in an airtight plastic bag.
Disable the theft alarm before the winter break
With the M9 PRO, I disable the anti-theft alarm before putting it away for an extended period and then turn the device off completely. I don’t want to set off an unnecessary alarm when carrying it down to the basement or moving it later.
Depending on the system, monitoring and communication functions may also continue to consume power during downtime. For the winter break, I therefore check which functions remain active and whether a special sleep or storage mode is provided. Simply ending the mowing schedule does not automatically mean that the robot is completely shut down.
I make a distinction between the theft alarm and a PIN or device lock. To me, disabling an alarm for transport and storage doesn’t mean removing all access security measures. The basement remains secure, and I save the access credentials for the start of the season.
In the spring, I always make sure to reactivate the alarm and check the settings as part of the process of getting everything up and running again.
Does the charging station need to be removed?
The charging station for my ANTHBOT M9 PRO will stay in its current spot in the garden over the winter. I checked with ANTHBOT directly: It’s okay to leave it outside over the winter as long as I disconnect the power supply.
For me, this has a practical advantage: In the spring, the station is still exactly where I set it up. I don’t have to realign the mount or make room in the basement for the entire base.
First, I disconnect the power supply. Then I remove any grass clippings and dirt and inspect the cables, housing, and connections. I protect any disconnected connectors from moisture with matching protective caps or suitable covers. If possible, I store the removable power supply in a dry place.
Leave it outside or store it in a protected area—the case for each
If the station stays installed, I won’t have to take it apart and set it up again. Plus, the cables and connectors won’t be moved as often. I find this especially convenient with a neatly set up, securely anchored base.
However, the installation will be exposed to rain, snow, frost, and temperature fluctuations for several months. Connections and housings must therefore be in a condition that can withstand these conditions. A damaged connector or a noticeable seal would be a reason for me to take a closer look.
When I take it down, however, I can thoroughly clean and inspect the station and store it safely. In the basement, it’s also protected from accidental damage caused by shoveling snow or other yard work. To do this, I need additional storage space, and in the spring I’ll have to reinstall the mounting hardware, wiring, and alignment.
With the devices I’ve used so far, stations left outside over the winter—whether connected to a power source or not—have worked again in the spring. For my M9 PRO, I use the verified battery-free version.
Robomow and Husqvarna differ in terms of power supply
According to my research, the Robomow RT300 and RT700 charging stations can also remain on the lawn while the power supply is unplugged.
For the Husqvarna Automower 310 and 315, however, the 2017 manual describes a different procedure: If the station cannot be stored indoors, it should remain connected to the power supply as well as the boundary and guide wires throughout the winter.
These examples alone show why I don’t base my decision solely on the brand. Even within the same product line, the design and intended winter storage methods can vary.
Does waste heat help prevent condensation?
The reasoning behind keeping the device plugged in is often that the electronics generate a small amount of heat. If this keeps surfaces warmer, it can reduce condensation under the right conditions.
However, simply plugging in a connector does not automatically keep a station dry. The key factors are how much heat is actually generated and how the temperature and humidity inside the enclosure change over time. Furthermore, this heat does not protect an open connector from rainwater intrusion.
That’s why I wouldn’t leave the power supply plugged in just in the hope of getting extra protection against moisture. With the M9 PRO, I unplug it for the winter and make sure the connections are clean and protected instead.
Why the charging station’s location in the app is important
With a map-based robotic mower, the charging station is part of the configured garden area. The system knows its position and the route to it. If the base station is moved or rotated during reinstallation, the stored configuration may no longer match the actual situation.
It’s not just about where the station is located. Its orientation and the clear approach area are also important. For example, if the base is positioned slightly further to the side or at a different angle, the robot may no longer align properly with the charging position. Depending on the system, this can result in repeated docking attempts or problems returning to the station.
The actual effect depends on how each device recognizes its station and processes changes in position. Some systems offer a feature for repositioning or reconfiguring the base station. Therefore, a complete remapping is not necessary every time a change occurs.
I’ve already described how I set up this type of installation in my post on setting up the charging station and mapping with the ANTHBOT Genie 600. In that post, I go over the surface, mounting, cable connections, and the subsequent setup in the app.
Here’s How I Make It Easier to Rebuild in the Spring
When I remove a charging station, I first take photos of its position, orientation, and cable routing. I also mark the mounting points and label any disconnected cables. I leave existing mounts in place whenever possible, provided they aren’t in the way.
This makes it much easier for me to restore the original setup. After setting it up, I still check to make sure the station’s position is correct in the app and that the mower returns on its own and docks properly.
For me, this supervised return test is part of the start of the season. The fact that the baseline is roughly back where it was isn’t enough of a check for me.
Should I remove the RTK antenna or leave it outside?
My RTK antenna stays mounted on its permanent wall bracket in the garden throughout the winter. That’s how I’ve handled it with my previous devices from ECOVACS, ANTHBOT, and Lymow, and I haven’t had any problems with it so far. I described the installation of a separate reference station, among other things, in my hands-on review of the Lymow One with RTK navigation. If the antenna stays mounted, I save myself the trouble of taking it down every year and don’t have to reattach it to the same spot in the spring.
ANTHBOT recommends removing the RTK base station for the M9 PRO whenever possible and storing it in a dry place. Based on my experience so far, I leave it mounted, but I disconnect the power supply and protect the connections from moisture. I also check the mount and the cable fastenings to make sure nothing comes loose over the winter.
Arguments in favor of dismantling the RTK base station
In the protected storage area, the antenna is not exposed to snow and ice or the constant temperature fluctuations in the garden. When you remove it, you can also easily inspect and clean the housing, cables, and connectors.
For me, the extra work comes during reassembly. The mount alone doesn’t guarantee that the antenna will end up exactly in its original position. Depending on how it’s mounted, it can end up slightly higher, offset to the side, or at a different angle. That’s why I would take a photo of the position before removing it, mark the mounting points, and leave the fixed bracket as unchanged as possible.
Why the antenna position must match the saved map
The RTK base station serves as a fixed reference point for the robotic mower’s satellite-based positioning. During setup, the mowing areas, pathways, and virtual boundaries are saved to match the existing layout.
In my comparison of the ANTHBOT M5 and M9 with LiDAR and RTK, I explain how positioning using an RTK reference station differs from environmental mapping via LiDAR. These differences also affect which components I need to consider when preparing for winter.
If the reference station is moved later, this assignment may no longer be accurate. The robot may then no longer navigate to the area where the boundary was originally set. How each system detects and processes a changed antenna position varies. For this reason, it is crucial for me not to simply assume that the map will still be a good fit after disassembly.
I checked with ANTHBOT regarding my M9 PRO: If the antenna is reattached in exactly the same position, the saved map will remain valid. That’s another reason for me to leave the existing mounting as untouched as possible.
My Checkup at the Start of the Season
I also check any outdoor antennas in the spring. I make sure the mount is still secure, the cables are undamaged, and the RTK connection is reestablished. Then I run the mower under supervision, paying special attention to the edges and narrow passages.
When it comes to pools, walls, and drop-offs, I don’t want to rely solely on the app’s display. The key factor is whether the actual driving path still matches the designated area. If I notice a discrepancy, I first check the setup and then correct the map or recalibrate it as needed.
Leaving the antenna installed saves me some work—but it doesn’t spare me from having to check it in the spring.
Spring Start After Storage
In the spring, I’ll go over the installation again to make sure everything is in order. Having an antenna installed and new blades does not replace this inspection.
Here’s my order:
- Check the housing, wheels, sensor surfaces, and cutting mechanism for damage.
- Check the cables, connectors, and contact surfaces.
- Restore the installation and connect the power supply.
- Charge the battery according to the manufacturer’s instructions.
- Check the RTK connection, settings, and available firmware updates.
- Conduct a supervised test run on a small area.
In this first run, I’m particularly interested in the stored boundaries and the return to the station. Only once the mapping matches the actual garden area will normal operation begin.
At the start of the season, I also take care of the lawn itself. I remove leaves, twigs, and the remnants of winter before regular use resumes. I’ve summarized my other tasks—from fertilizing to reseeding—in my post on spring lawn care.
Should you do winter maintenance yourself or take your car to a professional shop?
As part of my routine, I can easily handle the cleaning, visual inspection, and scheduled blade replacement on my own. I only need a few simple tools, and I can thoroughly inspect the underside.
I consider having a professional service center perform a winter service when a visual inspection alone is no longer sufficient—for example, in cases of recurring error messages, damaged connections, unusual charging behavior, or a significant decline in battery performance.
I would clarify in advance whether a service package also includes an inspection, fault diagnosis, software updates, or storage until spring. The term “winter service” alone does not describe a standardized scope of services.
When choosing a new mower, I would also look for easily accessible wear parts, clear maintenance instructions, and readily available replacement blades. However, I do not use the winter preparation tips shown here to rank the mowing performance of different products.
Gear from my winter preparations
The following links are from my video description. When it comes to replacement blades, the correct model is crucial; when it comes to cleaning products, compatibility with the specific material is key.
- Brush Set for Robotic Lawn Mowers*
- Cleaning Kit for Robotic Lawn Mowers*
- Cleaning Solution for Robotic Lawn Mowers*
- Replacement Blades – Check Model Compatibility*
- ANTHBOT M9 PRO as a demonstration unit in the video*
My Thoughts on Winter Preparation
I see the greatest practical benefit in the combination of thorough cleaning and a follow-up inspection. Without the old blades, I can reach the joints more easily, and with new blades, I’ve already taken care of part of the preparation for spring.
With my M9 PRO, I stick to the recommended battery charge level of over 80 percent and disconnect the power supply to the station left outside. However, leaving the RTK antenna mounted is a personal deviation from the recommended protected storage.
This way, I can winterize the robot without applying a rule based on a single experience to all devices. What matters to me is a clear sequence of steps, a suitable storage location, and the appropriate instructions for each model.
Summary – Here’s How I Prepare My Robotic Lawn Mower for Winter
When grass growth slows down in the fall and the first frosty nights are approaching, I prepare my robotic mower for its winter break. For the ANTHBOT M9 PRO, I combine a thorough cleaning with maintenance: I remove grass clippings, check the wheels, sensors, and charging contacts, and replace the blades in the fall. After cleaning, I let the unit dry completely.
When storing it, I charge the battery of my M9 PRO to over 80 percent and then turn the robot off completely. I store it in a dry, frost-free basement. My research on Robomow and Worx revealed differences in the recommended charge level and recharging procedures. Battery maintenance must therefore be tailored to the specific model.
I leave the charging station unplugged in my yard, along with the permanently mounted RTK antenna. I protect the connections from moisture, which saves me from having to set everything up again. When I start using it again in the spring, I still check the installation, the saved boundaries, and the docking process.
This way, my robotic lawn mower can be stored safely for the winter, and important tasks for the new season are already taken care of. If I encounter charging problems, damaged parts, or recurring errors, I might also consider signing up for a winter service from a specialized company.
Frequently Asked Questions About Preparing Your Robotic Lawn Mower for Winter
When should I winterize my robotic lawn mower?
I start preparing for winter as soon as the grass has almost stopped growing and the first frosty nights are on the way. In my garden, this usually happens in October, or by early November at the latest. The weather and the equipment’s temperature limits are key factors. I try to choose a dry day whenever possible for cleaning and storage.
At what temperature should the robotic lawn mower be put into winter storage?
For the ANTHBOT M9 PRO, I prepare it for storage as soon as the forecast calls for nighttime temperatures of 3 °C or lower. The thresholds may vary for other models. Therefore, I don’t always wait for the first frost; instead, I take into account the conditions under which each device is permitted to operate.
Can a robotic lawn mower stay outside during the winter?
I bring my robots indoors for the winter break. During this long period of inactivity, I want to protect the battery, connectors, and moving parts from excessive cold and prolonged moisture. A small robot garage keeps out precipitation, but it doesn’t provide a frost-free storage space.
Is a garage or a garden shed suitable for storing items over the winter?
For me, both options are viable as long as it stays dry and reliably frost-free there. However, an unheated garage can freeze through during prolonged cold spells. That’s why I use my basement and store the mower there securely without blocking any passageways.
How full should the battery be before storage?
I charge the battery of my M9 PRO to over 80 percent and then turn the device off completely. I obtained this recommendation specifically for my model. In my research on other devices, I came across recommendations for both a full charge and lower storage charge levels. Therefore, there isn’t a single percentage that applies to everyone.
Does the battery need to be checked and recharged in the winter?
I was told that my M9 PRO, which is turned off, does not require regular recharging during the usual winter hiatus. Other devices do need to be recharged periodically. If that’s the case, I’d make a note of a check-up date when putting it into storage. I wouldn’t leave a robot sitting idle for several months with a nearly empty battery.
Can I clean the robotic lawn mower with a garden hose?
I first clean my M9 PRO with brushes and then rinse off any remaining grass clippings with a gentle stream of water. The device is designed for this. With my older robots, which weren’t meant to be rinsed with water, I used compressed air as a supplement. I don’t use a pressure washer. Before storing it, I let everything dry completely.
Does the charging station need to be taken down or unplugged during the winter?
I leave my M9 PRO’s docking station outside, but disconnect it from the power supply. I clean it and protect the ports from moisture. For other devices, however, it may be appropriate to keep them plugged in or store them in a protected location. If the base is dismantled, I document its position, orientation, and cable connections beforehand.
Does the RTK antenna need to be taken down in the winter, and does the map need to be redrawn in the spring?
My antenna stays attached to the fixed wall mount. I’ve had good results with this setup on my previous devices, even though ANTHBOT recommends removing it for the M9 PRO whenever possible. If you do remove it, the original position is important: For my M9 PRO, I’ve been assured that the map will remain intact as long as it’s reinstalled in the exact same position. I’ll still check the actual limits in the spring during a supervised test run.
Should I change the blades in the fall or wait until spring?
I take care of changing the blades in the fall. Without the old blades, I can clean the mounts more thoroughly and check the screws and fasteners. Once they’re dry, I install new blades with matching new screws. That way, the job is already done. I replace worn blades no later than before the first cut of the new season to ensure a clean cut.
Note: All links marked with an * are affiliate links. If you make a purchase through these links, I’ll receive a small commission at no additional cost to you. Thank you for your support!
Dieser Beitrag ist auch verfügbar auf:
 English
 Deutsch

Ähnliche Beiträge

Variable-Frequency Drive for a Pool Pump: Installation, Settings, and Saving Electricity

Heating optimization: How to make your diesel parking heater quieter – pump and silencer in the test