Build your own carport – build an Easycarport safely on a slope
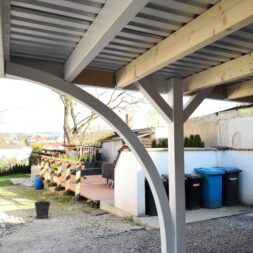
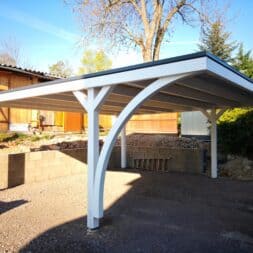
I have finally fulfilled my dream of having my own carport. In this project, I decided to build a wooden double carport from EasyCarport myself.
The entire process, from the preparation of the substrate to the final installation of the roof curb sheets, was a challenging but also very fulfilling task.
In the following article, I provide a detailed insight into the individual steps and challenges of this construction project.
Build carport yourself – post into the post anchors
With sufficient manpower, I started the assembly on a Saturday.
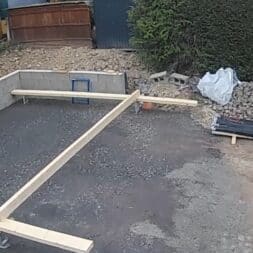
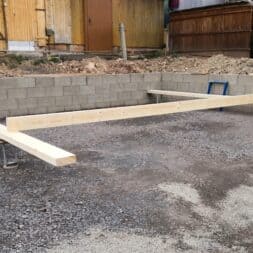
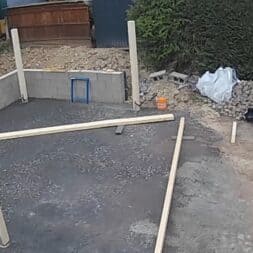
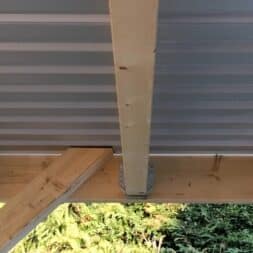
First, I shortened the individual posts according to my calculations and inserted them into the H-post anchors. I have described how to calculate the correct length, taking into account slopes and unevenness, in the article Building a carport yourself – calculating and adjusting post lengths correctly.
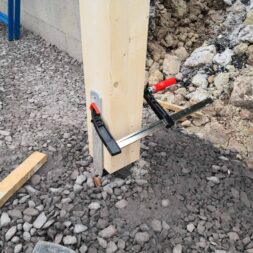
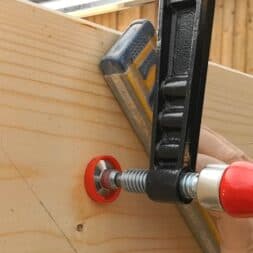
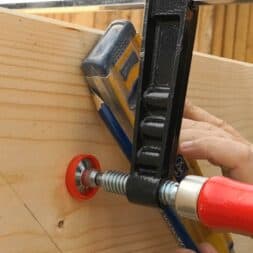
To ensure exact alignment, I fastened the posts temporarily with screw clamps so that they could be precisely adjusted with the spirit level.
I planned the final bolting with the H-post anchors for the end of the superstructure. This enabled me to attach all the beams first and then finally align the posts again.

- Brand: Heunert
- 6 x Heunert H-Pfostenträger H-Anker Pfostenanker Set 6 Stück 91, 101, 121 oder 141 verzinkt mit CE Zeichen extra stark (6 Stück 141 x 600 x 6 mm)
- Product Type: BOLTS
- Size: 6 Stück 141 x 600 x 6 mm
Screw the end beam to the carport
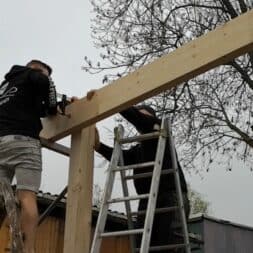
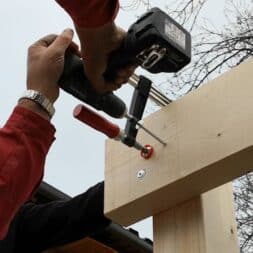
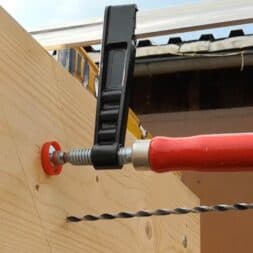
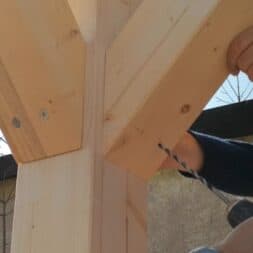
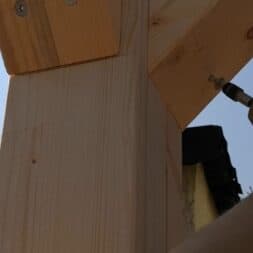
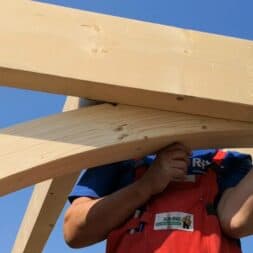
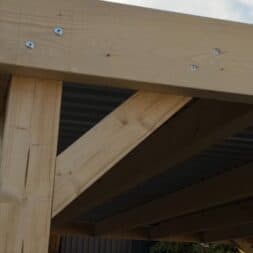
Once I had positioned the side end beams on the posts, I secured them with screw clamps before screwing the long wood screws into the pre-drilled holes.
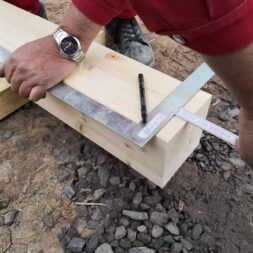
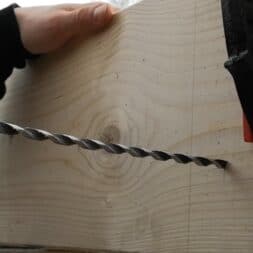
I had prepared the holes beforehand with a wood drill. Pre-drilling the holes is important to protect the wood from splintering and to avoid cracks that could occur when the screws are screwed in directly.
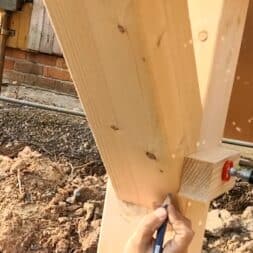
I measured the beams carefully and marked the final positions with a pencil before drilling the holes. This made my subsequent work easier and much more efficient.
It was essential to have the right tools ready for this work. The screws, some of which were over 20 cm long, required a cordless screwdriver with a correspondingly high torque. A spirit level, a hammer and a set of bits were also indispensable.
It was also important to think about a suitable lifting device. I used my Layher scaffolding to lift the beams to the right height and fix them there.
With the installation of the rear crossbeam, a certain degree of stability was already achieved.

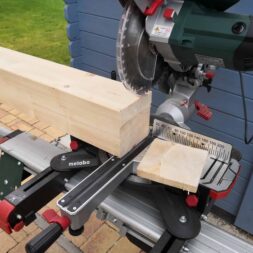
- Dank der Drehzahlregelung wird das Einsatzspektrum der Kappsäge enorm erweitert - z.B. zum Sägen von Alu-Profilen und Kunststoffen
- Im Lieferumfang ist auch ein Sägeblatt »multi cut« (Flach-/Trapezzahn) für hohe Schnittgüte und lange Standzeit enthalten. Das Sägeblatt eignet sich für Laminat und Alu-Profile
- Trotz der robusten Bauweise aus Aluminiumdruckguss ist die Säge ein kompaktes Leichtgewicht und kann auch einhändig transportiert werden
- Vario-Constamatic (VC)-Vollwellenelektronik zum Arbeiten mit materialgerechten Drehzahlen, die unter Last nahezu konstant bleiben
- Durch das helle LED-Arbeitslicht und den Laser wird die Schnittstelle optimal beleuchtet und angezeigt - somit sind genaue Schnitte garantiert
Video: Build your own carport
I recorded the assembly and installation of the Easy Carport in an informative video and published it on my YouTube channel.
You can find my videos about building the carport in my playlist Project Carport – Building a Carport on a Slope by Yourself.
If you want to see more of me and my projects, feel free to check out my YouTube channel.
Zuletzt aktualisiert am 18. February 2026 um 21:13 . Ich weise darauf hin, dass sich hier angezeigte Preise inzwischen geändert haben können. Alle Angaben ohne Gewähr. (*) Bei den verwendeten Produktlinks handelt es sich um Affiliate Links. Ich bin nicht der Verkäufer des Produktes. Als Amazon-Partner verdiene ich an qualifizierten Verkäufen. Dein Preis ändert sich jedoch nicht.
Install end beam on the carport itself
Unfortunately, fitting the front end beam was not so easy. Despite the vertically fixed posts, the two lateral end beams drifted apart.
Without further ado, I put two tension belts together and mounted them around the two outer front beams. I then moved the front end beam into the right position using the scaffolding.
Using the tensioning straps, I was now able to pull the two side end beams inwards so that I could easily attach the front beam.

- Entwickelt zum Bohren in Holz
- Äußerst effizient für Schreiner und Holzarbeiter: Präzision
- Sechskantschaft für eine starke Verbindung und maximale Drehmomentübertragung in Dreibackenfuttern und 1/4-Zoll-Innensechskant-Werkzeughaltern
- Zum Bohren in allen Hart- und Weichholzarten auch in nassem Holz, z. B. beim Bohren von Durchgangslöchern für Rohre und Kabel in dickem Holz
- Lieferumfang: PRO Wood Holzschlangenbohrer-Set, 6-tlg.
Mount cross struts and screw posts together
From then on, I organized a division of the work, which enabled us to keep to the schedule better and build the carport within one day.
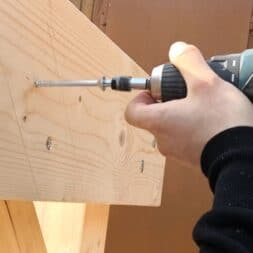
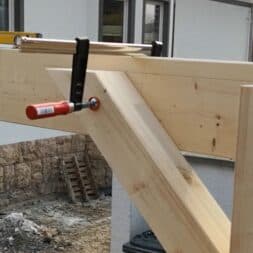
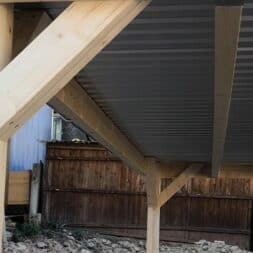
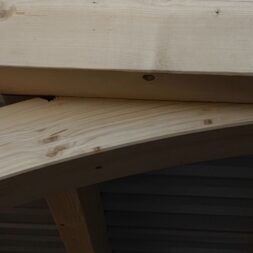
While one working group finally fixed the posts with the screws provided and screwed the cross braces between the posts and end beams, the other group fitted the remaining cross beams into the post shoes previously attached.
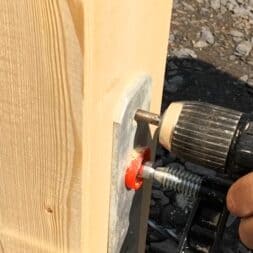
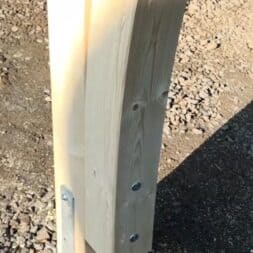
I pre-drilled the holes for the machine screws in the posts with a 10 mm wood drill. Precise work was essential here, as with a post thickness of 14 cm it is a challenge to drill a 10 mm hole through the post with a maximum tolerance of 1-2 mm.
I pre-drilled a total of two holes per post and then fastened the screws. I checked the position of the posts again with the spirit level and readjusted them if necessary.
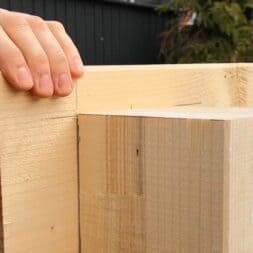
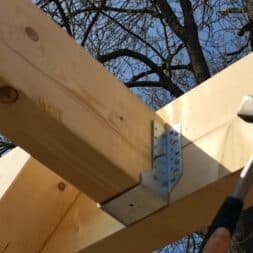
I nailed the post shoes to the side beams, then inserted the cross beams and nailed them in place too. I didn’t have to use any tension belts when assembling the cross beams, as the beams fitted with millimeter precision.
With good preparation and active support, the carport was finished in just over four hours and I was able to thank my construction helpers and let them go home.

- Die Schraubzwinge von wolfcraft überzeugt mit einer guten Qualität
- Durch das Hohlprofil der Schraubzwinge, ist ihre Schiene verstärkt
- Die Riffelung der Schiene verhindert das Abrutschen
- Die Schraubzwinge hat einen angenehmen Kunststoffgriff
Roof and gutter is mounted on the carport
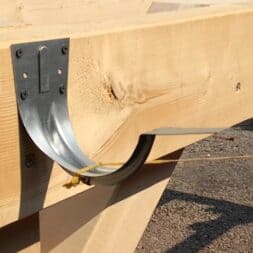
First, I installed the two outer gutter brackets with a slope.
A correct slope is crucial for the effective functioning of the gutter. It ensures that the water drains away quickly and that there are no standing puddles of water that could lead to rust or other damage.
The slope of a rain gutter should be around 2 to 3 millimeters per meter. This corresponds to a gradient of around 0.2 to 0.3 degrees. Such a gradient ensures sufficient water flow without the water flowing too quickly and spilling over the edge of the channel.
The required gradient can depend on several factors:
- Gutter length: For longer gutters, a slightly increased slope may be necessary to ensure that the water drains well along the entire length of the gutter.
- Roof pitch and area: Steeper or larger roof areas may allow more water to flow into the gutter, which could require a greater slope to speed up water runoff.
- Gutter material: Different materials (e.g. plastic, metal) have different coefficients of friction, which can influence the water flow.
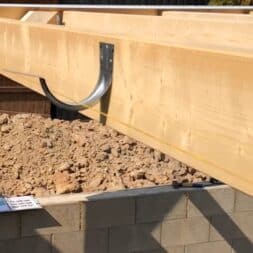
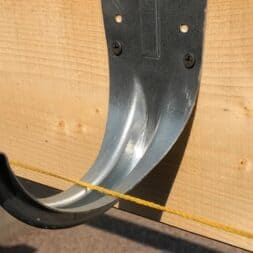
I then stretched a line between the two holders. This guideline served as an orientation for installing the other gutter brackets in a line with the same gradient.
Step-by-step instructions for installing a rain gutter
Step 1: Make preparations
Before I started the assembly, I made sure that all the necessary tools and materials were ready. This included gutter brackets, gutter, drainpipe, eaves sheet, trapezoidal sheet, screws and a spirit level.
Step 2: Installing the gutter bracket
I started by fitting the two outer gutter brackets. I positioned these with a slight slope so that the water could drain away easily later. I stretched a guideline between these two brackets to ensure that the other brackets could be mounted in line and with the same gradient.
Step 3: Attach further gutter brackets
I fitted the remaining gutter brackets at regular intervals along the tensioned alignment line. I made sure that all brackets were attached at the same height and with the same gradient.
Step 4: Attach the rain gutter
After fitting the gutter brackets, I inserted the gutter and secured it in the brackets. I checked several times that the gutter was correctly aligned and that the slope was maintained.
Step 5: Install the drain pipe
I fitted the drainpipe at one end of the gutter. I made sure that the pipe was securely fastened and that the water could later drain away unhindered.
Step 6: Fastening the eaves sheet and trapezoidal sheet
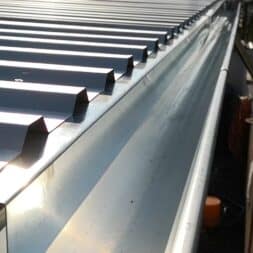
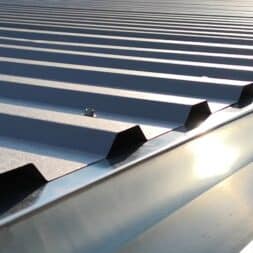
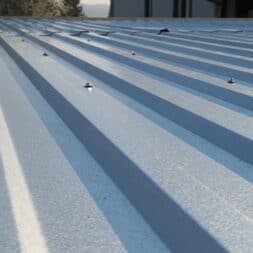
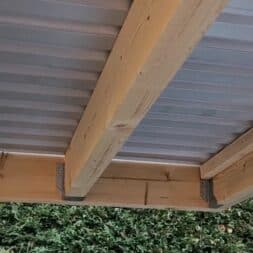
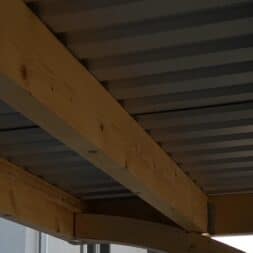
Together with my father, I fitted the eaves and the trapezoidal sheet metal roof. We attached the trapezoidal sheet metal to the end beams to ensure that the water from the roof was directed straight into the gutter.
Step 7: Final check
Finally, we carefully checked all the connections and fastenings again. I made sure that the gutter was installed correctly and that the slope was sufficient for the water to drain properly.
After a total of seven hours, it was time for us to call it a day.

- ANWENDUNG: Kunststoff Dachrinnen Set zur sicheren Dachentwässerung einer Dachseite an Gartenhaus, Carport oder Terrasse - geeignet für Pultdächer und kleine Dächer bis ca.50m²
- ABMESSUNGEN: Dachrinnenset NW100 / 100mm halbrunder Regenrinne 2m Länge (Gesamtlänge 8m), Fallrohr 2m Länge
- VORTEILE: Dachrinne Kunststoff witterungsbeständig UV-stabil in verschiedenen Farbvarianten - Komponenten einzeln nachbestellbar für Erweiterung des Sets
- EINFACHE MONTAGE: Regenrinne Kunststoff und Fallrohre Stecksystem mit passgenauen Rinnenverbindern und justierbaren Rinnenhaltern einfache Anpassung und Montage ohne Spezialwerkzeug
- LIEFERUMFANG: 4x Dachrinne, 2x Endstücke, 3x Dachrinnenverbinder, 16x Dachrinnenhalter, 1x Ablaufstutzen, 1x Fallrohr, 1x Fallrohrverbinder, 3x Rohrbogen, 2x Fallrohrclip
Paint carport itself and install roof curb sheets
Over the next few days, I painted the carport four times with the paint supplied before I was able to install the roof curb.
At this point, questions arose for the first time that the previously good assembly instructions could not answer.
Originally, I assumed that the roof wreath would be placed at a certain distance to the side of the end beams so that the rainwater could drip off and not run over the wood.
However, it turned out that there was then a lack of length in the sheets, as they no longer overlapped.
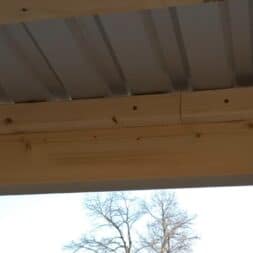
A quick call to the manufacturer clarified the situation: the roof edge sheets must overlap each other and therefore lie directly against the end beams, so that the rainwater will run down the sides over the sheets along the wood.
After painting, I turned my attention to installing the electrics.
In addition to electricity and network technology, installations for loudspeakers were also planned.
Summary and conclusion
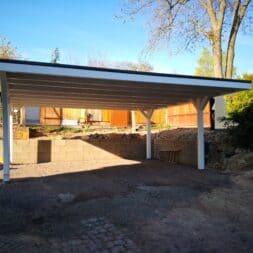
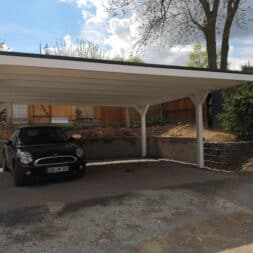
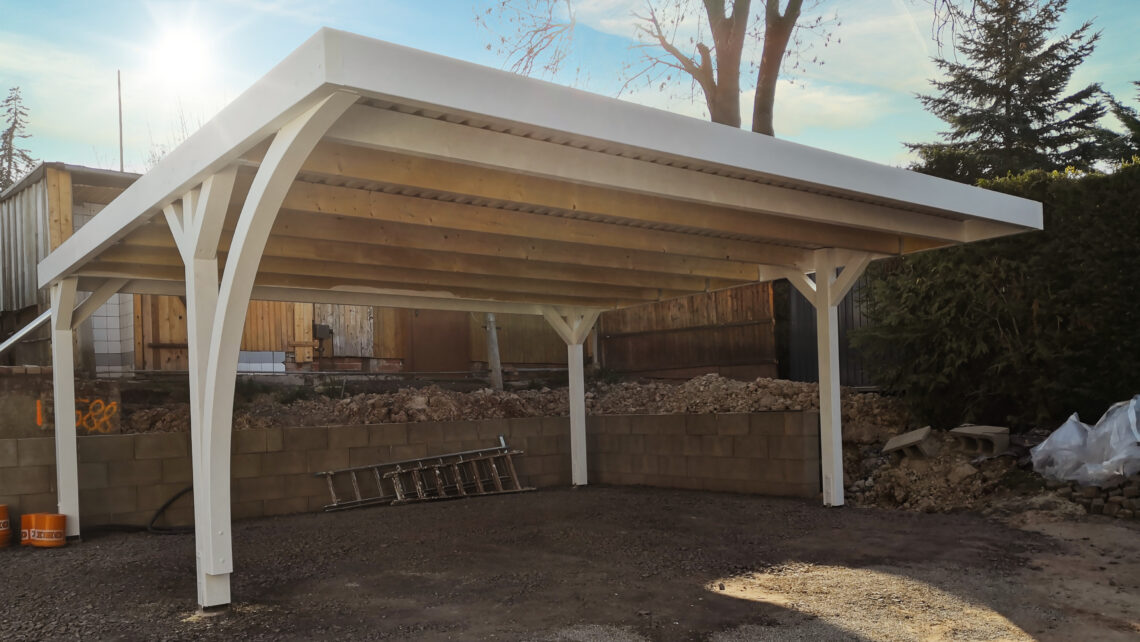
I have successfully built my Easycarport carport in the last few weeks.
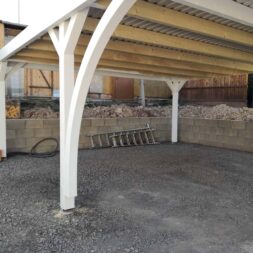
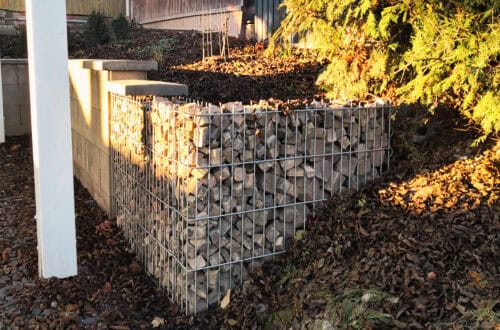
After preparing the ground and securing the slope with a formwork stone wall and a layer of gravel for the parking spaces, I started with the actual construction.
First I shortened the posts and placed them in the prepared H-post anchors. I achieved precise alignment of the posts by using screw clamps and a spirit level.
Once I had fitted the end and cross beams and finally screwed all the posts together, I fitted the trapezoidal sheet metal roof and the rain gutter, which ensured that the water drained away properly.
I also painted the carport four times and fitted the roof cornice after consulting the manufacturer to ensure the sheets overlapped correctly.

- Inhalt: 1 Stück
- Brüder Mannesmann Werkzeug
- WRENCH
- M19652
FAQ on building a carport
1. why were the posts only finally screwed together at the end?
The posts were first fixed with screw clamps to enable precise alignment. The final bolting was carried out after all the beams had been installed in order to make any necessary adjustments and ensure perfect alignment.
2. how was the length of the posts calculated?
The post lengths were calculated taking into account the slope and any unevenness. These calculations helped to correctly determine the height of the posts and to align the carport straight.
3. why is it important to pre-drill the holes for the screws?
Pre-drilling prevents the wood from splintering or cracking when the screws are screwed in. This ensures a more stable attachment and increases the durability of the construction.
4. how was stability ensured during construction?
During assembly, the posts were secured with screw clamps and the cross beams were mounted in stages to stabilize the structure piece by piece. The use of tension belts also helped to hold the beams in position.
5 What should be taken into account for the slope of the rain gutter?
A slope of around 2 to 3 millimeters per meter ensures that the water can run off without creating stagnant puddles. The alignment line between the outer gutter brackets was used for orientation when installing the remaining brackets evenly.
6. how was the roof edge plate fitted correctly?
The roof edge plates must overlap and lie directly against the end beams so that the water drains off properly. A call to the manufacturer clarified that the sheets should not have a gap to the wood.
7 Which tools are required for carport construction?
Indispensable tools are cordless screwdrivers with high torque, a spirit level, screw clamps, tension belts and a 10 mm wood drill. Scaffolding made it easier to lift the beams to the desired height.
8. why was the wood of the carport painted several times?
The coating was applied four times to protect the wood from the weather and ensure long-lasting quality. This ensures increased durability and prevents premature weathering.
9. what safety measures were taken during construction?
For safety reasons, all work was carried out with sufficient manpower, the scaffolding was used and personal protective equipment was worn. In addition, all connections were checked several times to ensure stability.
10. how long did it take to build the carport?
The actual construction of the carport was completed within a day thanks to good preparation and active support. The final work, such as painting and fitting the roof curb plates, took another few days.
Dieser Beitrag ist auch verfügbar auf:
English
Deutsch


