Securing slopes with gabions – installing stones correctly
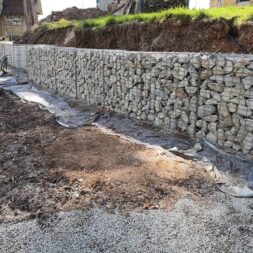
I had now erected the first row of gabions on my earth slope over a length of a good 30 meters. I drew a nice curve for the next 20 meters and then built a real corner with a height offset for the remaining meters.
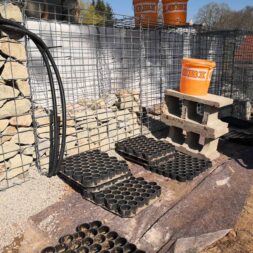
Before I could install the second row of stone baskets, the bottom row first had to be filled with stones.
Which stones are used in the gabions?
The choice of options is huge. The stones can be ordered either locally or online. It is definitely worth keeping an eye on the total price, including freight costs. In addition, the stones should be visually appealing – and here everyone has their own taste.
As soon as I had chosen a few suitable variants, another factor came into play – the iron content. In principle, a high iron content in the stones should not be a problem as the gabion grids are galvanized. Nevertheless, it is better to stack stones with little or no iron content.
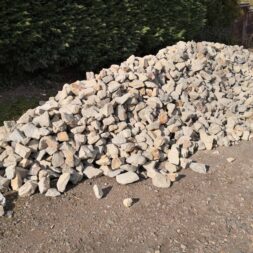
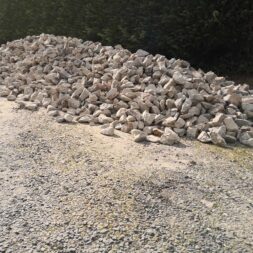
I then decided on granite in 80 x 125 format for the stones. This can be ordered online and the price per ton is also fair. Despite this, I did not buy the stones over the Internet.
Gabion stones from the quarry at a fair price
A nearby quarry made me a really good offer for this. For the quantity I needed, my price was a good 30 euros per ton. The freight costs were already included in this price.
And so it wasn’t long before a fully loaded 40-ton truck and trailer delivered a huge load of stones.
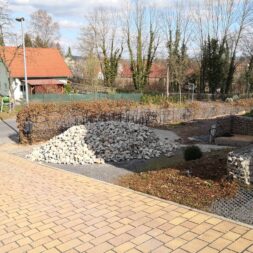
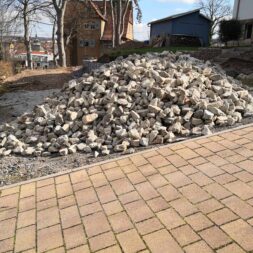
The quantity of stones should not be underestimated. Unloading on the street and “clearing away” after work is virtually impossible. I filled the gabions with stones every day and it took me over 3 months in total.
The storage space should therefore not be disruptive in the long term and still be centrally accessible.

- Gabionenkorb * Breite 1000 mm * Höhe 1000 mm * Tiefe 500 mm
- Frontgittergröße 1000 x 1000 mm * Maschenweite 50 x 100 mm * Drahtstärke 4,5 mm
- Maschenweite der restlichen Gitter 100 x 100 mm * Drahtstärke 4,5 mm
- Verbindungsart * Spiralverbindung
- Ausführung Galfan (95% Zink, 5% Alu)
Stacking stones in the gabions – a different kind of Tetris
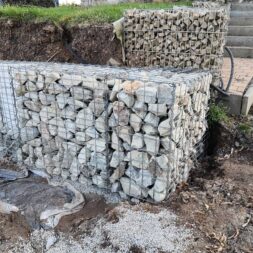
These stones now had to be built into the individual gabion baskets by hand. The front visible side should be stacked neatly and cleanly to ensure a visually appealing appearance.
The stones in the middle and at the back of the basket should primarily provide the weight and mass. Nevertheless, these stones were also stacked neatly.
The aim was to maximize the weight and thus the stability of the wall – after all, the gabion wall would later have to secure an entire slope.
Mathematically, it was possible to fill each of the stone baskets with a good 800 kg of granite stones. As the stones I had supplied would only just be enough, I filled the back of each basket with granite paving stones.
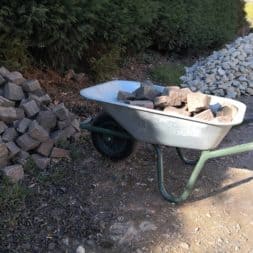
I had set these aside some time ago when I was dismantling a driveway. This corresponded to a total volume of approximately 4 m³.
Visually, the paving stones didn’t really match my granite quarry stones on the grid front. But that wasn’t important either, because in the middle and rear area I was expressly concerned with mass instead of class.
Zuletzt aktualisiert am 17. January 2026 um 13:05 . Ich weise darauf hin, dass sich hier angezeigte Preise inzwischen geändert haben können. Alle Angaben ohne Gewähr. (*) Bei den verwendeten Produktlinks handelt es sich um Affiliate Links. Ich bin nicht der Verkäufer des Produktes. Als Amazon-Partner verdiene ich an qualifizierten Verkäufen. Dein Preis ändert sich jedoch nicht.
Video – Securing a slope with gabions – Installing stones correctly
In the 6th part of my video series, I recorded the selection and delivery of the granite stones for filling the stone baskets. The filling of the first baskets and the “big Tetris game” were also captured on video.
You can find the entire playlist of my videos here: Gabions for slope stabilization
If you want to see more of me and my projects, feel free to check out my YouTube channel.
Transporting the stones to the gabion
Initially, I filled my two 10-liter buckets with stones and transported them to the stone basket without any aids. However, the further I progressed, the more laborious and time-consuming this approach became.
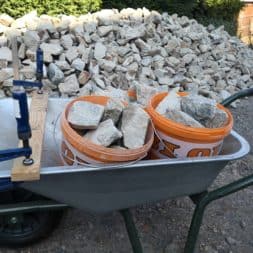
At some point I decided to fill three 10-liter buckets and transport them with my specially converted wheelbarrow. To do this, I attached a board to the wheelbarrow with screw clamps and then placed the buckets in the space behind it.
This meant I could drive the wheelbarrow across the site without the buckets falling out.
Today, after my wall is up, I can say that this wheelbarrow was worth the money – even if it didn’t survive the construction of the gabion wall and the transport of a total of 50 tons of stones.

- ✔ Hochwertiges Geotextilvlies/Drainage- u. Filtervlies 150g/m² - Profi Qualität - MADE IN GERMANY
- ✔ MATERIAL: Qualitätsvlies aus 100% Polyester, SPEZIELL FÜR DEN AUSSENBEREICH - äußerst strapazierfähig
- ✔ EIGENSCHAFTEN: sofort wasserdurchlässig, UV-Stabil, reißfest, verrottungsfest, beständig gegen Bitumen + Folien, atmungsaktiv, metallfrei (detektorgeprüft)
- ✔ EINSATZBEREICH: Drainage- und Filtervlies im GaLa-Bau: für Wege-, Pflaster- u. Terrassenbau, Dachbegrünung, Wärmespeicher für Beete und Gewächshäuser, Steingärten, Schutz unter Teichfolien, WINTERVLIES: Schutz vor Frost und niedrigen Temperaturen
- ✔ ANGEBOT: 300g (bohrbar), 300g, 500g, 1000g / 2m-Breite/ Groß-Mengen
Fill the gabions with soil at the same time
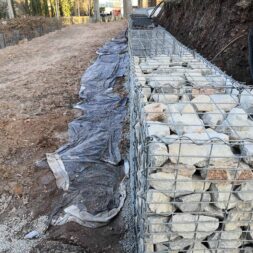
While I was filling the gabions, I partially backfilled them with soil on the back at the same time. An additional fleece on the back should reliably hold the soil in place without allowing water to build up.
I installed the stone baskets with a slight gradient into the slope. This should dissipate the pressure of the earth slope even better. Visually, this is hardly noticeable – but the stability is further improved by this measure.
With the closing of the baskets and the assembly of the second row of baskets, my project “slope stabilization with gabions” entered the decisive phase.
Dieser Beitrag ist auch verfügbar auf:
English
Deutsch


