Securing a slope with gabions – 1. initial situation and preparation
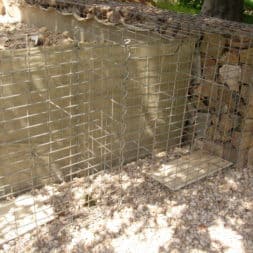
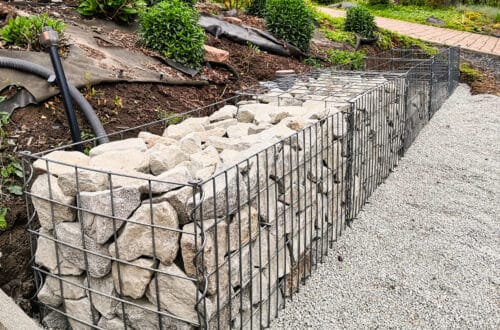
I have already installed a few gabions on our property. Gabions are metal baskets that are filled with stones and thus have a decorative purpose as well as a static one.
I spent more than a year working on a 30-meter-long slope stabilization with gabions.
I have divided the project “Slope stabilization with gabions” into several sub-projects and created a video for each. You can follow all the individual work steps in my playlist “Slope stabilization with gabions in the garden“.
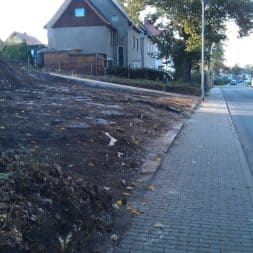
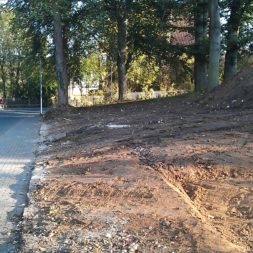
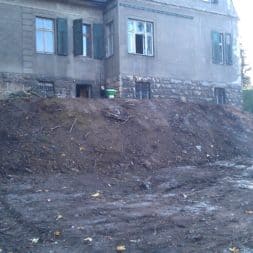
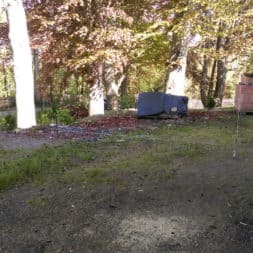
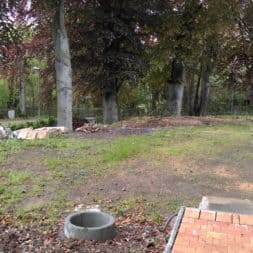
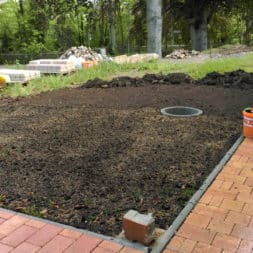
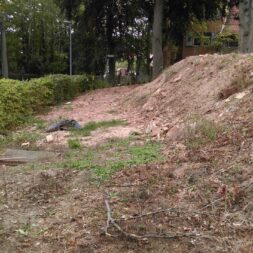
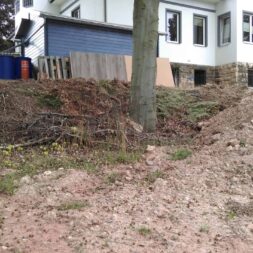
This article is about the start of this project. I would first like to show and document what the area looked like before and why I built a gabion wall with more than 60 tons of filling stones in the first place.

- Gabionenkorb * Breite 1000 mm * Höhe 1000 mm * Tiefe 500 mm
- Frontgittergröße 1000 x 1000 mm * Maschenweite 50 x 100 mm * Drahtstärke 4,5 mm
- Maschenweite der restlichen Gitter 100 x 100 mm * Drahtstärke 4,5 mm
- Verbindungsart * Spiralverbindung
- Ausführung Galfan (95% Zink, 5% Alu)
Initial situation – The slope must go
But let’s start at the beginning. What was my goal? And why did I install gabions?
Over the last few years, we have moved a lot of soil on our property. Plateaus were removed, gradients adjusted and slopes filled in. Little by little, our property continues to develop.
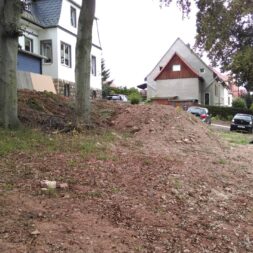
Years ago, a large plateau with a slope towards the road was created on the east side. Over the years, this slope has been filled with any excavated earth that has accumulated anywhere on the property.
In this way, the small slope has developed into a real plateau. Despite some planting and a reasonably well-kept lawn, this area looked rather bleak – almost off-putting.
On the plateau, progress was much faster. Here I laid out paths made of cobblestones (old town cobblestones) and also built a log cabin.
There was a reason for this, because my wife’s insurance brokerage office was accessible via the path on the plateau and I wanted to offer her customers a nicer and more appealing image.
But the area below the plateau, and even the slope, should also be made more visually appealing. Between the slope and the enclosure there is a narrow piece of meadow that runs parallel to the road.
On the one hand, parking spaces for the estate agent’s office were to be created on this meadow and, on the other hand, this area was also to serve as an access road to the southern and western part of the property.
In short, everything finally needed to be really chic and easy to maintain at the same time.
-
Price: € 38.90
-
Price: € 13.04instead of: € 13.99
-
Price: € 52.95
-
Price: € 89.99instead of: € 123.52
-
Price: € 14.00instead of: € 14.48
-
Price: € 96.95
Video – Initial situation slope stabilization with gabions
You can watch the video about the initial situation for my project here. This gives you a better picture of what the site looked like before and what measures I have planned in detail.
I filmed all the work steps for over a year and compiled the videos in my playlist “Slope stabilization with gabions in the garden“.
If you want to see more of me and my projects, feel free to check out my YouTube channel.
Why I use gabions for slope stabilization
My plan was clear: the entire area was to be beautified and at the same time there had to be enough space between my hornbeam hedge and the slope to be able to drive a truck along it later.
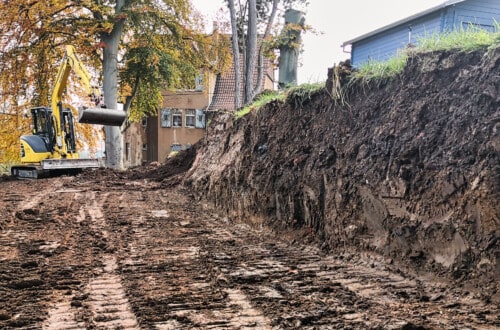
To do this, it was necessary to build back the plateau created years ago, and thus the entire slope, by a good 3 to 4 meters – over a length of at least 20 meters.
The removed soil was to be piled up and distributed on the plateau. At the same time, the plateau was to be extended to the south-eastern area. This was necessary because the excavated earth was simply far too large.
With the dismantling, however, the question arose as to how I should demarcate the plateau from the lower garden area, as the difference in height would later be over 2 meters.
A new slope would not be a permanent solution. Over time, the earth would slide down again due to wind and weather. Such a slope would also not be particularly easy to maintain.
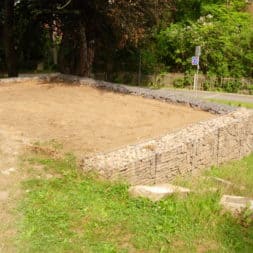
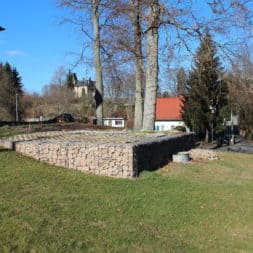
So I needed a solution that would allow me to safely intercept the slope with a height of 2 meters in the shortest possible way. And isn’t that exactly what I did a few years ago? Exactly, 5 years earlier I had built a plateau terrace with gabions.

- Gabionenkorb * Breite 1000 mm * Höhe 500 mm * Tiefe 500 mm
- Frontgittergröße 1000 x 500 mm * Maschenweite 50 x 100 mm * Drahtstärke 4,5 mm
- Maschenweite der restlichen Gitter 50 x 100 mm * Drahtstärke 4,5 mm
- Verbindungsart * Spiralverbindung
- Ausführung Galfan (95% Zink, 5% Alu)
Weight, size and processing of gabions
Shouldn’t that be possible here too? Gabions in the 100 x 100 x 50 cm format have a standing weight of a good 800 kg (filled with 80 x 125 granite stones). The stone baskets are solid, very robust and durable.
Slope stabilization with gabions is therefore a permanent solution.
In addition, installation is relatively simple and also offers a number of options for visual gimmicks. Empty conduits for water, electricity or networks can also be easily laid in the gabions.
After some consideration, we therefore decided to dig a steep slope and then secure it with gabions.
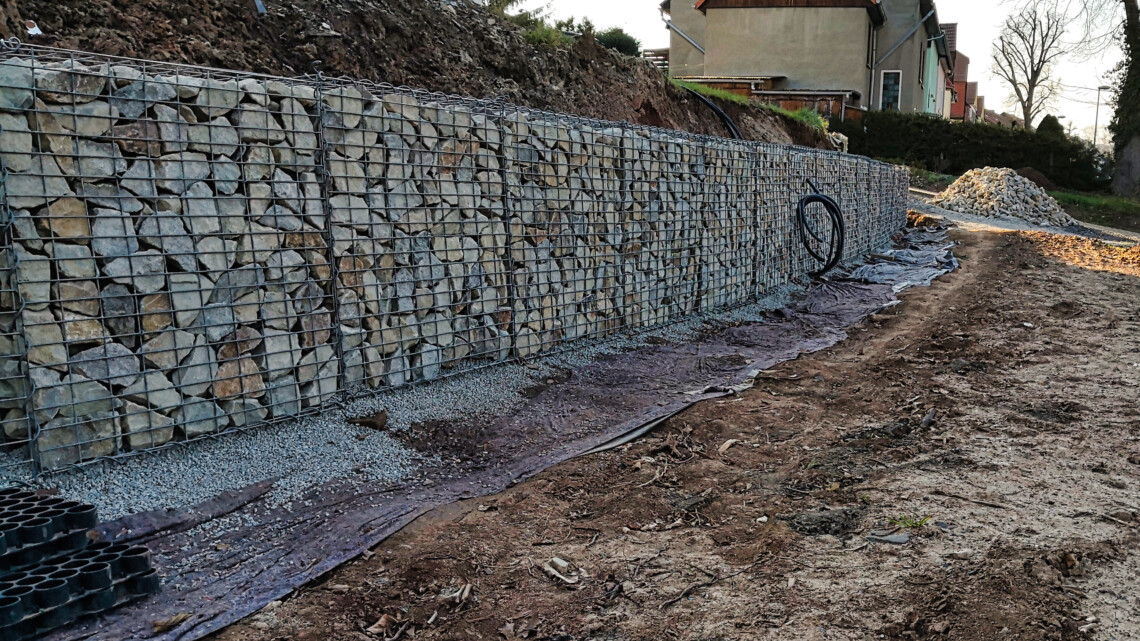
The future gabion wall to secure the slope will have a length of approx. 25 to 30 meters and a height of 1 to 2 meters. In addition to straight sections, half of the gabion wall is also built as a curve.
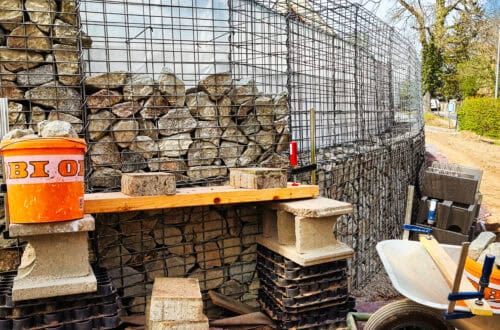
The gabion wall at the rear in the south-eastern part was to be built at a height of 2 meters to completely enclose the new plateau. I wanted to build 2 gabion baskets on top of each other and connect them.
The front section, a good 15 meters long, was to be one meter high. Behind the gabion wall, a small slope a good 2 meters long was to create the connection to the old plateau.
Once the plans were finalized, I was able to order the gabions and prepare the ground with an excavator.
Dieser Beitrag ist auch verfügbar auf:
English
Deutsch


