Build your own party room in the basement
Due to the current mild winter, I’m torn as to whether I should start gardening or start building the party room in the house. My original plan was to work exclusively outside in summer and exclusively indoors in winter.
However, the party room is firmly planned for this year as several events are planned. So I’m going to start converting the old cellar into a stylish and functional lounge.
Party room in the basement – initial situation
Today I completed the installation of the new cellar door, which replaces the old side entrance door. The expansion of my new estate agent’s office also made significant progress.
In this post, I would like to tell you about the current status of the conversion of my arched cellar into a common room, which will also serve as a party cellar in the future.
A bar and a cozy seating area are planned, complemented by a TV and an appropriate music system to create the perfect atmosphere for sociable evenings.
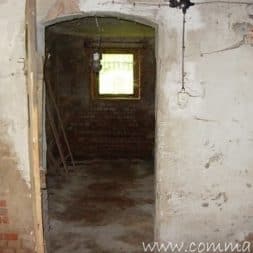
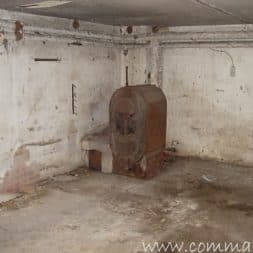
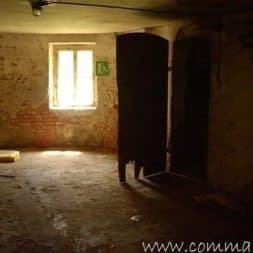
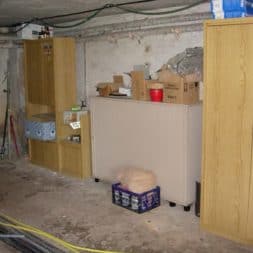
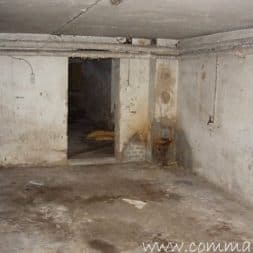
But before I go into more detail about the new changes, it’s worth taking a look at the old pictures to see what the cellar once looked like.
From workshop and storage room to party cellar: the conversion of our cellar
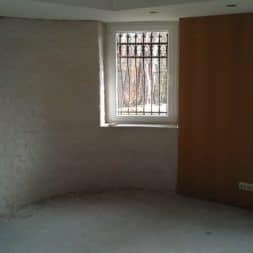
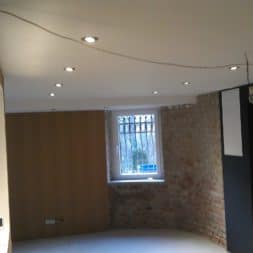
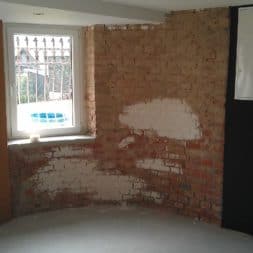
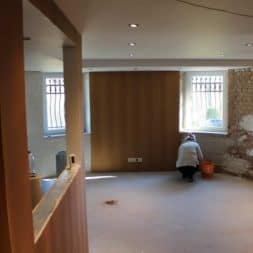
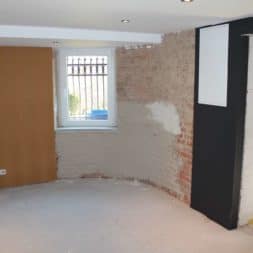
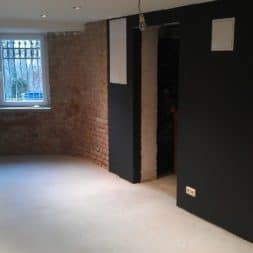
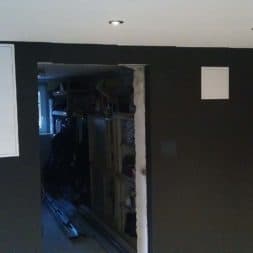
The room, which extends over an area of around 6 x 5 meters and also has a round arch, is accessible from the main cellar. The Wolf gas combi boiler, which is responsible for heating the second apartment on the first floor, is located directly to the left of the entrance door.
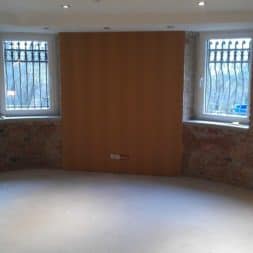
There is a door on the right-hand wall that leads into my workshop. Two windows are set into the area of the round arch, providing the room with natural light.
The floor is made of poured concrete and the room is relatively dry overall.
During our conversion phase, this cellar already served as a workshop and storage room.
Now, however, it is about to be transformed into a party cellar that will serve as a social meeting place for friends and family.
Dry construction in the party cellar
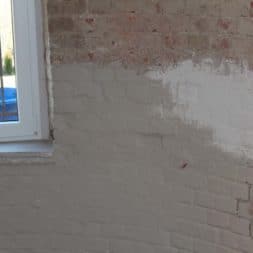
After completely clearing out the cellar, I began the laborious task of removing the old plaster from the walls.
I carefully cleaned the exposed bricks and then applied a thick coat of primer. Although the brick walls were visually appealing, they offered me no opportunity to lay the cables for electricity, network and satellite inconspicuously.
The pipes for heating and water also had to be routed through the room, which led me to install drywall to hide everything elegantly.
I used a 10 cm thick plasterboard drywall to cover the two longer sides of the cellar. All cables and water pipes were laid behind this, making them disappear from view and visually enhancing the room.
The ceiling design presented me with a particular challenge, as the heating pipes for the apartment ran above it.
Instead of suspending the ceiling completely to a uniform level, I opted for a stepped solution. On the east side, where the heating pipes ran, the ceiling was suspended lower than in the rest of the room.
I pulled this lowered suspension through to in front of the two windows, creating an “L”-shaped design.
-
Price: € 8.85instead of: € 12.49
-
Price: € 14.22instead of: € 16.95
-
Price: € 241.95instead of: € 251.02
LED lighting in the party room
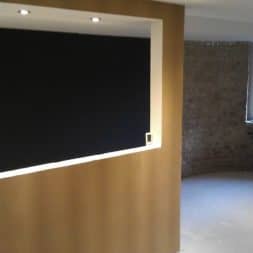
After I had suspended the ceiling in two levels, I carefully integrated lighting elements to illuminate the room optimally.
I installed four LED spotlights above the bar, while three spotlights were installed on the window front. The larger, slightly higher suspended ceiling area was fitted with ten LED spotlights and a central lamp connection.
The lighting above the bar and along the window front could be controlled separately via a light switch directly at the bar.
I switched the ten ceiling spots and the central lamp via two separate circuits, which were installed directly at the entrance.
This allowed me to create the right ambience depending on the requirements and situation by flexibly adjusting the lighting and creating different lighting moods.


220V LED spots instead of 12V transformer
When choosing the lighting for the redesigned room, I deliberately opted for LED technology and used 230V instead of 12V.
The main reason for my decision was the desire to avoid additional sources of error, such as a 12V transformer. I integrated the GU10 LED spotlights with matching adapters into the brushed stainless steel brackets and connected them in parallel within the circuit.
This meant that if one lamp failed, the operation of the other spots could continue undisturbed.
The suspended ceiling proved to be extremely practical, as it made it easy to route the necessary power cables to all the required locations.
Advantages of 12V LED ceiling spotlights:
- Reduced risk of injury during installation due to low-voltage technology.
- Less energy loss during transmission, which makes them more efficient in certain applications.
Disadvantages of 12V LED ceiling spots:
- The need for a transformer, which is an additional source of error and increases the installation effort.
- In larger installations, the transformer may overheat or the entire lighting may fail if it is defective.
Advantages of 230V LED ceiling spotlights:
- No transformer required, which simplifies installation and increases reliability.
- Direct compatibility with the existing household power grid without additional components.
Disadvantages of 230V LED ceiling spots:
- Greater caution is required during installation due to the higher voltage.
- Potentially higher energy loss during transmission compared to low-voltage technology.
I opted for the 230V version because I wanted to simplify installation and eliminate potential sources of error that could arise from using a transformer.
In addition, the direct use of 230V offered greater reliability and efficiency for the entire installation, as all the spots could easily be connected in parallel, meaning that if one spot failed, the others would continue to work.
-
Price: € 23.08instead of: € 25.69
-
Price: € 12.18instead of: € 12.50
-
Price: € 23.08instead of: € 25.69
Building a bar counter in the party room
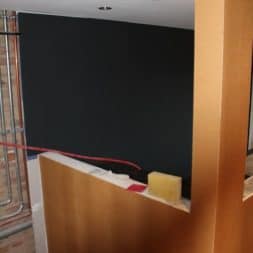
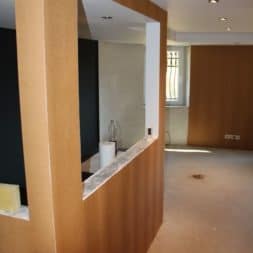
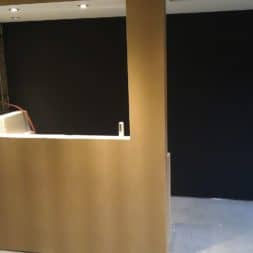
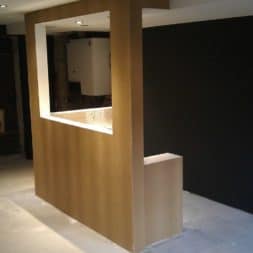
When building the bar in my party cellar, I used both aerated concrete blocks and plasterboard.
The construction comprised two counters, each one meter high, and a worktop that was around 70 cm high.
There was enough space under this worktop for crockery, glasses and other necessary utensils.
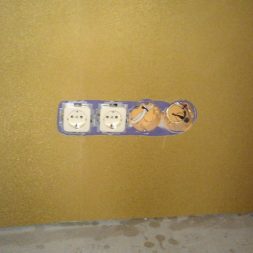
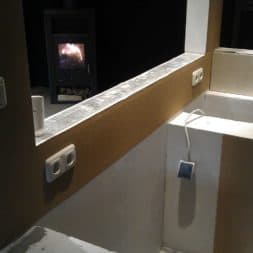
I installed two double sockets to ensure the power supply at the bar. I also installed another socket under the worktop so that I could connect a drinks fridge later.
On the north wall of the bar, I placed a small tiled backsplash that would later frame the new washbasin.
Interestingly, after five years of building the house, this was my first completely independent tiling job, which was a special milestone for me.


Non-woven wallpaper in the party room
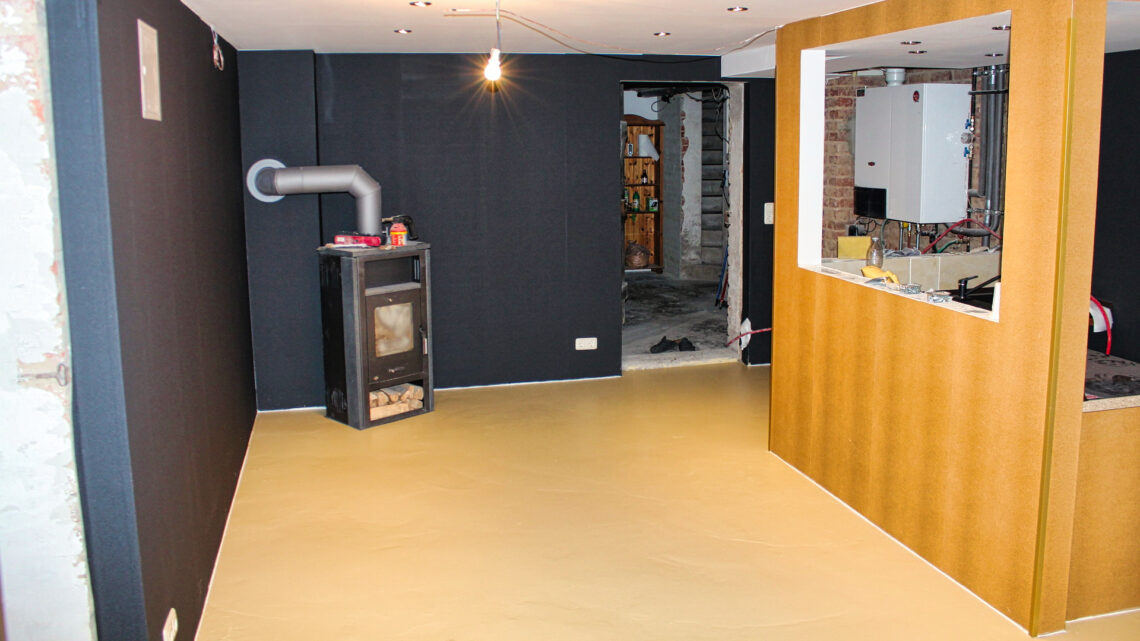
I opted for non-woven wallpaper for the rest of the walls, with the long sides in a subtle black that contrasted perfectly with the white ceiling.
Before I covered the plasterboard walls with the black wallpaper, I primed the walls with black paint. In this way, I ensured that the transitions between the individual strips would later remain completely invisible.
I designed the bar itself with a golden non-woven wallpaper in a reptile skin look, which gave it an exclusive look.
However, the result at the edges next to the bar was not so convincing, as I had cut the wallpaper flush, which was not quite visually successful.
To remedy this small shortcoming, I planned to attach an angle profile in brass color. This would not only provide a more attractive finish, but would also effectively protect the edges of the plasterboard.
I leveled the floor with levelling compound to create a level base for the rest of the construction.
I report in more detail on the exact steps and the result of this part of the renovation in the article “Fresh paint in the party cellar“.

- Für ein erhabenes Wohngefühl: Das Curry-Gelb verleiht willkommene Frische und lässt sich mit verschiedensten Möbeln kombinieren - ob in Wohnzimmer, Schlafzimmer oder Flur
- Die Wandtapete ist wasserbeständig und lässt sich mit einem feuchten Tuch und Seifenlauge problemlos abwischen - damit ist sie auch optimal als Küchentapete geeignet
- Dank des hochwertigen Materials lässt sich die Tapete trocken ganz leicht anbringen: Dazu einfach einen speziellen Kleister für Vliestapeten nach Anleitung anrühren und mühelos tapezieren!
- Wenn es wieder Zeit für einen Tapetenwechsel wird, kann die Design Tapete restlos von der Wand abgezogen werden / Alle rasch Tapeten sind RAL und FSC zertifiziert - für höchste Produktqualität
- Lieferumfang: 1 Rolle rasch Tapete 552805 / Rollenlänge: 10,05m / Breite: 53cm / Rapport: Ansatzfrei / Schlichte Wandtapete auf Vlies mit hoher Lichtbeständigkeit
Video – Draining the cellar – result after 1 year
Unfortunately, not all the cellar areas were as dry as the large main cellar. Especially on the northern side, I had to make a lot of efforts to reduce the moisture in the foundations and walls of the old house. This was the only way to build a new floor here too.
In my playlist for the project Drying out the basement on my YouTube channel, I have also published a video on the entire project. In this video, I summarize all the measures and give a final conclusion.
If you want to see more of me and my projects, feel free to check out my YouTube channel.
Zuletzt aktualisiert am 2. April 2025 um 21:47 . Ich weise darauf hin, dass sich hier angezeigte Preise inzwischen geändert haben können. Alle Angaben ohne Gewähr. (*) Bei den verwendeten Produktlinks handelt es sich um Affiliate Links. Ich bin nicht der Verkäufer des Produktes. Als Amazon-Partner verdiene ich an qualifizierten Verkäufen. Dein Preis ändert sich jedoch nicht.
Dieser Beitrag ist auch verfügbar auf:
English
Deutsch


