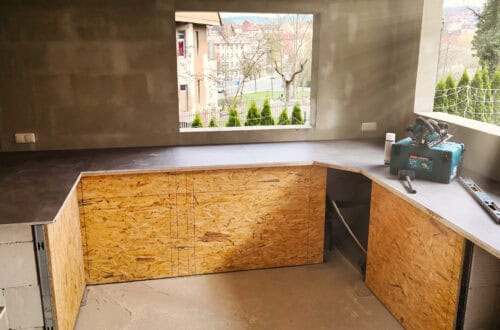
The house
Here is an overview of our house
-
The best storage solutions for Reolink surveillance cameras: recommendations & experiences
A reliable storage solution is crucial to realize the full potential of a Reolink surveillance camera. Whether for real-time monitoring or long-term storage of high-resolution recordings – without sufficient memory, there is a risk that important data will be lost or overwritten prematurely. This article presents various storage options such as microSD cards, home hubs and NVR systems. Both test results and user opinions are taken into account in order to identify the best solutions for different requirements.
-
Reolink Duo 3 WiFi & PoE review: Smart UHD surveillance camera with 180° field of view
The Reolink Duo 3 WiFi & PoE offers innovative technology for every surveillance need. With 16MP ultra HD resolution, 180° panoramic view and intelligent motion detection, they provide first-class security day and night. In this article, I compare the two models, discuss their strengths and show which camera is best suited for which application.
-
Kroak TB2 diesel parking heater 8kW: Unboxing, test & possible applications
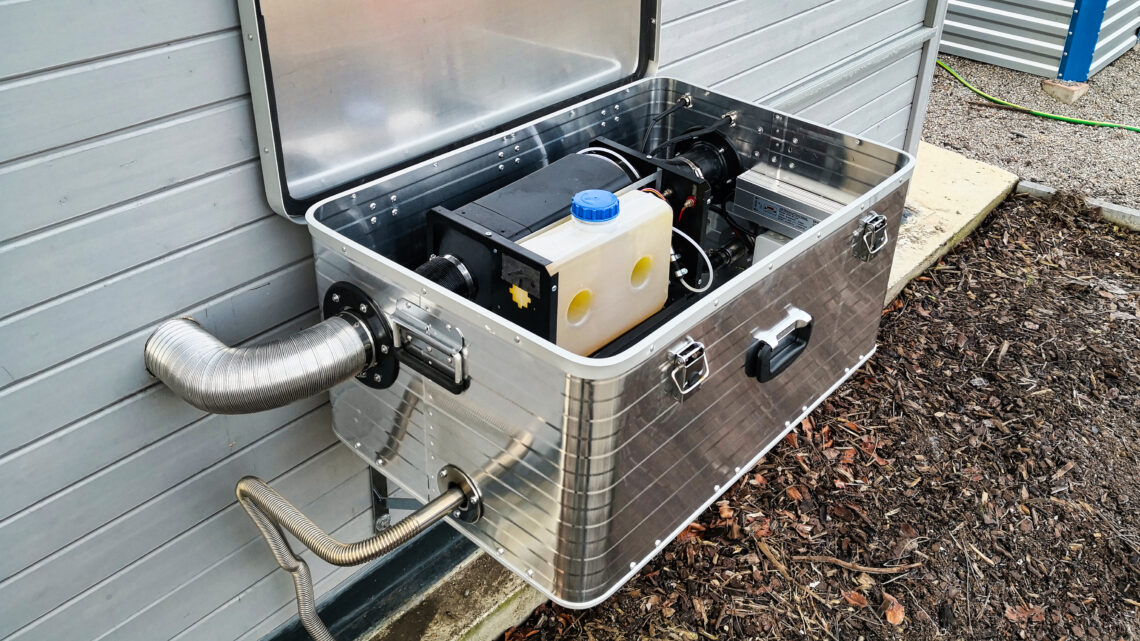
The KROAK TB2 diesel parking heater is a versatile and efficient diesel heater that is perfect for use in the workshop, when camping or in the garden shed. In this article, I will show you how this mobile heating box impresses with its compact design and simple installation. I also share my experiences on the performance, consumption and control options of the heating box and why the heating case is an ideal all-in-one solution for cold days.
-
Upgrading the diesel parking heater: Installing a tank extension for the mobile heating box
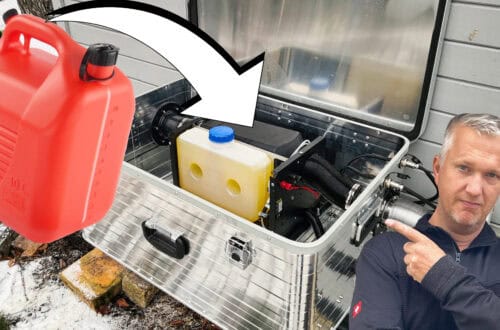
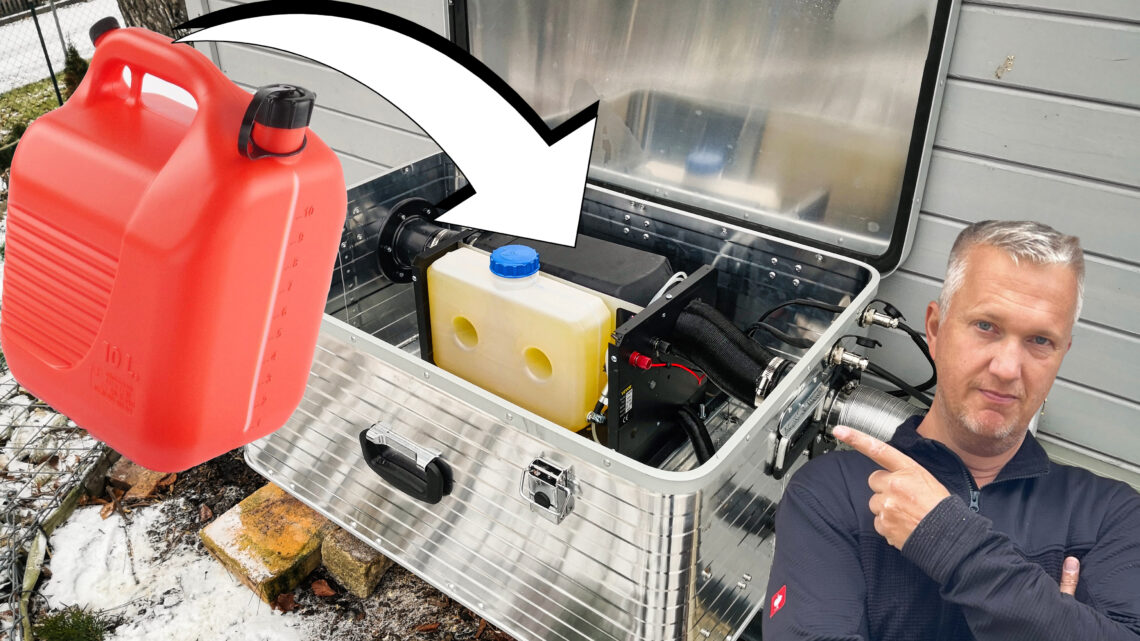
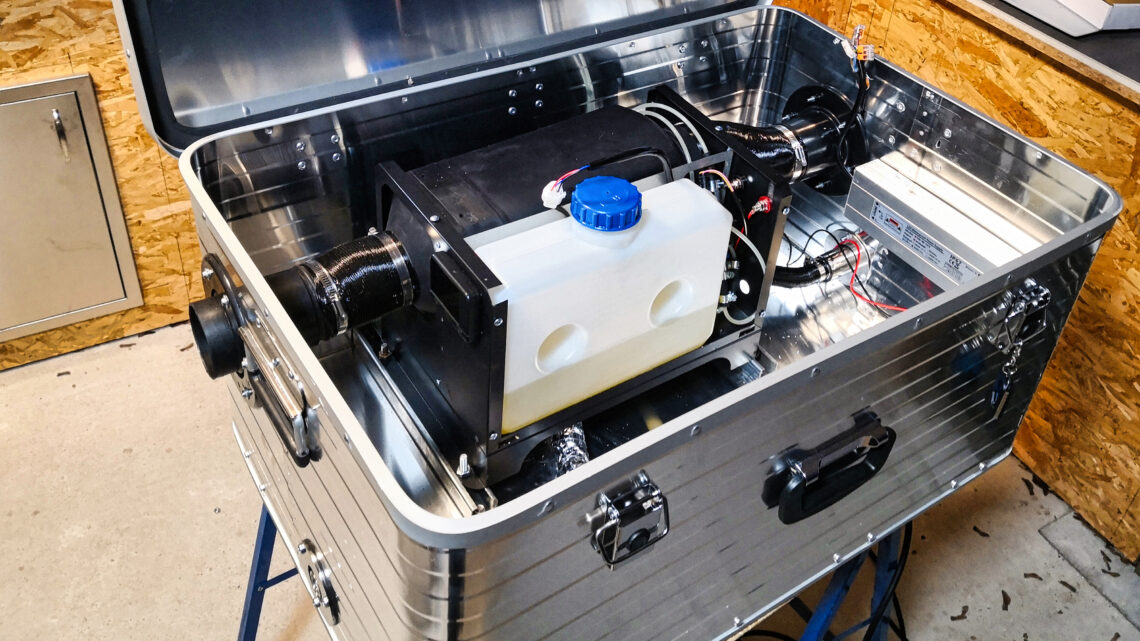
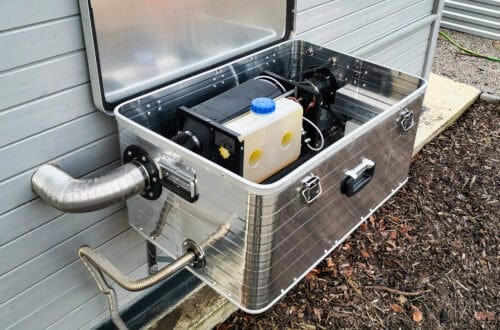
The original parking heater in my mobile heater box was equipped with a small tank, which severely limited the heating time. To solve the problem, I fitted the diesel heater in my aluminum box with a larger fuel tank. In this article, I describe step by step how I installed the new 10-litre tank, optimized the heating box and achieved a constant heat supply for my animal house. I share my experiences, tips and challenges, from planning and installing the tank extractor set to the first successful test
-
Installing a mobile diesel parking heater in the garden shed
In my search for an efficient and self-sufficient heating solution for my garden shed, I decided to build a mobile heating box with a diesel parking heater. My aim was to create a compact, weatherproof and flexible heating box that not only reliably heats my animal house, but can also be used in the camper, motorhome or for other projects. With the 8kW diesel parking heater, I was able to implement a powerful yet economical solution that provides constant heat even at temperatures of -10°C. In this article, I describe how I planned, built and installed the heating box and share my practical experience from the first tests
-
Build your own mobile heating box: The best DIY solution with an 8kW diesel parking heater
I have built a mobile heating box with an 8kW China Diesel parking heater that can reliably heat animal houses, garden sheds, campers and tents. The heater box had to be compact, weatherproof and mobile, but at the same time offer enough space for the diesel heater, fuel tank and accessories. In this article, I describe how I planned the heating box, installed the diesel heater and finally put the box into operation, and share my building instructions and my experiences as well as practical solutions.

