Slope stabilization with gabions – Building raised beds with gabions
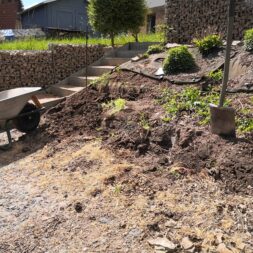
Below the gabion-enclosed parking lot, right next to the house, there is an earth slope. This is a good 6m long and just under 2m deep. The entire terrain is sloping at this point and the slope compensates for a height difference of around 1.5m.
The slope is so steep that it slides downwards bit by bit during heavy rainfall. I had to find a solution for slope stabilization quickly.
The old earth slope – overgrown and forgotten
In the past, we have already planted many flowers, shrubs and ground cover plants here to secure the slope. However, this only worked to a limited extent. The entrance to the office was also not a real visual highlight.
The ground cover had long since taken over and pushed back the other shrubs and flowers.
A raised bed with gabions is the solution
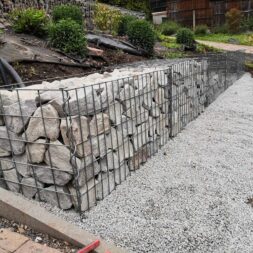
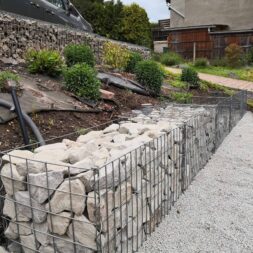
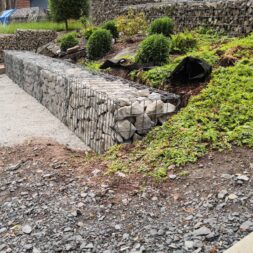
This should now finally change. After I had already intercepted the large slope over a length of almost 30m and up to 2m high with gabions, i.e. stone baskets, this view was to continue in front of the estate agent’s office.
I still had some granite stones left over from the big wall. However, the additional gabions should be somewhat smaller so that they fit better into the overall picture. I decided on the format 100 x 50 x 50 centimeters.
At the same time, a further gabion wall would finally secure the slope. Behind the gabion wall, the previously sloping hillside bed was to be redesigned as a raised bed.

- Gabionenkorb * Breite 1000 mm * Höhe 500 mm * Tiefe 500 mm
- Frontgittergröße 1000 x 500 mm * Maschenweite 50 x 100 mm * Drahtstärke 4,5 mm
- Maschenweite der restlichen Gitter 50 x 100 mm * Drahtstärke 4,5 mm
- Verbindungsart * Spiralverbindung
- Ausführung Galfan (95% Zink, 5% Alu)
Remove old plants and dig up the slope
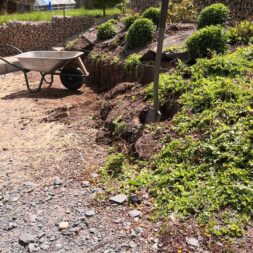
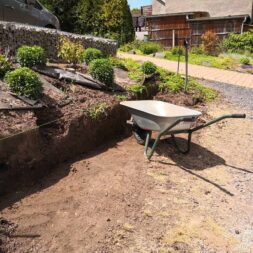
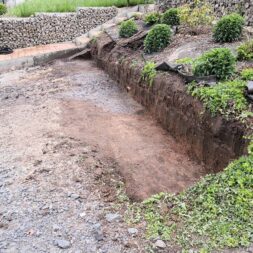
First, some of the plants were moved and the lower part of the slope was removed over a length of 6 meters.
I drew a straight line with a guideline on which I could place the spade. The excavated earth was driven to the other side of the site. I could make good use of the soil there for replanting the lawn.
In total, I dug up over 20 wheelbarrows full of soil before the area was halfway usable.
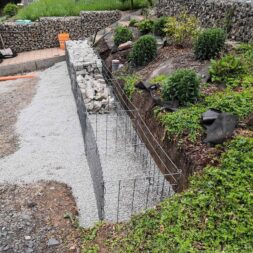
The substrate was then leveled and filled with gravel. Subsequently and then compacted with the vibrating plate.
Electricity, water and network for the gabion
To supply the raised bed with water and electricity, I laid a 25 mm PE pipe and an M32 empty conduit in the area.
An irrigation system and lamps, for example, can then be connected there via a valve box. The control cables for the solenoid valves of the irrigation system should also be pulled into the empty conduits later.
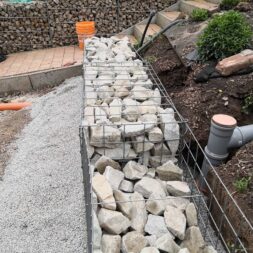
I pre-assembled the gabions on a level surface before setting them up and then carried them to the slope. The individual stone baskets measure 100x50x50 centimeters. The front has a grid width of 10x5cm and the other 5 sides 10x10cm.
The pre-assembled baskets were then placed on the laying gravel on the slope and connected to each other. For this purpose, the spirals are rotated through the adjacent grids, which results in enormous stability. The 2 spacers per basket were installed at the same time.
Video: Slope stabilization with gabions
I have recorded all the steps, from removing the old earth slope to preparing the foundations and filling the gabions with granite stones, in the following video.
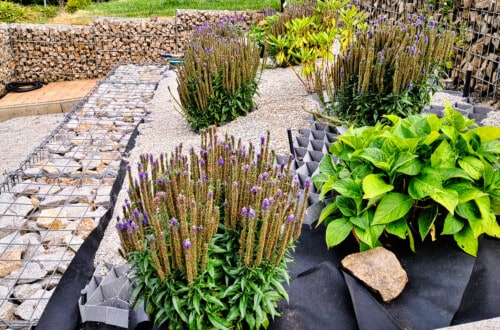
You can also find information on the subsequent installation of the valve box for automatic irrigation with a drip hose from Rain Bird and the surface design with a honeycomb fleece and stones in my garden irrigation playlist.
If you want to see more of me and my projects, feel free to check out my YouTube channel.
Aligning the stone baskets with laying gravel
I then filled the lower section of the gabions again with some gravel. However, I filled in a little more gravel, especially under the grids.
This meant that the baskets could be aligned better and, above all, on a slope, as I simply jogged them in by hand.
Horizontally, the gabions are completely level. Towards the rear, however, they have a very slight gradient into the slope. This allows the load to be absorbed better.
Zuletzt aktualisiert am 23. February 2026 um 22:20 . Ich weise darauf hin, dass sich hier angezeigte Preise inzwischen geändert haben können. Alle Angaben ohne Gewähr. (*) Bei den verwendeten Produktlinks handelt es sich um Affiliate Links. Ich bin nicht der Verkäufer des Produktes. Als Amazon-Partner verdiene ich an qualifizierten Verkäufen. Dein Preis ändert sich jedoch nicht.
Once all the stone baskets had been aligned, the grids in the base area of the baskets were filled with gravel. This means that the stacked stones always have a flat base on the floor.

- ✔ Hochwertiges Geotextilvlies/Drainage- u. Filtervlies 150g/m² - Profi Qualität - MADE IN GERMANY
- ✔ MATERIAL: Qualitätsvlies aus 100% Polyester, SPEZIELL FÜR DEN AUSSENBEREICH - äußerst strapazierfähig
- ✔ EIGENSCHAFTEN: sofort wasserdurchlässig, UV-Stabil, reißfest, verrottungsfest, beständig gegen Bitumen + Folien, atmungsaktiv, metallfrei (detektorgeprüft)
- ✔ EINSATZBEREICH: Drainage- und Filtervlies im GaLa-Bau: für Wege-, Pflaster- u. Terrassenbau, Dachbegrünung, Wärmespeicher für Beete und Gewächshäuser, Steingärten, Schutz unter Teichfolien, WINTERVLIES: Schutz vor Frost und niedrigen Temperaturen
- ✔ ANGEBOT: 300g (bohrbar), 300g, 500g, 1000g / 2m-Breite/ Groß-Mengen
Filling gabions on raised beds with stones
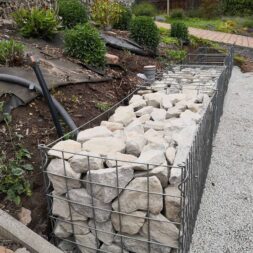
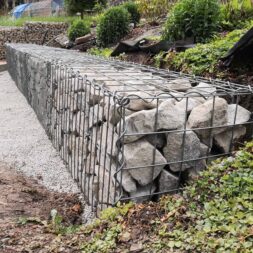
As in the large wall, granite stones measuring 80×125 were also used in the small wall. Stacking took just under a day.
The stones at the front of the gabion wall were meticulously installed to achieve a good appearance. But thanks to my early childhood Tetris experience, it wasn’t all that complicated.
The lids have now been fitted. The short and long spirals were also used for this.
A fleece on the back is intended to prevent soil and mud from getting into the basket and then escaping at the front.
Dieser Beitrag ist auch verfügbar auf:
English
Deutsch


