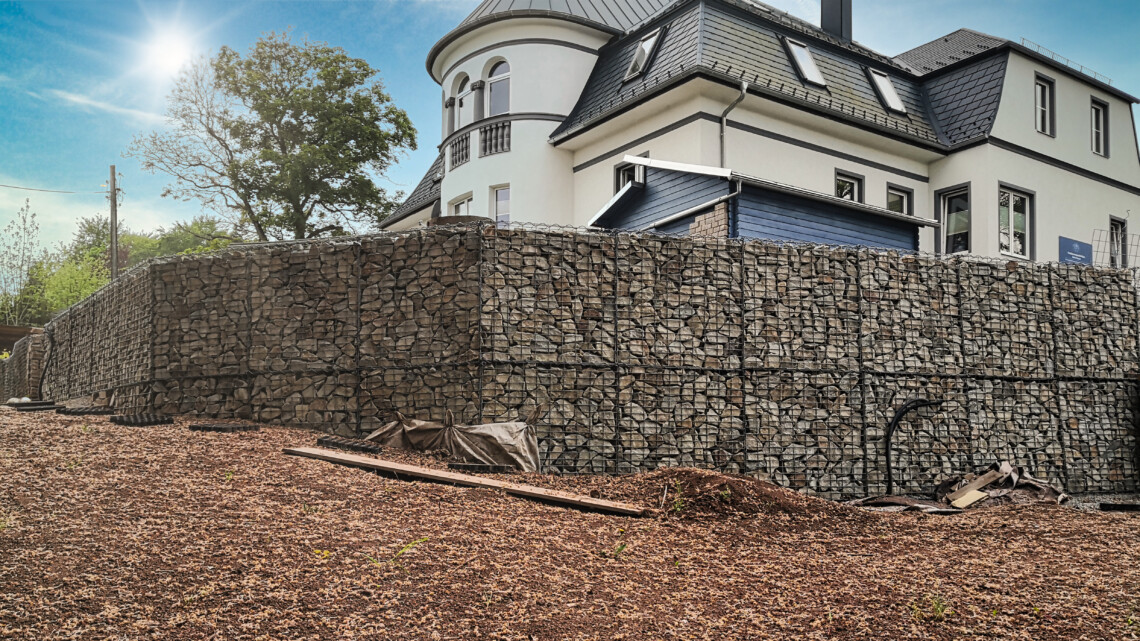
Securing a 30-meter slope with gabions – setting up and aligning the stone baskets
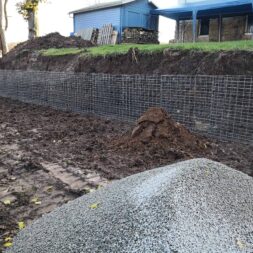
After I had removed the earth slope the previous week and the subsoil had also been largely removed, I was able to start assembling and placing the gabions.
Order gabions online
As I did many years ago, I ordered the gabions online from Draht Driller. The webshop is clearly laid out and functional. I found the right gabions relatively quickly.
I opted for gabions with a thickness of 4.5 mm in the format 100x100x50 cm. The mesh of the front grille is 5×10 cm. The meshes on the sides, top and bottom as well as the back are in 5x10cm format.
As such a delivery involves a certain amount of weight, it is delivered as bulky goods by a forwarding agent. However, the shipping costs are properly shown in the online store. Above a certain purchase value, these costs are even completely waived.
At least that was the case for me.
The delivery was made directly to the construction site within a few days by a forwarding agent. The pallet was then transported to the front door using a piggyback forklift. Great service!

- Gabionenkorb * Breite 1000 mm * Höhe 1000 mm * Tiefe 500 mm
- Frontgittergröße 1000 x 1000 mm * Maschenweite 50 x 100 mm * Drahtstärke 4,5 mm
- Maschenweite der restlichen Gitter 100 x 100 mm * Drahtstärke 4,5 mm
- Verbindungsart * Spiralverbindung
- Ausführung Galfan (95% Zink, 5% Alu)
How do you install a gabion basket?
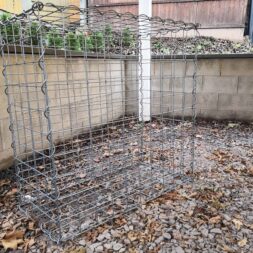
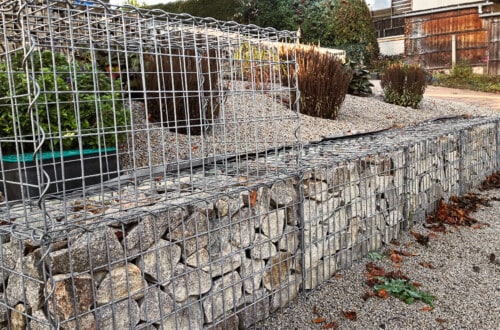
A gabion basket consists of 6 individual grids that are connected to each other. Depending on how long and large the individual metal grids are, a cube or cuboid is created.
The grilles are usually connected to each other via metal spirals. These spirals are twisted through the meshes of the two adjoining grids. However, there are also variants with clamps or clips.
I have always used the gabions with the spirals. Assembly is child’s play and with a little imagination you can create completely different constructions. For example L- or U-parts.
As soon as all 6 side sections have been joined together, the stone basket is already extremely stable. Due to the spacers and ultimately the stones that are filled into the baskets, such a basket is virtually indestructible.
My stone baskets of the old gabion wall have survived the impact of a falling 30-meter-high copper beech – without the grids being blown open. By the way, I have added a video on this to my playlist: Gabions and stone baskets easy to repair yourself
I first pre-assembled the stone baskets individually under the carport. I only left out the left side rail. This made it much easier to connect the baskets together later in the muddy ground on the slope.
Zuletzt aktualisiert am 24. November 2025 um 21:16 . Ich weise darauf hin, dass sich hier angezeigte Preise inzwischen geändert haben können. Alle Angaben ohne Gewähr. (*) Bei den verwendeten Produktlinks handelt es sich um Affiliate Links. Ich bin nicht der Verkäufer des Produktes. Als Amazon-Partner verdiene ich an qualifizierten Verkäufen. Dein Preis ändert sich jedoch nicht.
Connecting gabion baskets together
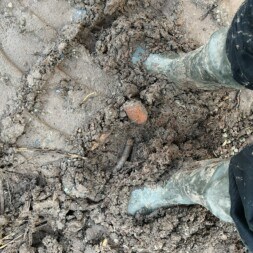
The weather was still very rainy and working on the completely soaked clay soil was like a mud fight. Weatherproof clothing and thick rubber boots were essential – but unfortunately not very exercise-friendly.
I carried the pre-assembled stone baskets to the slope one by one. Basically, the (empty) baskets are not very heavy, but they are bulky.
During transportation it can also happen that some spirals loosen again or the grids slip.
All in all, the weather was not very conducive to the assembly of the baskets.
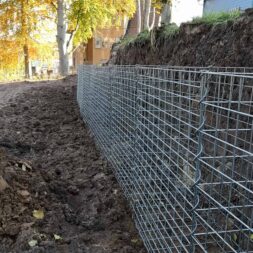
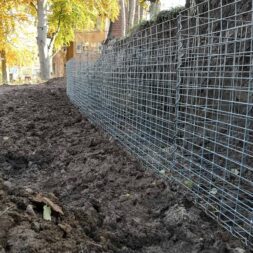
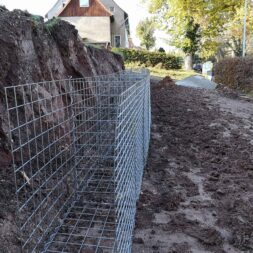
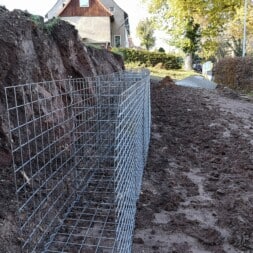
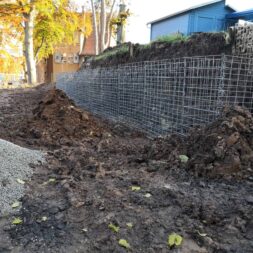
We continued on the construction site directly on the slope. The baskets were then placed next to each other. The open side with the missing grid now stood on the closed side of the previous basket.
As some of the gabions were under tension in relation to each other, I initially fastened the individual grids and therefore also the stone baskets to each other provisionally with cable ties. This made it much easier to screw in the spirals.
I didn’t remove the cable ties afterwards as they don’t interfere any further.

- Schneidleistung bis 48 HRC Härte
- Robuste Schneiden zusätzlich induktiv gehärtet, Schneidenhärte ca. 62 HRC
- Angeschmiedeter Anschlag mit komfortablem Dämpfer
- Gute Zugänglichkeit durch sehr flachen Kopf- und Gelenkbereich
- Schenkel ergonomisch abgewinkelt für ermüdungsarmes Arbeiten
Video – Building the gabion wall on a slope
My slope stabilization with gabions in the garden includes several videos.
I also recorded the assembly and connection of the individual baskets in a movie.
If you want to see more of me and my projects, feel free to check out my YouTube channel.

- Gabionenkorb * Breite 1000 mm * Höhe 500 mm * Tiefe 500 mm
- Frontgittergröße 1000 x 500 mm * Maschenweite 50 x 100 mm * Drahtstärke 4,5 mm
- Maschenweite der restlichen Gitter 50 x 100 mm * Drahtstärke 4,5 mm
- Verbindungsart * Spiralverbindung
- Ausführung Galfan (95% Zink, 5% Alu)
Correctly aligning stone baskets on a slope
To better align the gabions in height and alignment, I generously filled the ground with gravel. I filled in the gravel generously, especially under the vertical grids and the joints.
I then “vibrated” the baskets into this gravel one by one. I provided the stone baskets with a slight gradient into the slope. In this way, you should be better able to transfer the subsequent load of the earth slope.
Once the baskets were aligned, angled and level, I also filled the floor with gravel. The floor grids were completely filled in and covered by about 10 cm.
This way, the granite stones, which I later fill into the baskets, lie completely on top – which leads to greater stability. The gravel layer also acts as additional drainage under the baskets.
Despite extremely low frost temperatures and heavy rain/snowfall, no disadvantages have resulted from this construction method to date.
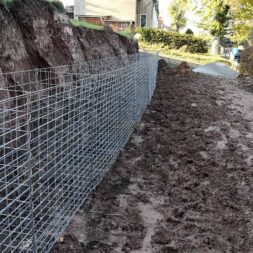
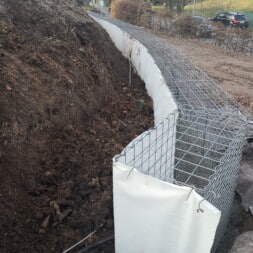
Once the gabion baskets had been connected to form a wall, I was able to start the next stage of work:
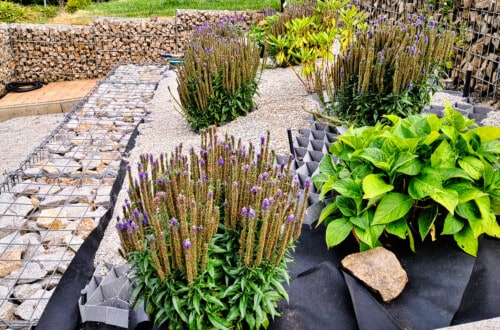
The water pipes, electrical conduits, empty conduits and the protective fleece had to be installed before I could build the stones in the baskets.
Dieser Beitrag ist auch verfügbar auf:
English
Deutsch


