Securing slopes with gabions – building corners and curves
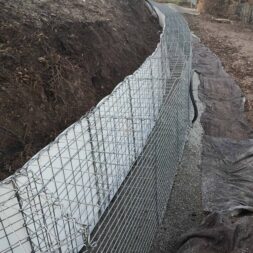
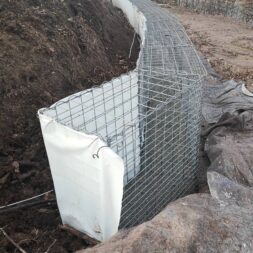
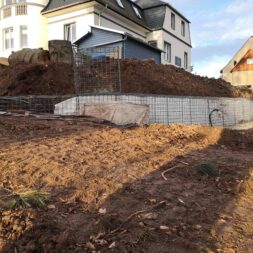
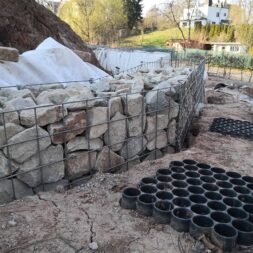
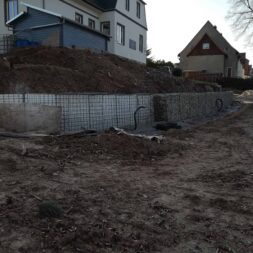
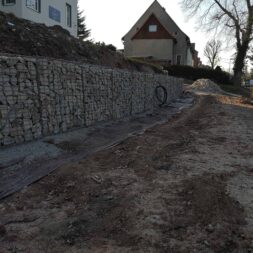
The stone baskets for the gabion wall were erected over a length of a good 20 meters within a few weeks. Starting from the driveway in a south-easterly direction, I was able to build a slight curve.
The spirals provide a certain amount of play – but this does not allow for tight curves. So now I had to form proper corners with the stone baskets.
Building a curve or corner with gabions?
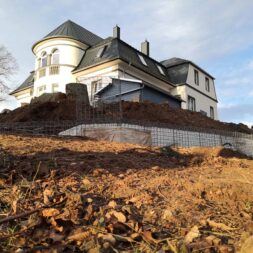
The gabion wall, which is intended to cushion the slope, has the shape of a large “L” along its entire length. The long leg is around 20 to 25 meters long and the short leg is around 10 meters.
While the first 10 meters of the long leg are relatively straight, there is then a slight bend to the west which ultimately ends in a sharp curve.
I had prepared my base in such a way that I could reproduce the bend by placing the stone baskets accordingly. The spirals that connect the grids offer a certain amount of play. This makes it possible to build light curves.
I was thus able to build a visually appealing curve or bend over a length of a good 10 meters. At some point, however, the baskets no longer offer enough play to form a corner. A different solution had to be found.
Here I had to build a real corner with the gabions.

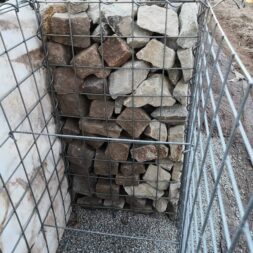
- Gabionenkorb * Breite 1000 mm * Höhe 1000 mm * Tiefe 500 mm
- Frontgittergröße 1000 x 1000 mm * Maschenweite 50 x 100 mm * Drahtstärke 4,5 mm
- Maschenweite der restlichen Gitter 100 x 100 mm * Drahtstärke 4,5 mm
- Verbindungsart * Spiralverbindung
- Ausführung Galfan (95% Zink, 5% Alu)
Options – Gabion wall with curves
In my opinion, there are 3 options for creating a sharp corner.
The baskets are connected directly to each other at an angle.
This solution is ideal for 90° corners. To do this, place the 2 stone baskets next to each other and connect them directly with the spirals.
I have described this procedure in my video“Gabions for slope stabilization #3 Construction and alignment of the stone baskets” and in my blog entry.
The second possibility is to cut the grids in such a way that the desired angle can be formed with the baskets.
For example, you can use bolt cutters to shorten the rear grid of a gabion by 2 segments to a length of 80 cm while the front grid remains intact at 100 cm.
If the following basket is now placed flush against the grilles, an angle is automatically created.
The spirals can be turned in normally and stability is guaranteed. However, this usually results in damage to the galvanizing on the grilles and increases the risk of rust.
A bolt cutter is therefore always preferable to an angle grinder with a flexible disk.
The third option for forming a corner with gabions is to interlock them.
With this method, the following basket is placed into the other basket at the desired angle. This results in protrusions on the side grilles and the lids also overlap accordingly.
In the case of my curve, however, this was not a problem, as the overlays take place on the inner side, i.e. on the earth slope.
This method does not damage the stone baskets, but the joints are under high tension, which makes screwing in the spirals very difficult.
How I built corners and curves
There are two options for my retaining wall. On the one hand, I was able to shorten the individual baskets at the appropriate points with a bolt cutter and then fit the next basket flush again.
In this way, I could assemble the stone baskets in such a way that there would be no overlapping – and therefore significantly less tension.
But there would also have been a disadvantage. Cutting through the galvanized steel would make the separation point susceptible to rust and corrosion. In view of an expected service life of several decades, I would have had to treat all separation points generously with zinc spray.
Alternatively, I could place the individual wire baskets inside each other to form a corner. The galvanization of the mesh mats would remain intact. However, twisting the spirals should be much more strenuous as the baskets would have more tension on each other.
I opted for the second option – I could always shorten the baskets.

- Gabionenkorb * Breite 1000 mm * Höhe 1000 mm * Tiefe 500 mm
- Frontgittergröße 1000 x 1000 mm * Maschenweite 50 x 100 mm * Drahtstärke 4,5 mm
- Maschenweite der restlichen Gitter 100 x 100 mm * Drahtstärke 4,5 mm
- Verbindungsart * Spiralverbindung
- Ausführung Galfan (95% Zink, 5% Alu)
Place basket in basket – A curve is created
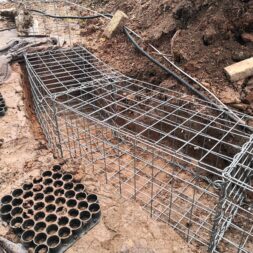
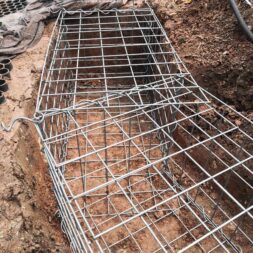
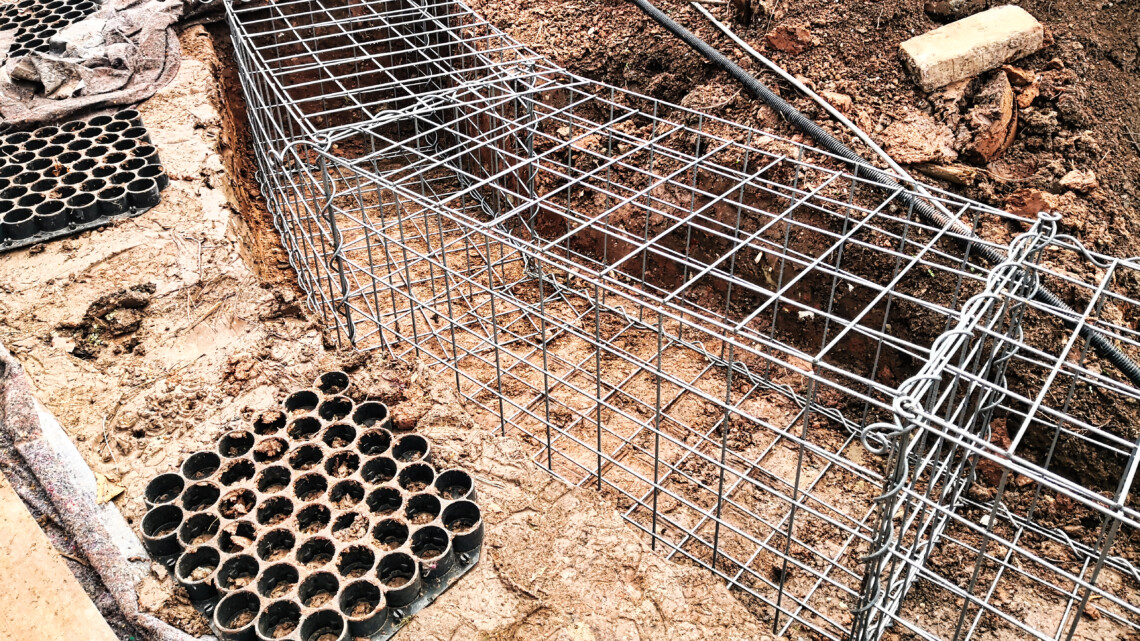
So I pulled and pushed the baskets of the already installed gabion wall as far as possible around the curve in the desired direction and left the last basket open at the end. I placed the next basket in this opening.
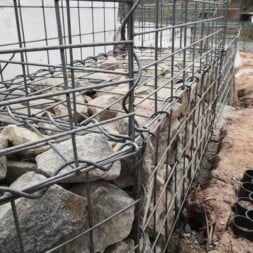
At the front outer edge, this was attached flush with the previous basket through the spiral. At the back, the new basket was set a few meshes into the previous basket.
The baskets were set flush together at the front. You could only see the overlap on the back. But as this area would later be filled with soil, it didn’t matter.
I was also able to turn the spiral in at the overlap of the back of the respective baskets. This was important to ensure continued high stability within the gabion wall.
I had to arrange the dividing grid between the two baskets at an angle as a right angle was no longer possible. However, I was also able to turn the spirals in at the offset separating grilles with increased effort.
This also ensured stability here.
To make my work easier, I first fixed some of the grids with cable ties and then twisted in the spirals. Overall, the assembly was much more complex and also more difficult, but the stability was and is extremely high.
The following stone baskets were also assembled in this way, one inside the other, until I had finally created a matching angle to the alignment of my existing gabion wall.
Zuletzt aktualisiert am 16. February 2026 um 20:36 . Ich weise darauf hin, dass sich hier angezeigte Preise inzwischen geändert haben können. Alle Angaben ohne Gewähr. (*) Bei den verwendeten Produktlinks handelt es sich um Affiliate Links. Ich bin nicht der Verkäufer des Produktes. Als Amazon-Partner verdiene ich an qualifizierten Verkäufen. Dein Preis ändert sich jedoch nicht.
Video – Building corners and curves with gabions
I filmed all the work steps for over a year and compiled the videos in my playlist “Slope stabilization with gabions in the garden“.
Of course, I have also created my own video on building corners and curves. In this you can follow my procedure and the individual steps even better.
If you want to see more of me and my projects, feel free to check out my YouTube channel.

- Schneidleistung bis 48 HRC Härte
- Robuste Schneiden zusätzlich induktiv gehärtet, Schneidenhärte ca. 62 HRC
- Angeschmiedeter Anschlag mit komfortablem Dämpfer
- Gute Zugänglichkeit durch sehr flachen Kopf- und Gelenkbereich
- Schenkel ergonomisch abgewinkelt für ermüdungsarmes Arbeiten
Overcome a height difference of 1 meter
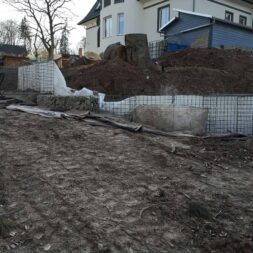
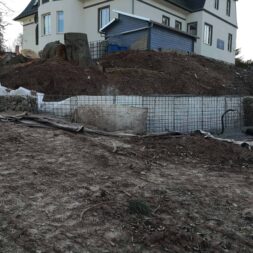
However, a second problem arose right at the bend – the height difference of a good meter. Here, too, there were various options.
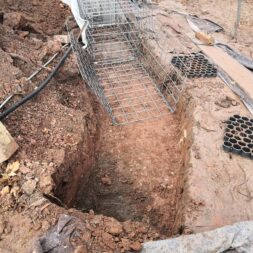
For example, I could have extended the required one-meter-deep trench by another 10 meters.
In view of the difficult ground conditions for digging – and the lack of storage facilities for the excavated material – I wanted to do without it. With this variant, the lower row of baskets would also have disappeared completely into the ground.
I therefore decided to build the wall piece by piece on the raised level.
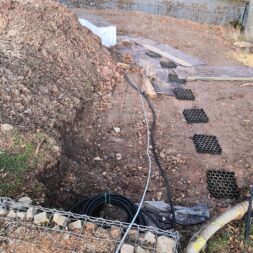
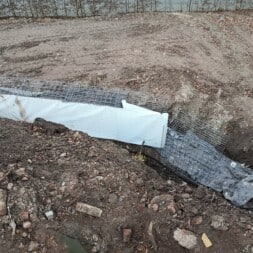
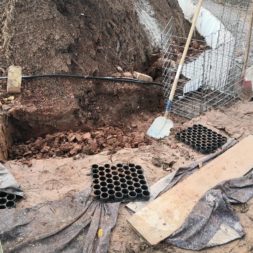
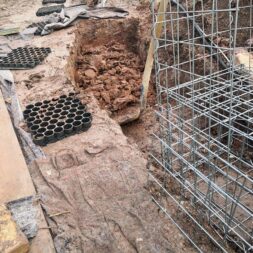
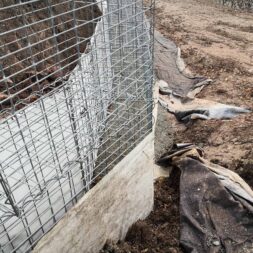
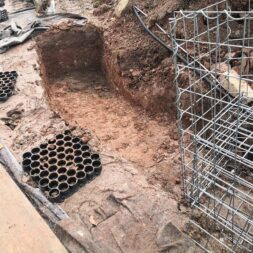
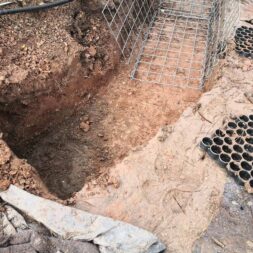
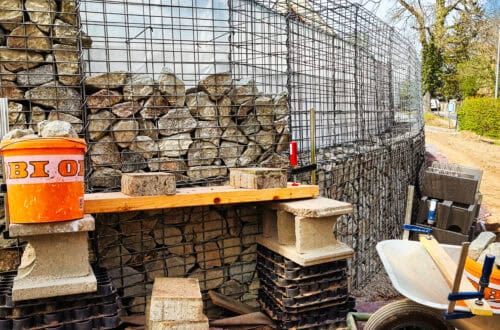
The last existing basket ended just below the soil scar. I therefore excavated the earth scar to such an extent that further baskets, this time only 50 cm high, could be attached flush to the existing wall.
Although these would later also disappear under the surrounding earth, they formed a solid foundation for the later second row of cages. At the end of these sunken baskets, the earth scar corresponded again to the upper edge of the starting basket and I was able to build far with my metric baskets.
Now came the tedious part of the work – filling the baskets.

- ✔ Hochwertiges Geotextilvlies/Drainage- u. Filtervlies 150g/m² - Profi Qualität - MADE IN GERMANY
- ✔ MATERIAL: Qualitätsvlies aus 100% Polyester, SPEZIELL FÜR DEN AUSSENBEREICH - äußerst strapazierfähig
- ✔ EIGENSCHAFTEN: sofort wasserdurchlässig, UV-Stabil, reißfest, verrottungsfest, beständig gegen Bitumen + Folien, atmungsaktiv, metallfrei (detektorgeprüft)
- ✔ EINSATZBEREICH: Drainage- und Filtervlies im GaLa-Bau: für Wege-, Pflaster- u. Terrassenbau, Dachbegrünung, Wärmespeicher für Beete und Gewächshäuser, Steingärten, Schutz unter Teichfolien, WINTERVLIES: Schutz vor Frost und niedrigen Temperaturen
- ✔ ANGEBOT: 300g (bohrbar), 300g, 500g, 1000g / 2m-Breite/ Groß-Mengen
Protecting gabions from sinkholes
Using the 3rd method described above, I formed my curve and then also overcame the height difference of one meter to the existing gabion wall. Nevertheless, time was breathing down my neck.
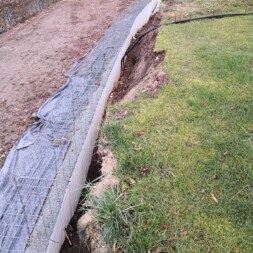
The weather was still not ideal. It rains often and a lot. This made it all the more important to complete the slope stabilization with the stone baskets as quickly as possible so that the backfilled earth did not slide down into the baskets.
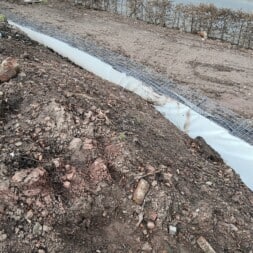
I was therefore very busy fitting the protective fleece and filling the baskets at the same time as filling the back.
Dieser Beitrag ist auch verfügbar auf:
English
Deutsch


