-
Integrate Reolink camera into the network – WLAN & PoE step-by-step guide
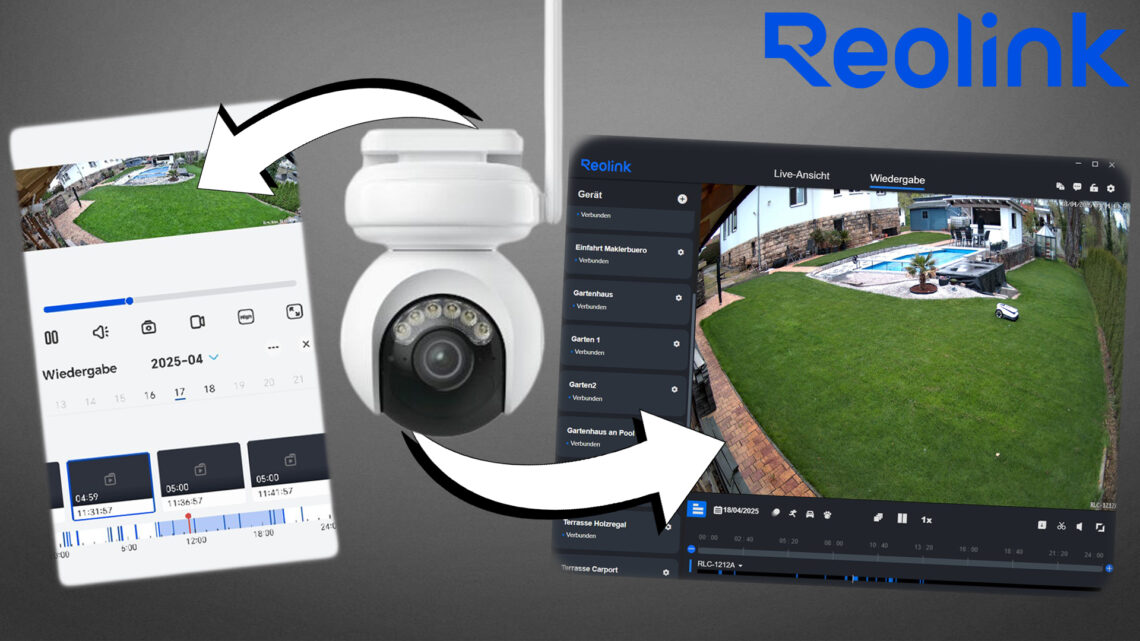
Reliably integrating Reolink IP cameras into the network, setting up PoE and WLAN models and managing them with the Reolink Client and the Reolink app – that’s exactly what this article is about. Step by step, I’ll show you how I integrated a wired Reolink Elite X Pro PoE camera and a Reolink Altas WLAN battery camera into my home network. I also provide troubleshooting tips and advice on how to optimize your WLAN connection. All processes are based on practical experience and are explained in such a way that they are easy and safe to set up.
-
Set up Reolink camera optimally
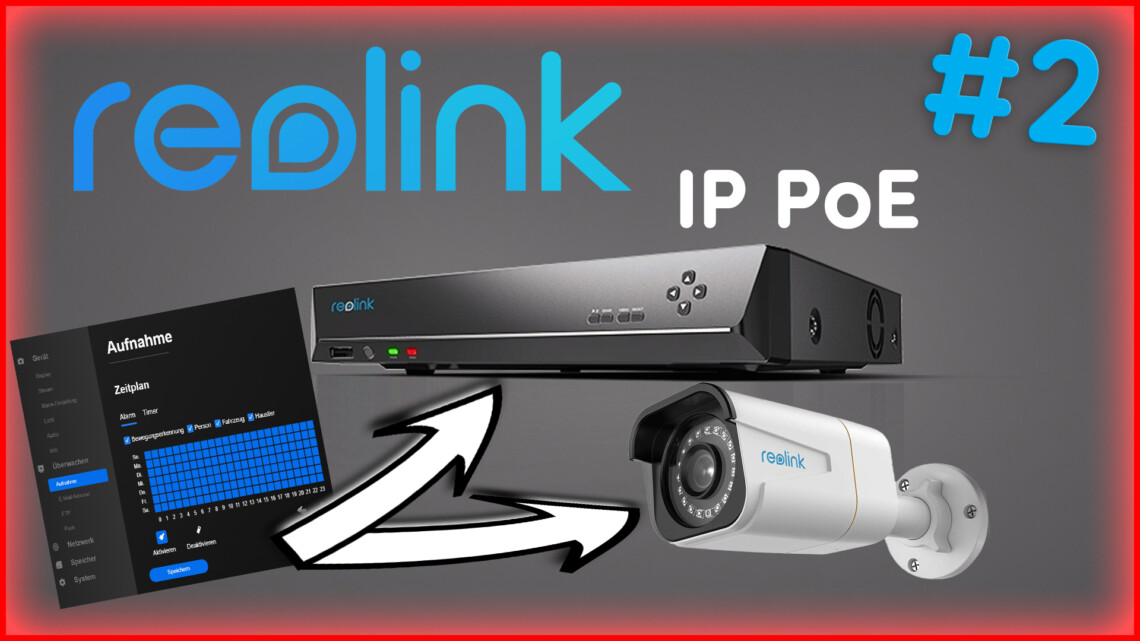
The Reolink surveillance cameras offer many functions. But what settings do I need to make step by step to get the most out of my security camera? And what is the difference between the settings on the network video recorder (NVR) and the camera? I would like to describe the setup and configuration of my Reolink PoE IP camera in more detail in the following article. You can also watch the entire installation process at
-
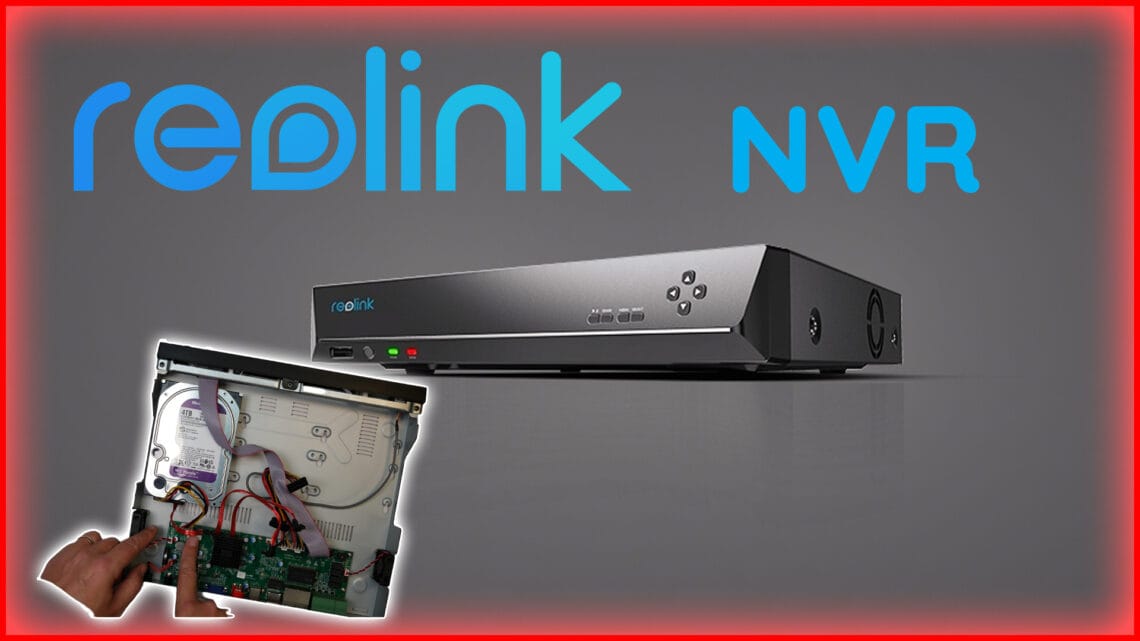
Install Reolink RLN36 NVR | Install hard disk and set up camera
To monitor my property, I had set up a camera surveillance system. Nine Hikvison and Trendnet cameras monitored every nook and cranny on the site. The data was stored on a QNAP NAS. The system ran cleanly and stably – but also at the capacity limit. The amount of data from the cameras was simply too large and I had to think about how to future-proof my surveillance system. I therefore decided to set up a Reolink camera system and store the data on an NVR, a network video recorder. In this post I show you how I went about it.
