• Privacy Policy
  • Imprint
  • Contact Form
  • COMMAIK
    • Contact Form
    • Imprint
    • Privacy Policy
  • The Villa
    • The top floor
    • The upper floor
    • The first floor
    • The cellar
    • The garden
  • Stories from the construction
    • irrigation
    • Photovoltaics
    • Pool and terrace
    • SmartHome
    • The planning
    • The demolition
    • The installation
    • Machinery
    • Restoration and working techniques
    • This and that
  • Videos
    • Build & Renovate
    • Irrigation
    • Carport
    • Gabions
    • Garden
    • Garden kitchen
    • Pool
    • Smart Home
    • Drying
    • Tutorials
  • TESTED & RATED
    • Heating solutions & energy
    • Outdoor & Garten
    • Pool & garden kitchen
    • Security & Smart Home
    • Tools & DIY
  • Commaik Music
  • COMMAIK
    • Contact Form
    • Imprint
    • Privacy Policy
  • The Villa
    • The top floor
    • The upper floor
    • The first floor
    • The cellar
    • The garden
  • Stories from the construction
    • irrigation
    • Photovoltaics
    • Pool and terrace
    • SmartHome
    • The planning
    • The demolition
    • The installation
    • Machinery
    • Restoration and working techniques
    • This and that
  • Videos
    • Build & Renovate
    • Irrigation
    • Carport
    • Gabions
    • Garden
    • Garden kitchen
    • Pool
    • Smart Home
    • Drying
    • Tutorials
  • TESTED & RATED
    • Heating solutions & energy
    • Outdoor & Garten
    • Pool & garden kitchen
    • Security & Smart Home
    • Tools & DIY
  • Commaik Music
  • Privacy Policy
  • Imprint
  • Contact Form
  • Draining the cellar – 1 year later

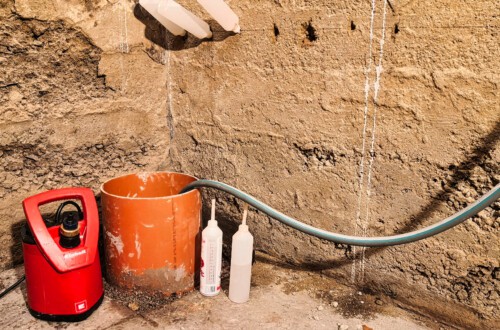
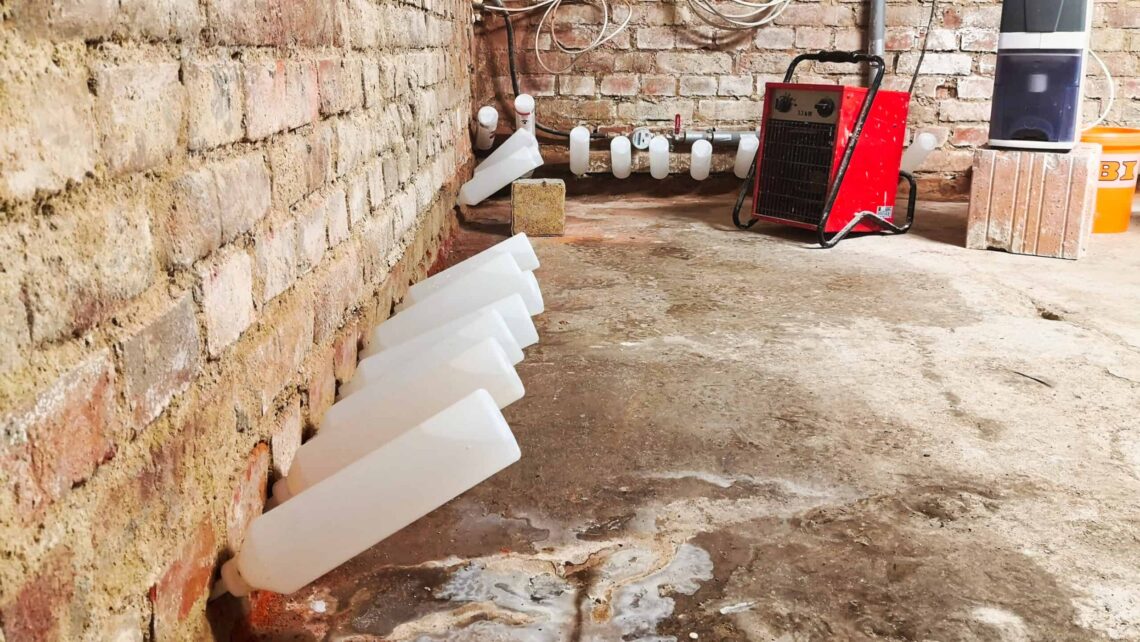
    In a damp cellar, plastic containers are inserted into holes at the base of a brick wall to dry out the room. A red dehumidifier and various appliances can be seen in the background. www.commaik.de

    I have been working on draining the cellar for a good 2 years. In addition to repairs to the pipe system, ventilation concepts, dehumidifiers, dryers and a pump shaft in the cellar, I also installed a subsequent horizontal barrier with a masonry injection. It is now time for a review and a summary of the individual measures.

    Weiterlesen

    Ähnliche Beiträge

    A man holds a roll of infrared heating foil. An arrow points to a thermal image revealing heat distribution on the floor. The words Infrarot Heizfolie are displayed above. www.commaik.de

    Efficient heating with infrared heating foil: installation, experience and tips for electric wall heating

    11. February 2025
    A person holds a trencher, creating trenches in a grassy yard for irrigation. Several orange buckets filled with soil are placed around the dug areas, with a brick path on the right and a stone building in the background. www.commaik.de

    Installing a lawn sprinkler: Step-by-step instructions for watering your garden

    21. March 2025
    Partially completed garden kitchen with unfinished wooden cabinets, a dark worktop, an open window, and power tools on the counter. Trees and buildings can be seen outside. www.commaik.de

    Build your own garden kitchen – worktop and jamb for the outdoor kitchen

    20. May 2024
  • Dry out the cellar yourself – infrared heating is used

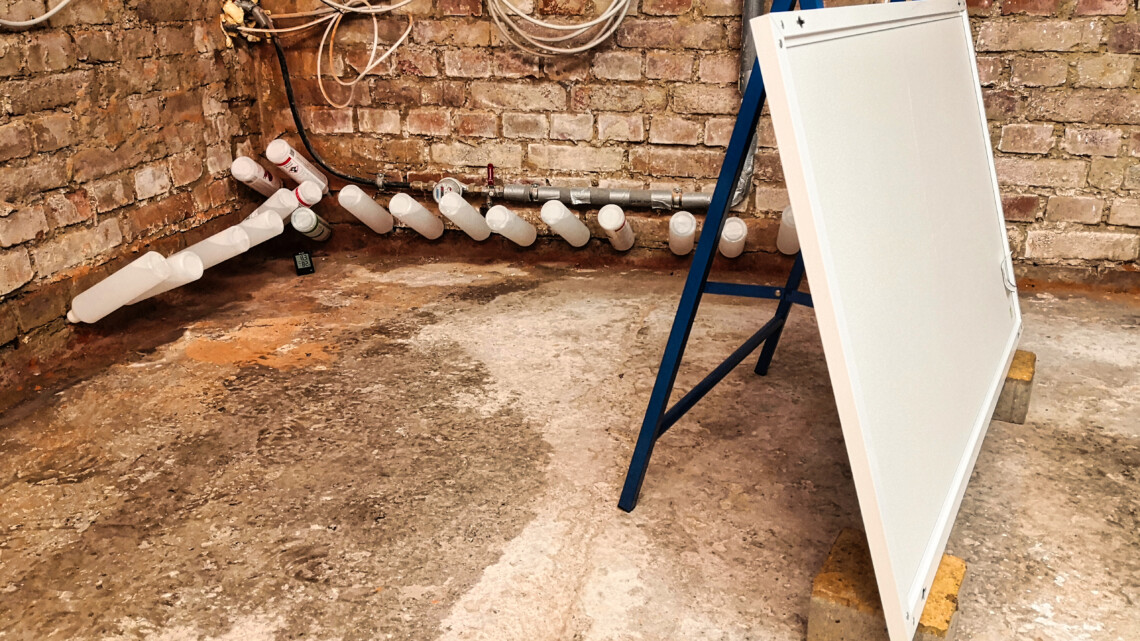
    Plastic bottles attached to a pipe run along a brick wall in a basement or garage, probably part of a drainage system. Nearby is an easel or a whiteboard on blocks with several cables hanging above it. The floor is made of concrete. www.commaik.de

    In order to make the basement rooms of our over 100-year-old city villa usable, I first have to dry them out. The house is partially built into the slope. On the east side the basement floor is at ground level and on the west side about 200 cm below ground level. I have already used various methods for draining. I am currently creating a new watertight horizontal barrier in the masonry using chemical agents such as injection liquid, injection sticks and injection cream. I have already drained the eastern part of the cellar. Now it is the turn of the western part of the building. This time I let my…
    Weiterlesen

    Ähnliche Beiträge

    A photo showing construction tools and materials: two yellow buckets with gravel, an orange bucket, a red pump sump for drainage, a circular saw blade, a power drill, and a spirit level, all placed on a rough concrete floor. www.commaik.de

    Drying basement – pump sump | build septic tank yourself

    10. January 2021
    An inflatable whirlpool filled with bubbling water with the bold lettering Whirlpool Sauna & Spa MSpa Alpine and a red border to emphasize the soothing whirlpool experience. www.commaik.de

    Inflatable whirlpool MSpa Alpine Tekapo – experience after 1 year

    7. November 2021
    A compact kitchen countertop with a black round washbasin, black faucet, sponge, dish soap, stainless steel electric kettle, and a Bosch dishwasher below, set against a gray textured wall with two power outlets. www.commaik.de

    Install granite washbasin with tap yourself

    3. February 2020

Autor & Blogger

In this construction diary, we share our experience in the renovation and modernization of our Art Nouveau villa and hope to give a few suggestions and tips to some of you.

commaik.de © 2026
  • Contact Form
  • Privacy Policy
  • Imprint
  • Change privacy settings
  • Cookie policy
  • English
  • Deutsch (German)